SEMA Vehicle Display Booth Planning for Exhibitors


How should exhibitors plan a SEMA vehicle display booth?
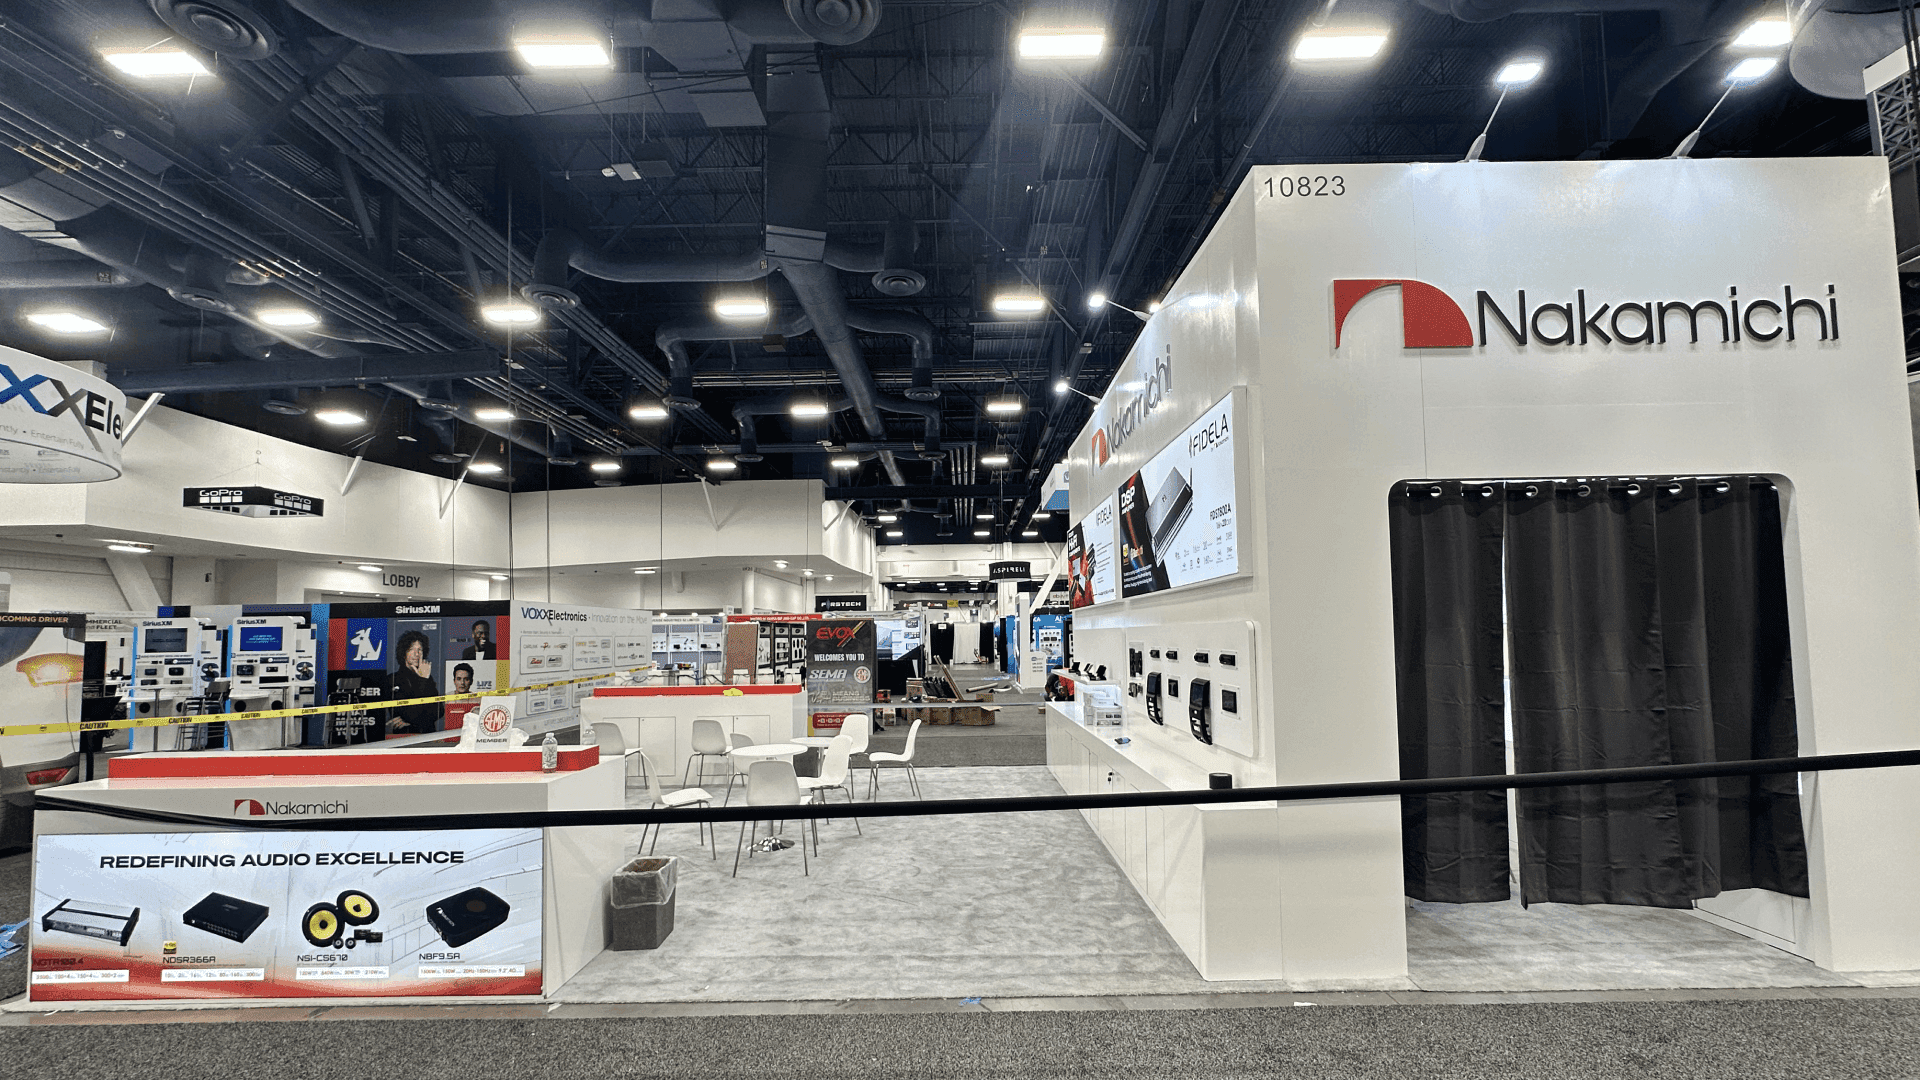
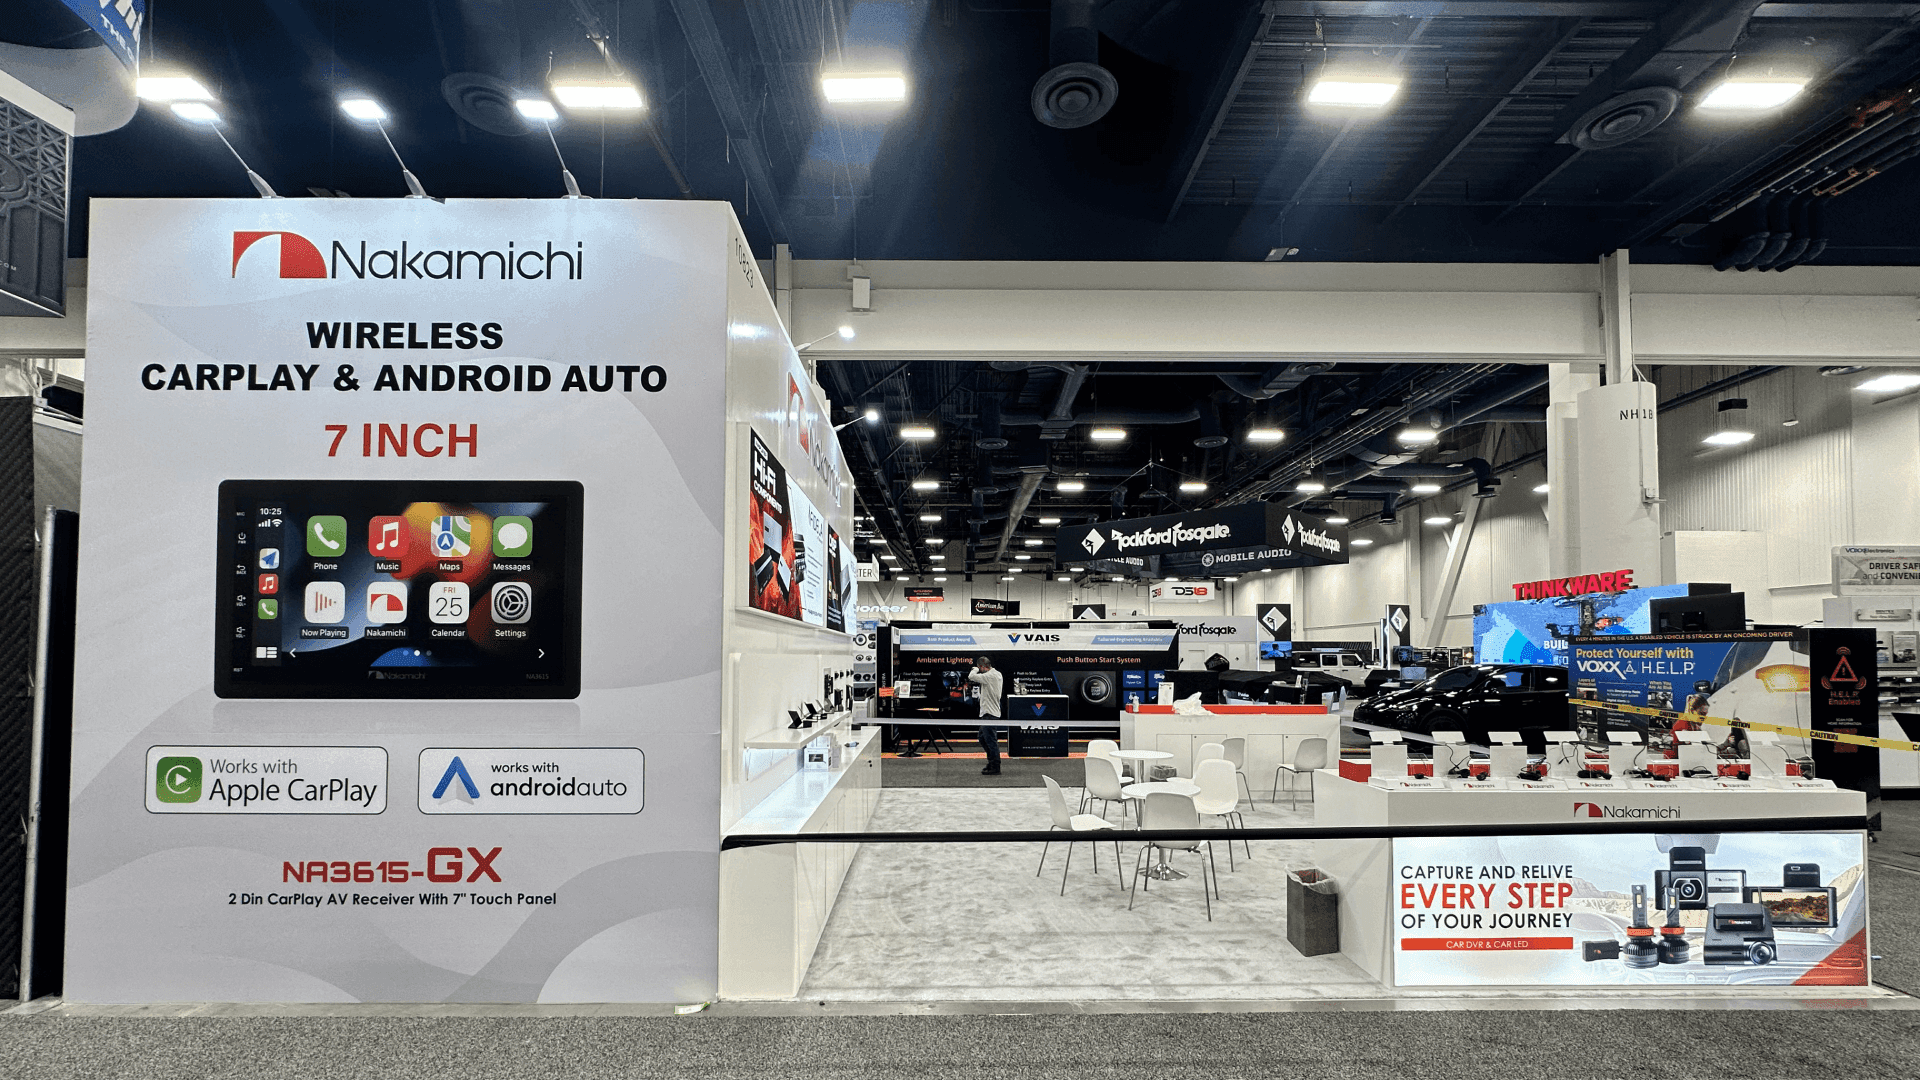
A SEMA vehicle display booth should be planned around the featured vehicle, starting with its position, aisle sightlines, viewing clearance, and visitor circulation. Product walls, equipment, graphics, lighting, and demo areas should reinforce the automotive presentation without blocking access or competing for attention. Booth size, buyer meeting space, and show-site installation requirements should then be coordinated around the final vehicle position to ensure a clear, accessible, and practical visitor experience.
Vehicle displays change SEMA booth planning because the featured vehicle is often both the largest physical element and the main visual reference. Its position shapes aisle visibility, viewing distance, surrounding product displays, branded graphics, lighting, visitor circulation, and buyer conversations.
Within the broader SEMA booth planning process, position the vehicle first, then organize wheels, tires, accessories, tools, equipment, screens, and demo areas around it. A 20x20 layout suits a focused display where clearance allows, while 20x30 and 30x40 footprints provide more room for product zones, meetings, and circulation.
This approach also supports automotive trade show booths in Las Vegas, where vehicles and aftermarket products often share limited floor space. At the Las Vegas Convention Center, confirm vehicle entry, flooring, and installation access before finalizing surrounding structures.
Why Exhibitors Choose Circle Exhibit
Clear scope, transparent quote review, nationwide booth support, and efficient setup planning for qualified rental and custom exhibit projects.
48hr
Setup Window
10+
Years Since 2014
U.S.
Trade Show Support
Real
Booth Project Proof
The right footprint depends on how much space the vehicle needs for viewing, surrounding products, demonstrations, staff, and visitor circulation. Booth size matters here because it changes what can happen around the vehicle—not simply how much floor area is available.
A 20x20 booth suits a focused automotive presentation with compact product fixtures and brief buyer conversations. For a full vehicle display, reserve viewing clearance and aisle access before adding screens, counters, or storage.
A 30x40 SEMA booth creates room for the featured vehicle, product demonstrations, buyer meetings, and concealed storage. Distinct zones help maintain clear sightlines and visitor circulation without reducing the impact of the main display.
A 20x30 booth offers more flexibility for angling a vehicle and arranging nearby product walls. Separate demo and discussion areas keep the featured vehicle visible while allowing visitors to move through the space.
A large island exhibit accommodates multiple vehicles, equipment demonstrations, media presentations, and hospitality areas. Clear activity zones and open viewing paths keep the featured automotive display visible from multiple aisles while supporting visitor circulation.
A vehicle-centered booth needs clear sightlines before product fixtures are positioned. Effective SEMA vehicle display planning considers aisle approaches, viewing clearance, lighting, and LVCC access requirements.
Nearby product walls should explain the automotive features being promoted without obscuring the vehicle. Careful product wall and vehicle sightline planning helps visitors move from the featured build to relevant parts, accessories, and buyer discussions.
SEMA vehicle display booths should be planned around how visitors see the vehicle, understand the product story, move around the display, and speak with staff. Many exhibitors need controlled vehicle placement, product walls, lighting, branded graphics, display counters, demo stations, storage, power access, freight planning, and staff positions that support both quick aisle interest and deeper buyer conversations. The booth should make the vehicle visible without letting it block product messaging, traffic flow, or installation access.
Test the vehicle's strongest viewing angles against each exposed aisle. Preserve room for photography, close inspection, staff explanations, and access to surrounding products without restricting visitor movement.
Group wheels, tires, accessories, and equipment around the vehicle features they demonstrate. Position shelving and branded fixtures so buyers can compare products without blocking the main vehicle display.
Lighting should reveal vehicle surfaces and key product details without creating distracting reflections or competing visual zones. Graphics, screens, and branded surfaces should reinforce the main message from the aisle and become more detailed as visitors move closer.
The final vehicle position also needs to account for access during move-in and setup. Entry paths, flooring, surrounding structures, equipment clearance, and working space should be checked before the booth layout is locked. More complex freight and installation dependencies belong in the dedicated SEMA LVCC installation planning process.
SEMA Show is the parent event for this vehicle display booth planning page, with a focus on automotive exhibitors preparing vehicle displays, product walls, equipment presentations, and show-site booth execution at the Las Vegas Convention Center.
This page focuses on SEMA vehicle display booths, including vehicle placement, aisle sightlines, product walls, branded graphics, lighting, visitor flow, freight timing, drayage, storage, and installation planning.
20x30, 30x40, and large island booths are common planning sizes for SEMA vehicle displays. A 20x30 booth can support one focused vehicle story, while 30x40 and larger island layouts give more room for product walls, media moments, and visitor movement.
Not Sure Which Booth Size You Need?
Not every exhibitor knows whether a 10x20, 20x20, 20x30, or larger booth is the right fit. Circle Exhibit can help review your event goals, product display needs, demo areas, meeting space, storage, budget scope, and setup timeline before you choose a booth size.
Vehicle Angle and Aisle Sightlines
Product Displays Around the Vehicle
1
Define the Vehicle Display Story
2
3
4
SEMA Vehicle Display Booth Rental vs Custom Build
A SEMA vehicle display can use rental structures for branded backdrops, product walls, screens, counters, and meeting areas. When the vehicle requires no specialized structural integration, Las Vegas booth rental options may provide a practical starting point.
When Custom Elements Become More Important
Custom construction becomes more useful when the vehicle needs purpose-built platforms, integrated product walls, specialized lighting, large structural features, overhead branding, or a tighter connection between the vehicle and surrounding displays.
Hybrid Vehicle Display Booths
Some SEMA exhibits combine a reusable or rental structure with custom graphics, lighting, product fixtures, or vehicle-specific display elements. The important decision is not whether every component is rental or custom, but whether the structure supports the vehicle presentation clearly.
Confirm the approved vehicle check-in, entry route, and move-in timing before installing surrounding structures. Coordinate flooring protection and final vehicle positioning with the current SEMA exhibitor requirements.
Enough working space should remain around the vehicle for installers to complete nearby lighting, counters, product fixtures, screens, and finishing work.
Before opening, check that lighting, graphics, screens, and surrounding products reinforce the vehicle rather than create competing focal points.
Review the display from the main aisle, corner approaches, and likely photo positions. Vehicle sightlines, product labels, graphics, and visitor circulation should remain clear before the booth is handed over.
For broader SEMA booth planning, exhibitors can review SEMA booth planning, compare 30x40 booth planning for larger vehicle and equipment displays, plan freight and move-in details with logistics and pre-show coordination, and connect the full booth plan with Las Vegas trade show booth design and build.
Need a SEMA booth rental for a vehicle or product display?
A rental booth can support focused SEMA vehicle and product display layouts with branded graphics, counters, lighting, product walls, storage, and show-site installation support. It can be a practical option for exhibitors who need a professional automotive display environment without building a fully custom structure.
What is a SEMA vehicle display booth?
A SEMA vehicle display booth uses a full vehicle as a primary exhibit element or proof point, supported by products, graphics, demonstrations, equipment, and visitor interaction around it.
How should a vehicle be placed inside a SEMA booth?
What booth size works for a SEMA vehicle display?
Can a rental booth work with a vehicle display?
What should exhibitors confirm before bringing a vehicle onto the SEMA show floor?
READY TO PLAN YOUR NEXT BOOTH?
Let’s Build a Booth That Fits Your Event
Share your event name, booth size, city, timeline, product display needs, and design references. Circle Exhibit will review your project direction and help you choose a rental-friendly or custom exhibit path.
3000+
Booth Projects Supported
50+
U.S. Event Cities
Transparent
Quote Review
Return to the parent event page for overall booth size, floor plan, rental or custom decisions, automotive product display, and broader SEMA planning.
For vehicle displays that also need larger product zones, meetings, storage, demonstrations, and stronger perimeter visibility.
For vehicle displays with more complex move-in, freight, staging, utilities, and show-site setup dependencies.
See how vehicle display, aftermarket products, equipment demonstrations, and booth planning connect across other automotive events in Las Vegas.
Connect SEMA vehicle display planning with booth design, fabrication, graphics, logistics, installation, and Las Vegas show-site execution.