What to Confirm Before HVAC Equipment Ships
Confirm the final model and quantity of every unit before fabrication and freight scheduling are locked. Record each product’s length, width, height, weight, shipping orientation, and final display orientation. Mark the sides buyers need to inspect, along with any doors, panels, or components that will open during the show.
These details affect crate preparation, booth openings, custom bases, equipment supports, structural clearances, and the final placement route. Casters, lifting points, removable parts, and other positioning requirements should also be documented.
Confirm any product-specific power, network, water, drainage, or compressed-air needs, then make sure the service points will remain accessible after placement. Before shipping, compare the equipment details with the approved layout through booth fabrication and prebuild checks. This can expose equipment-fit, support, clearance, and connection conflicts before the booth structure and shipping crates are finalized.
Before Shipping
Confirm final model numbers and quantities.
Record dimensions, weight, and shipping orientation.
Identify the sides buyers need to inspect.
Check bases, casters, access panels, and positioning needs.
Match the equipment and service points to the approved booth layout.
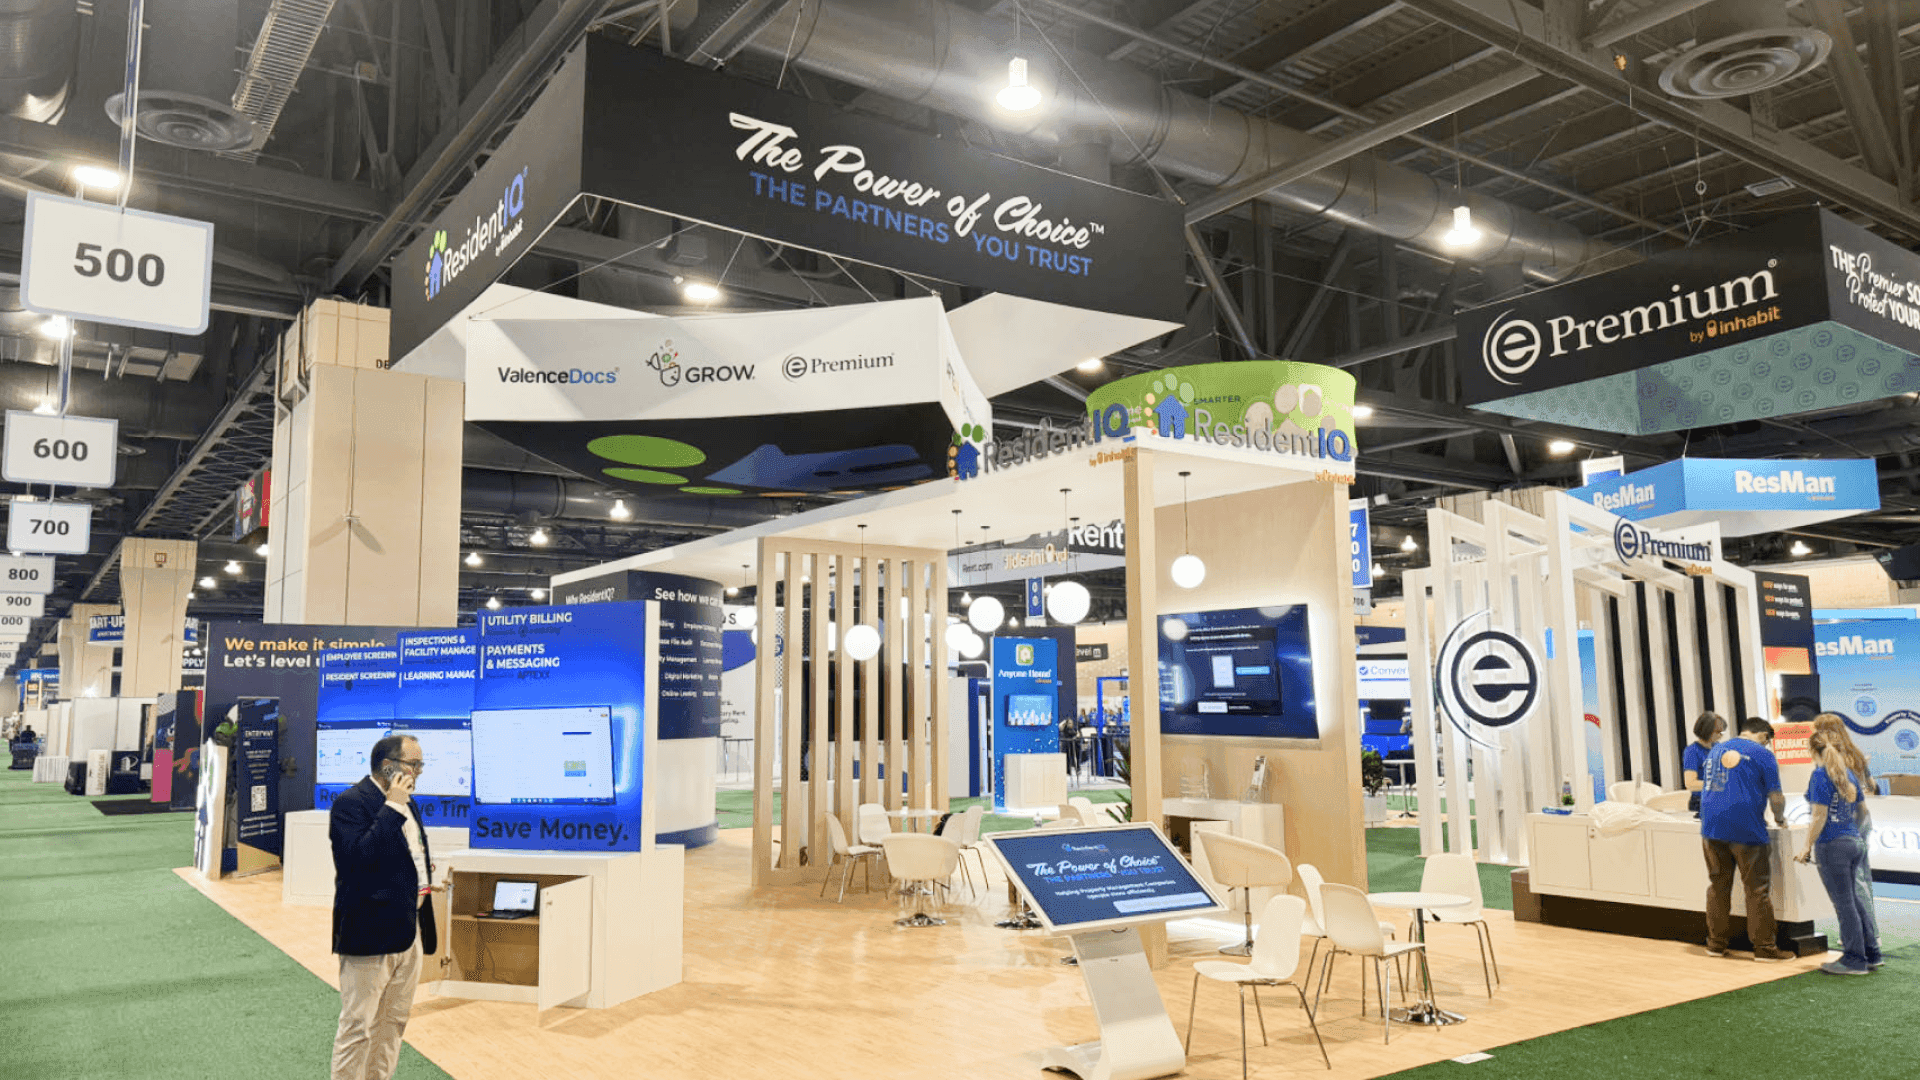
Equipment dimensions, weight, viewing sides, service needs, and crate order should be confirmed before freight and booth production are finalized.
Which Comes First: Booth Structure or HVAC Equipment?
There is no fixed HVAC equipment installation order. The right sequence depends on the unit’s dimensions, available turning space, final placement route, booth openings, custom bases, nearby walls and counters, service locations, and whether the equipment can still be moved after the first structural elements are installed.
When the Booth Structure Comes First
Floor references, equipment supports, or a primary wall may need to be installed first when they establish the unit’s exact position. This approach only works if the placement route stays open and the equipment can still reach the booth without tight turns or blocked access.
When the HVAC Equipment Comes First
Large units should go in first when they need an open side of the booth, wider maneuvering space, or a final position inside a partially enclosed display area. Surrounding walls, counters, storage, and finish elements can be completed after the equipment is secure.
Confirm the sequence before freight and installation schedules are finalized. A layout may work on paper but fail on-site if the unit cannot clear an opening, make the final turn, or leave enough access to service connections.
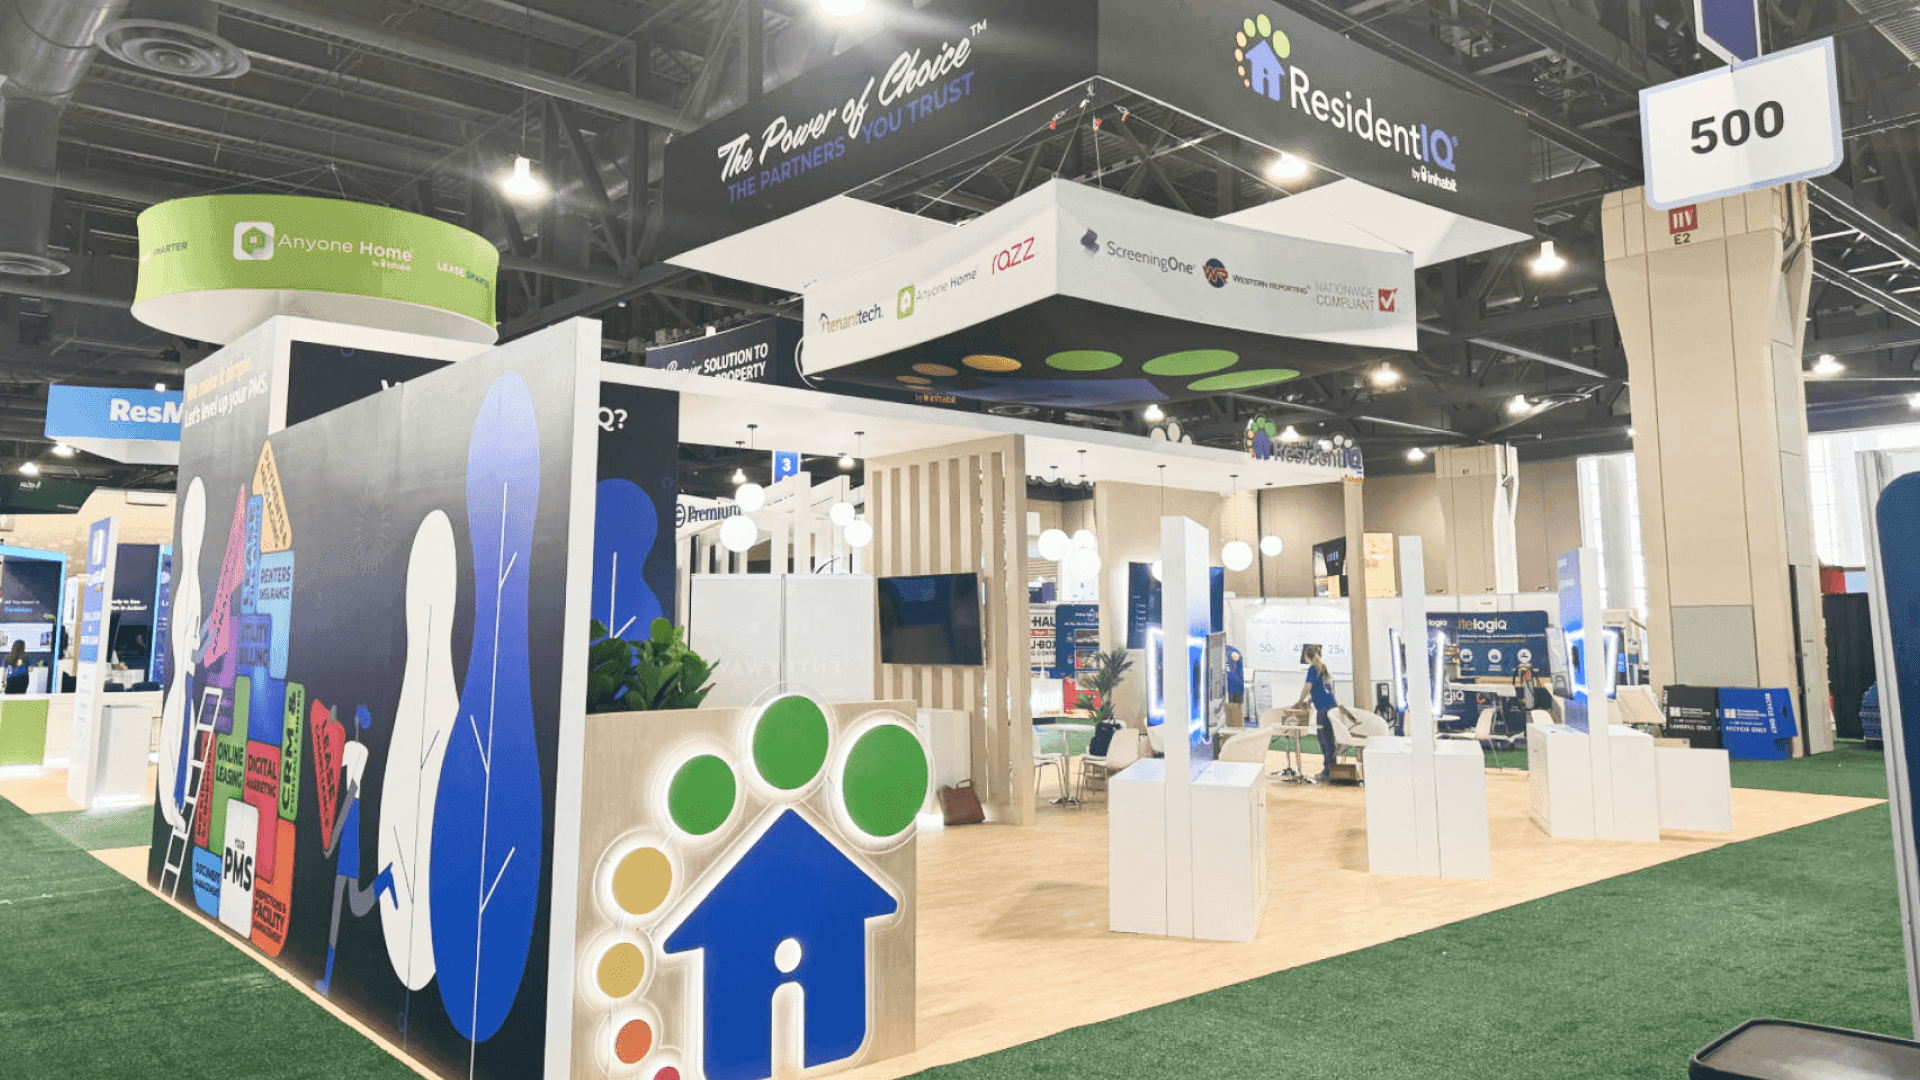
Keeping one side of the booth open allows the primary HVAC unit to reach its final position before nearby walls, counters, and graphics are completed.
Plan Freight in the Order the Booth Will Be Built
For an AHR Expo equipment booth, freight grouping should follow the installation sequence rather than product names alone. Primary HVAC equipment, flooring, booth structure, custom bases, smaller components, screens, graphics, and finish materials may ship together, but they should not all enter the booth at the same time.
If a large unit must be positioned before nearby walls or counters close the access route, its crate needs to remain available early. If the structure establishes the final equipment location, floor references, bases, or essential structural elements may need to arrive first.
Crate labels should identify both the contents and the installation stage. When equipment crates, structural freight, and finish materials need to reach the booth at different times, trade show logistics and pre-show coordination should follow the same sequence so early freight does not block the placement route or active working area.
A Practical Freight Order
Flooring references and essential structural elements
Custom bases, supports, and primary HVAC equipment
Smaller products, screens, components, and technical graphics
Finish materials and final-detail items
Once the main equipment is secure, empty crates should be removed or staged away from the active work area.
Position HVAC Equipment for Buyer Inspection and Service Access
Final equipment orientation should support buyer inspection, service connections, and movement through the booth. A unit may face the aisle, but its access panels, controls, or service side may still need working space after nearby walls, counters, and supporting displays are installed.
For Buyer Inspection
Keep the most important product sides visible and leave enough room to view internal components, compare units, and read the correct technical labels or graphics. Larger equipment may need a clear walkaround area so product discussions do not block the aisle or the main buyer inspection path.
For Service and Staff Access
Confirm only the utilities each product requires, such as power, network, water, drainage, or compressed air. Connection points, access panels, technician routes, staff circulation, and meeting areas should remain usable after final placement.
At McCormick Place, equipment positions, structural clearances, utility access, and installation order should remain aligned through Chicago booth builder support for equipment-led exhibits during fabrication and show-site setup. The finished structure should not remove access that appeared available in the approved layout.
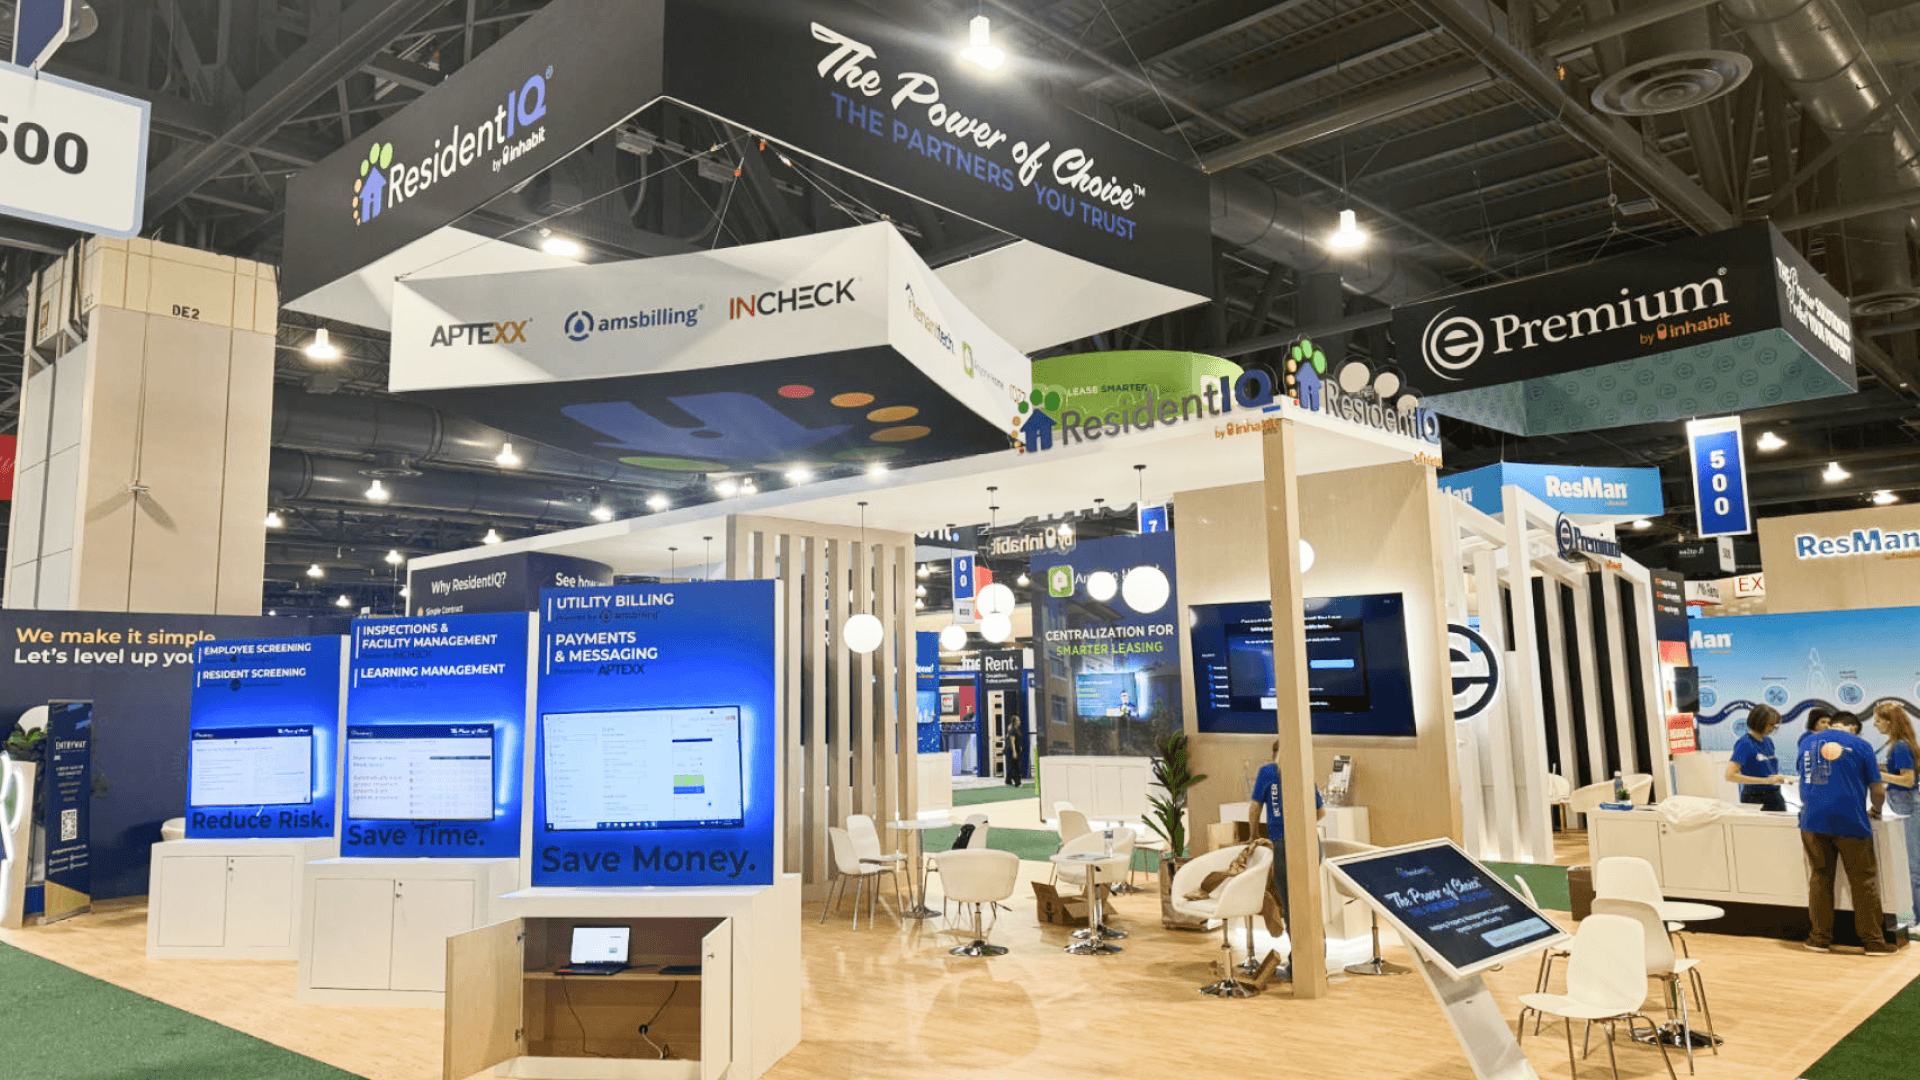
Final equipment placement should preserve service connections, access panels, product viewing sides, staff movement, and the buyer inspection path.
How Move-In Could Work in a 30x40 HVAC Equipment Booth
A 30x40 AHR Expo booth may include one large air-handling unit, two compact heat pumps, a component wall, and a buyer meeting area. Because the air-handling unit needs to remain visible from two sides, nearby walls and counters cannot be completed before it reaches its final position.
Floor references and the structural elements needed to establish the layout can go in first, while one side of the booth stays open for equipment access. The air-handling unit is then positioned and secured before the surrounding counters, graphics, and finish work are completed.
The smaller heat pumps and supporting components can follow because they need less turning space and are easier to place around the main unit. Once the large HVAC equipment placement is complete, the team can confirm service connections, product labels, viewing sides, and the buyer inspection path before closing out the equipment-led exhibit setup.
What This Shows
Freight and installation order should follow the placement route.
Large equipment may need to enter before nearby structures are finished.
Smaller products and graphics are easier to add after the main unit is secure.
Equipment orientation should be fixed before connections and finish work begin.
Complete the Booth After the Main Equipment Is in Place
Once the primary HVAC units are positioned, the rest of the booth should be completed without changing their orientation, blocking service access, or narrowing the buyer inspection path.
Secure the main equipment and complete the required service connections.
Add smaller products, components, and comparison samples.
Install screens, product labels, technical graphics, and supporting displays.
Finish nearby counters, walls, storage, and trim details.
Remove empty crates, tools, and packing materials from the booth.
Test powered equipment, screens, and operating display features before the final booth inspection.
Before the Show Opens
Equipment is stable and faces the intended viewing direction.
Required product sides, controls, and access panels remain clear.
Labels and graphics match the correct units.
Service connections and powered features have been tested.
Buyer inspection paths, staff routes, and meeting areas remain usable.
Screens and technical information are readable from the visitor position.
Frequently Asked Questions
Should HVAC equipment or the booth structure be installed first?
It depends on the unit size, booth openings, turning space, custom bases, and the final placement route. Flooring or key structural references may come first, but large HVAC equipment should enter before walls, counters, or storage close the access path.
How should large HVAC equipment be prepared for trade show shipping?
Confirm the model, quantity, dimensions, weight, shipping orientation, viewing sides, access panels, and positioning requirements for each unit. Crates should be labeled by contents and installation stage, with removable parts, supports, and service needs documented before shipment.
When should the final HVAC equipment list be confirmed?
Confirm the final equipment list before booth openings, supports, service locations, freight order, and crate details are locked. Late product changes can affect structural clearances, utility access, the placement route, and the HVAC equipment installation sequence.
What should be checked after HVAC equipment is positioned?
Check that each unit is stable, correctly oriented, and visible from the intended buyer path. Access panels, labels, service connections, screens, and technical graphics should remain usable. Test powered features and clear away crates, tools, and packaging before the final booth inspection.