What Sits Behind an AHR Expo Controls Demo
Before requesting power or network service, inventory every device used in the live workflow and its backup. Controllers, sensors, gateways, computers, displays, network hardware, and connected HVAC equipment may each require different power, data, and access conditions.
Building Management System (BMS)
A platform that brings HVAC equipment, sensors, alarms, schedules, and operating data into one system for monitoring and control.
Gateway
A device or software layer that connects controllers, sensors, networks, or communication protocols so data can move between them.
Fallback Demo
A locally stored, offline, or recorded version of the demo used when a live device, login, network connection, or cloud platform is unavailable.
The controls demo device list should also include power supplies, signal cables, login credentials, local software access, adapters, spare batteries, and backup equipment.
Demo Component | Power Need | Data or Network Need | What to Check |
|---|---|---|---|
Controllers and control panels | Product-specific or low-voltage power | Direct connection, gateway, or local network | Keep controls, terminals, and reset access available |
Sensors and field devices | Battery, low-voltage, or controller-supplied power | Controller, wireless link, or gateway | Confirm how the input reaches the controller and dashboard |
Gateways and routers | Continuous power | Local network, wired internet, or both | Keep devices concealed but within technician reach |
Computers and demo laptops | Reliable power or charging access | Local network, wired internet, or offline environment | Test logins, permissions, software, and backup files |
Dashboard screens and touchscreens | Screen power and video or data connection | Depends on the computer, controller, or media source | Check readability and response from the visitor position |
Connected HVAC equipment or simulated loads | Product-specific power and controls | Direct control, gateway, local network, or simulated input | Test the full hardware-to-dashboard result |
Spare cables, adapters, batteries, chargers, and a backup computer belong in the BMS demo booth setup rather than being treated as last-minute accessories.
Once the device list is complete, power needs can be separated into continuous loads, charging access, and backup capacity.
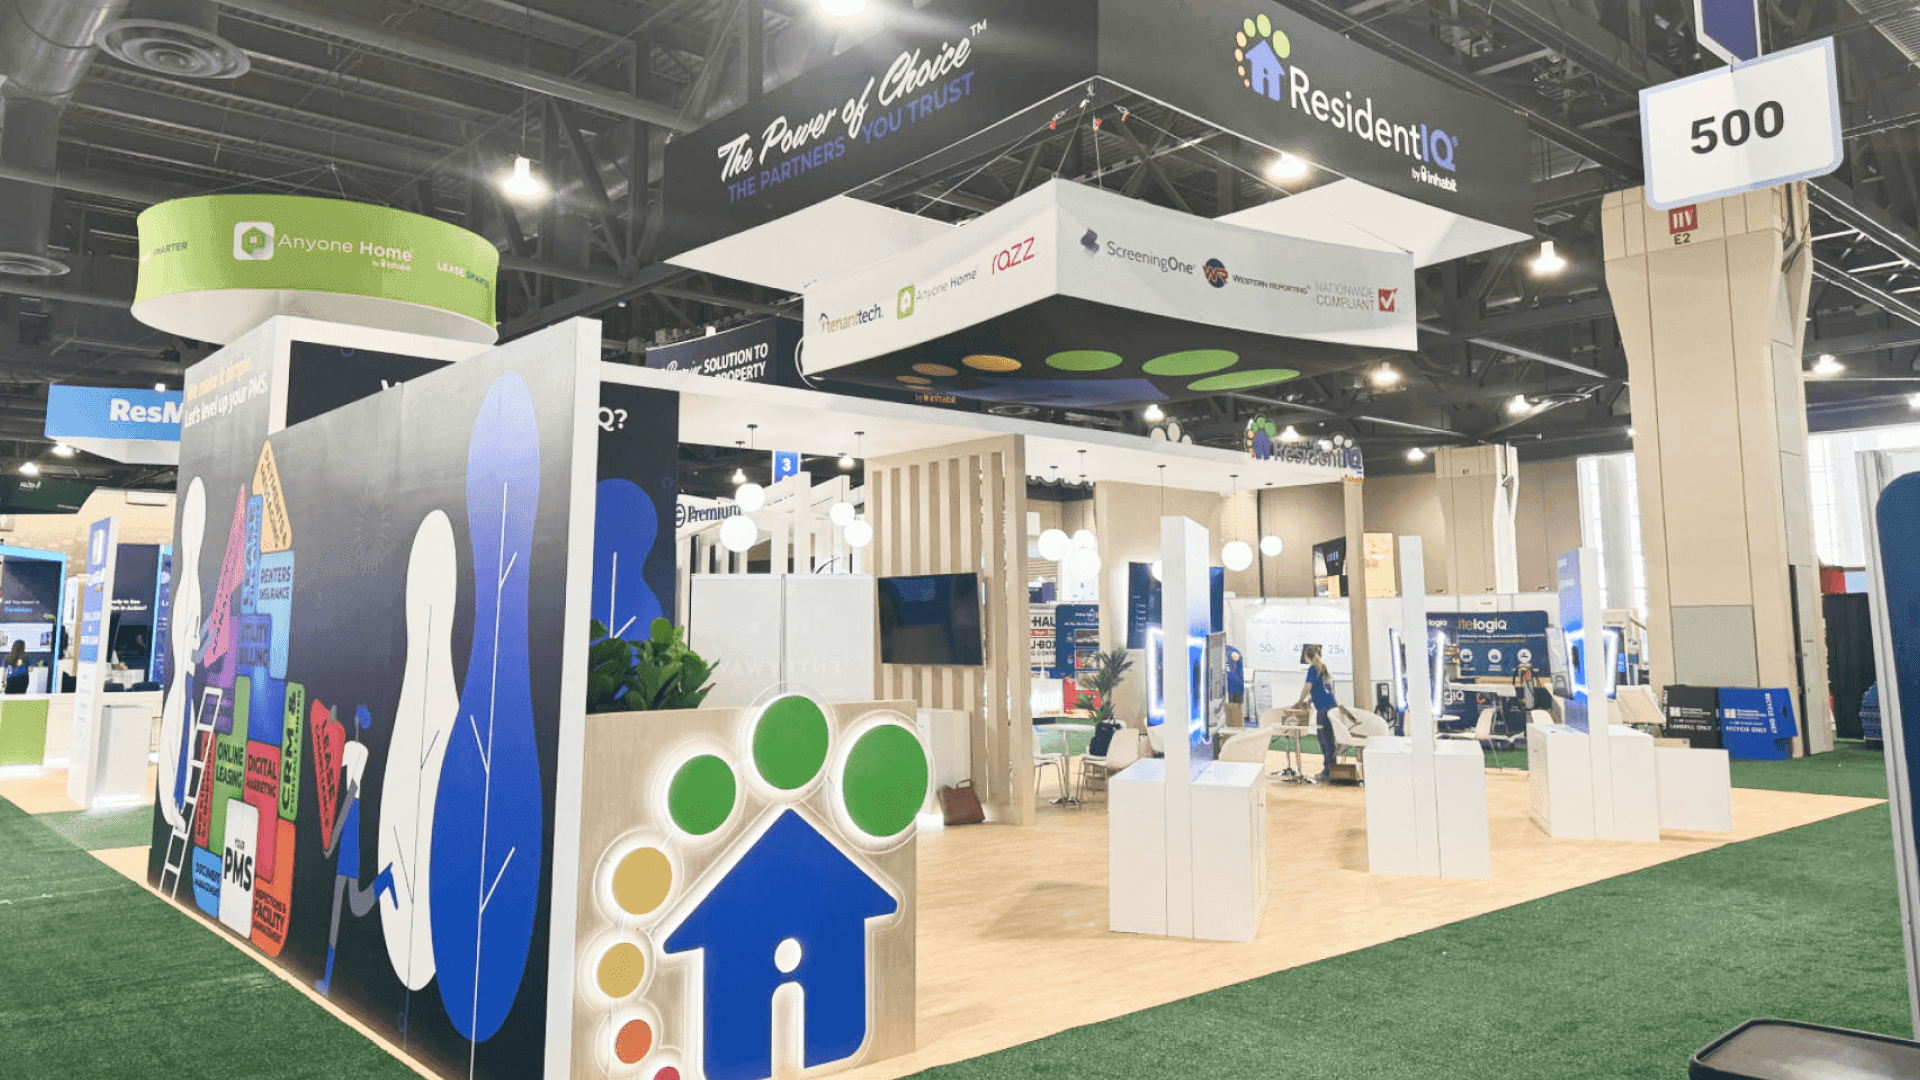
A complete controls demo device list should account for power, data, technician access, login requirements, and backup equipment behind each station.
Plan Power Around the Live Controls Demo
A controls demo may include devices that run throughout the presentation and others that only need charging or standby access. Separate those needs before outlet locations, counters, and storage positions are finalized.
Continuous power: controllers, gateways, routers, computers, dashboard screens, and connected equipment used in the live workflow.
Charging or standby access: tablets, backup laptops, batteries, adapters, and spare devices used during resets or failures.
Critical components should not all depend on the same failure point. One interruption should not shut down the controller-to-dashboard workflow, the presenter screen, and the backup device at the same time.
Charging points, power supplies, and reset access also need to remain reachable after counters, screens, and storage are installed. The same device map should guide trade show booth design and engineering, including screen positions, counter openings, cable routes, and service-point locations before production begins.
With those power locations established, the next task is keeping data, signal, and service connections accessible inside the finished booth.
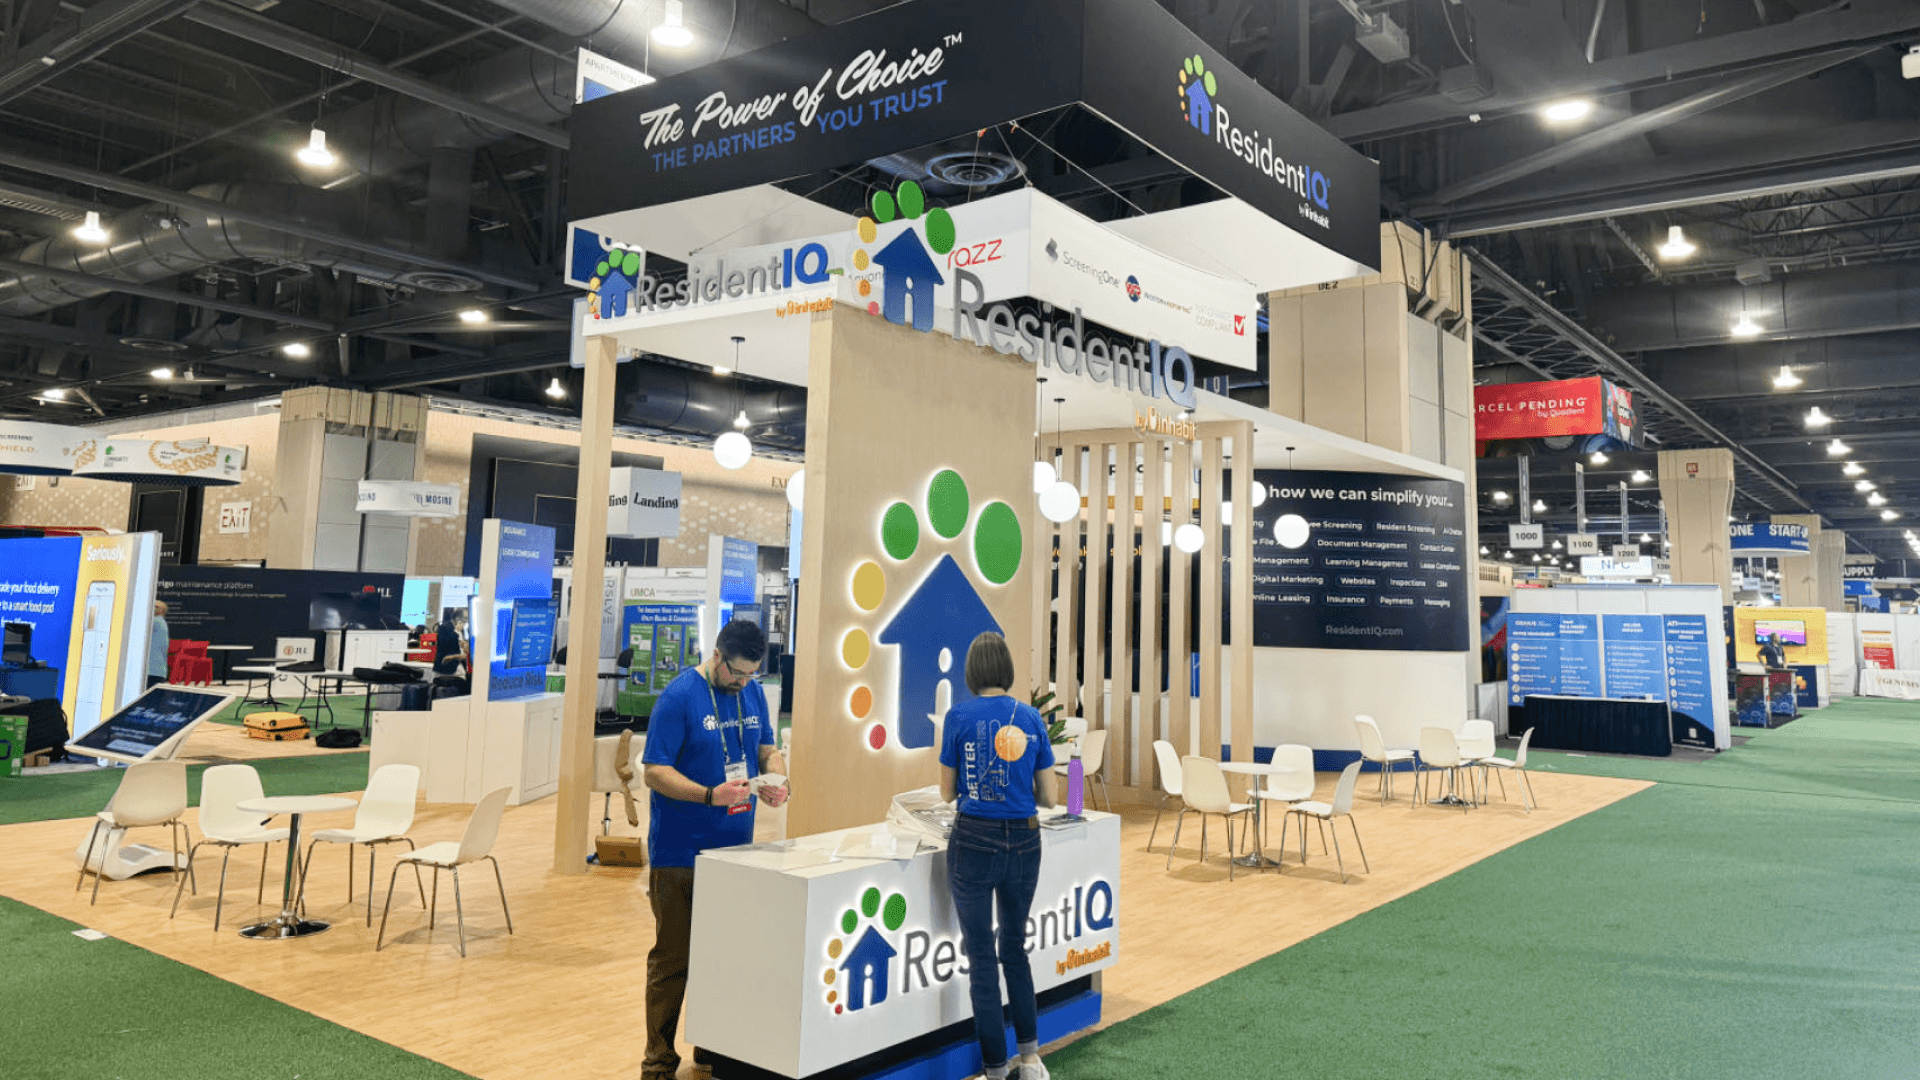
Two demo stations can use different network plans, with one local controller-to-dashboard workflow and one cloud platform supported by wired internet.
Keep Demo Connections Accessible and Out of the Visitor Path
Power and data connections should follow the demo sequence:
Physical input → controller or sensor → gateway or network → computer → dashboard → visitor-facing result
Each station should have its own connection points so cables do not cross storage areas, neighboring demonstrations, or the main visitor route.
Keep Each Connection with the Demo It Serves
Place outlets, data connections, signal cables, and screen inputs behind the correct demo counter. The devices behind each station should remain easy to trace as one system, especially during resets or troubleshooting.
A failed connection is easier to isolate when the controller, gateway, computer, and display remain tied to the same station rather than sharing cables across the booth.
Conceal the Hardware Without Sealing It In
Routers, adapters, gateways, and signal devices can stay out of sight, but technicians still need access for resets, cable changes, and troubleshooting. Storage should not block those access points after counters and screens are installed.
For Chicago show-site setup, these access requirements should carry into Chicago booth execution for technology demos, so counter openings, screen mounts, device access, and final cable routes continue to work after the booth is built.
Once the physical connection path is clear, the team can decide which parts of the demo truly need an external network.
When Wired Internet Is Necessary—and When It Is Not
Not every controls demo needs a live connection. Wired internet becomes important when the product story depends on cloud data, remote equipment, real-time updates, or continuous communication between the controller and software platform. Other demonstrations can run locally without changing what visitors need to see.
When a Live Connection Is Necessary
Use wired internet when the demo relies on remote HVAC equipment, cloud monitoring, login authentication, real-time analytics, or live controller-to-platform communication.
It is also the safer choice when a dropped connection would stop the main BMS workflow, leave the dashboard without current data, or prevent the presenter from reaching a required cloud account.
When a Local Demo Can Carry the Story
A local building automation demo may work with simulated sensor inputs, stored data, preloaded dashboard views, saved scenarios, or an offline software environment.
The local version should still show a clear sequence from input to system response and dashboard result. It should not reduce the demonstration to static product claims that no longer show how the system works.
The main product explanation should not depend entirely on an external connection that has no local alternative. A single booth may use both approaches, with one local workflow and one cloud-dependent demonstration.
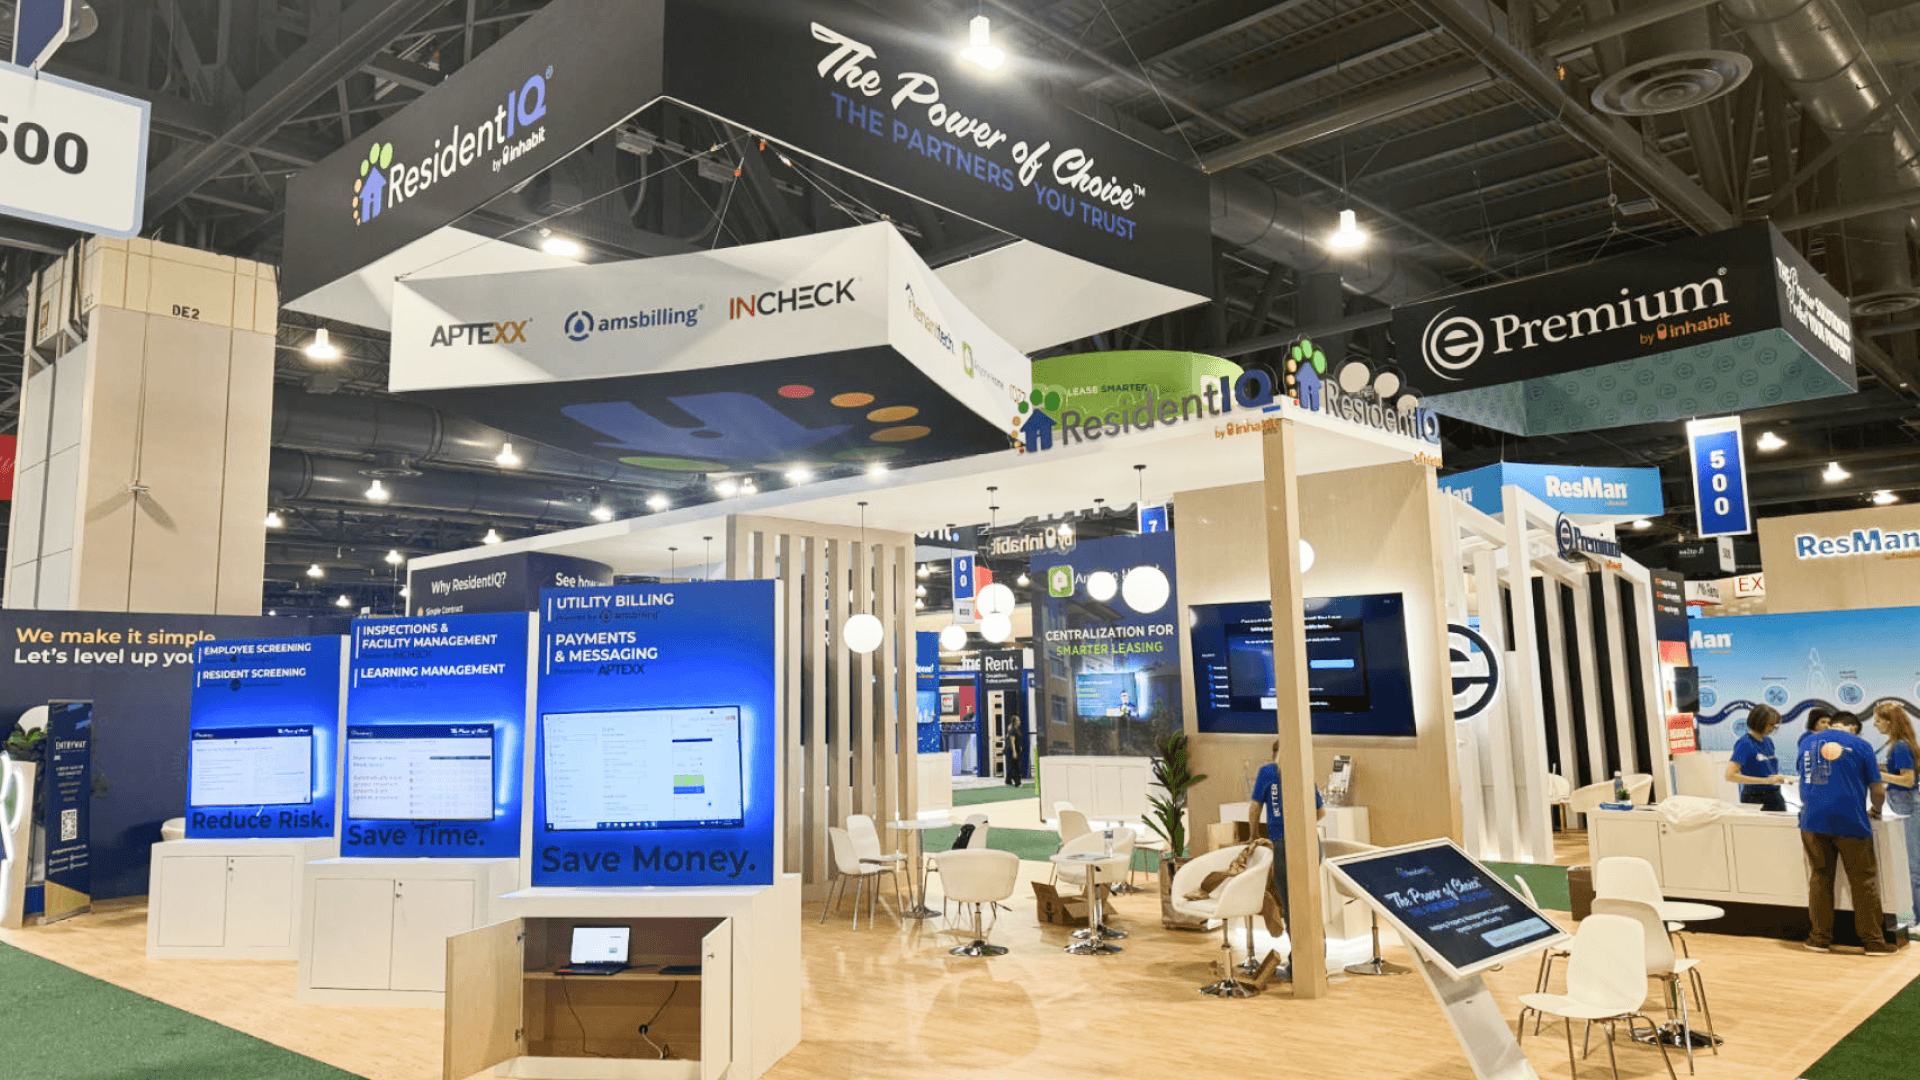
The live and backup workflows should be tested after installation so presenters can show the same system result during a network, login, or cloud interruption.
How Two BMS Demos Could Share a 20x20 Booth
A 20x20 BMS demo booth can support two guided stations with different power and network needs. One station may connect a sensor and controller to a local dashboard, showing how a physical input changes system status without relying on an external connection.
The second station may demonstrate a cloud monitoring platform using live data from remote HVAC equipment. Because the login, current data, and remote connection are part of the product claim, this workflow uses wired internet. Its computer, screen, gateway, and network connection remain grouped at the same demo counter.
Power and data enter through the counters, while rear access remains open for cable changes, resets, and troubleshooting. A backup device with local data and a recorded workflow allows the cloud monitoring demonstration to continue if the live connection drops.
This arrangement shows why two stations in the same booth may need different network plans. Power and data points follow each workflow, rear access remains available for troubleshooting, and the fallback preserves the same product result if the cloud connection becomes unavailable.
Test the Demo from Input to Dashboard
A controls demo is only ready when the entire sequence works together. A powered screen or active controller does not prove that the physical input, gateway, network, software, and dashboard will produce the result visitors are meant to see.
Trigger the physical input.
Confirm the controller or sensor response.
Check gateway and network communication.
Verify the dashboard update and final system result.
Review screen readability from the visitor position.
Switch to the fallback version.
Repeat the full test after booth installation.
Run the Workflow as Visitors Will See It
Test the same sequence the presenter will use during the show: input, controller or sensor response, gateway or network communication, dashboard change, and final outcome.
Logins, permissions, reset steps, screen visibility, and presenter controls should all be checked from the finished demo station—not only from a laptop behind the booth.
Make the Backup Tell the Same Story
A fallback may use local data, saved scenarios, screenshots, recorded workflows, a local software environment, or a backup computer or tablet.
It should preserve the same input, system response, and dashboard result as the live BMS demo rather than switch to a general promotional video. Presenters should be able to move into the backup without restarting the explanation or changing the product claim.
Recorded workflows and enlarged dashboard views may also require graphics and brand presentation planning so labels, system states, and technical results remain readable from the visitor position.
Before the Show Opens
All live and backup devices power on correctly.
Wired, local, login, and cloud connections work from the finished station.
The physical input produces the expected dashboard result.
Screens, labels, and system states are readable from the visitor position.
Connection points remain accessible and cables stay outside the visitor path.
Presenters can switch to the locally stored fallback without restarting the explanation.
The complete BMS demo has been re-tested after booth installation.
Frequently Asked Questions
Does an AHR Expo controls demo need wired internet?
Not every demo does. Wired internet is the safer choice when the workflow depends on live cloud data, remote HVAC systems, login authentication, real-time analytics, or continuous controller-to-platform communication. A local setup can work when stored data or simulated inputs show the same system response.
How should power be planned for multiple screens and controllers?
Start with the full device list, then separate equipment that needs continuous power from laptops, tablets, batteries, or backup devices that only need charging access. Screens, controllers, computers, gateways, and network hardware should not all rely on the same failure point.
Where should network connections be placed in a demo booth?
Place power and data connections behind the station they support. Controllers, gateways, computers, and dashboard screens should remain part of one traceable workflow, while cables stay outside the visitor path. Technicians still need access after counters, screens, and storage are installed.
What backup should exhibitors prepare for a live software demo?
Keep local data, saved scenarios, screenshots, recorded workflows, locally stored dashboard views, and a backup computer or tablet ready. The fallback should show the same input, system response, and dashboard result as the live software demo rather than switch to unrelated promotional content.