
20x30 Trade Show Booth Planning
A larger island booth footprint for product demos, meeting zones, branded walls, storage, screen displays, and smoother visitor movement.
A 20x30 trade show booth gives exhibitors more room to separate product demos, reception, meetings, storage, and brand presentation without making the booth feel oversized.
This footprint works well when a 20x20 booth feels tight but a 30x40 island is more than the project needs. The main challenge is keeping the space organized. A good 20x30 booth should guide visitors naturally from the aisle to the main demo or meeting area, without creating dead corners or blocked paths.

What fits inside a 20x30 trade show booth?
A 20x30 trade show booth can usually fit a reception counter, one or two product demo areas, a meeting zone, storage, branded graphics, screen displays, lighting, and open visitor paths. The best layout depends on how many demos, staff members, products, and conversations need to happen at the same time.
What fits inside a 20x30 trade show booth?
A customizable trade show booth rental in Las Vegas uses a reusable booth structure with branded graphics, adaptable counters, display areas, lighting, and meeting zones. It gives exhibitors a faster path than a fully custom build while still requiring logistics planning, drayage timing, labor coordination, and on-site installation at major venues like LVCC, Venetian Expo, and Mandalay Bay.
When a 20x30 Booth Makes Sense
When a 20x30 Booth Makes Sense
A 20x30 booth makes sense when the booth needs more working room than a 20x20, but the exhibitor still wants a controlled, efficient island layout. It gives enough space to separate a demo area from meeting conversations, place stronger branded graphics, and manage traffic from more than one aisle.
This size is often useful for exhibitors with technical products, multiple staff roles, product samples, screen presentations, or buyer meetings that should not happen directly in the main aisle.
Multi-demo layout
Useful when the booth needs more than one demo point or a larger product explanation area.
Meeting and consultation area
A 20x30 booth can support a clearer meeting zone without making the demo area feel crowded.
Stronger brand wall
Larger wall surfaces, lightboxes, and screen displays can help visitors understand the booth from farther away.
Storage and staff flow
The extra depth gives teams more room for hidden storage, supplies, tools, samples, and daily booth operation.
20x30 and Similar Booth Project References
Review real booth projects with 20x30 and nearby island booth footprints. These examples show how layout, graphics, meetings, product display, logistics, and installation change by booth size.

20x30 Booth
DevLearn 2023
Blinkist
20×30 booth for Blinkist at DevLearn 2023, designed for clear brand visibility, controlled circulation, and fast, repeatable product demos.
MGM Grand, Las Vegas, NV
20x30 Booth
RE+ 2024
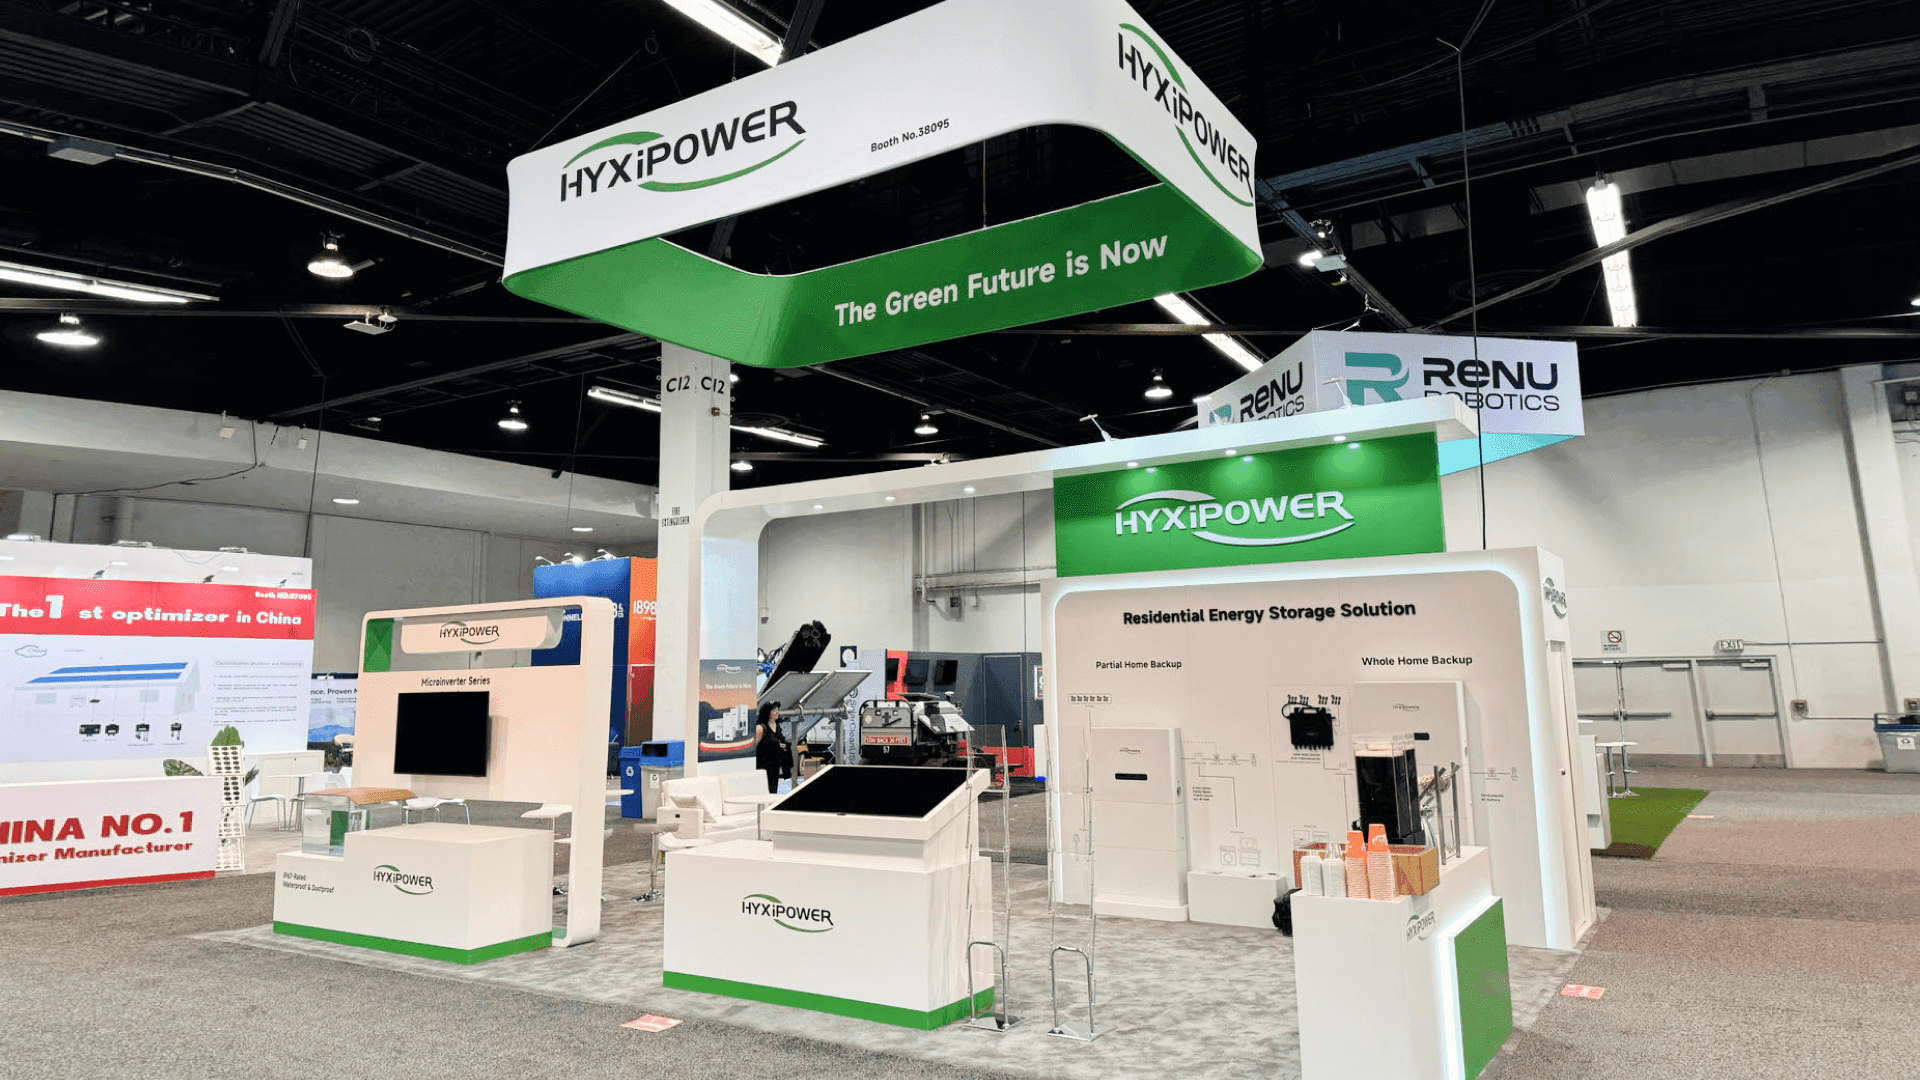
HyxiPower
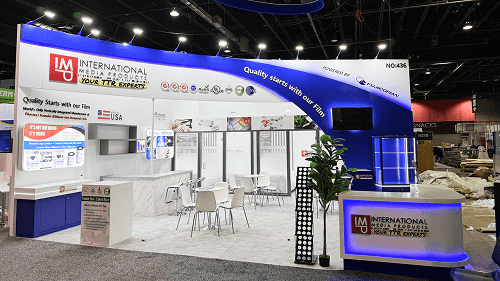
A demo-ready 20×30 clean energy booth for RE+ 2024—built for energy storage and inverter storytelling with clear zoning, hanging sign visibility, and install-ready logistics.
Anaheim, CA, US (Anaheim Convention Center)

20x30 Booth
VRMA 2024
Streamline
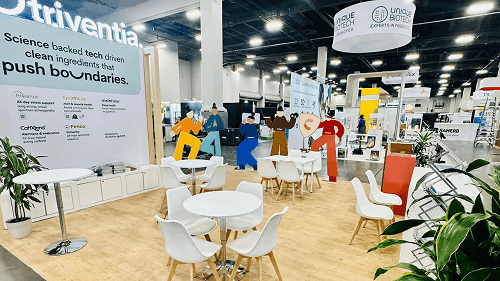
A 20x30 VRMA case study for Streamline, showing how vacation rental software demos, workflow-led conversations, and buyer-ready show-floor execution came together in one clear platform booth system.
Phoenix, AZ, USA

20x30 Booth
Automate 2025
Taiwan Excellence
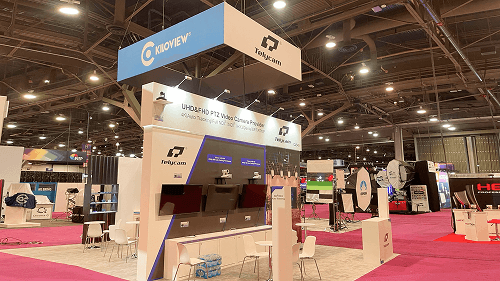
A 20×30 demo-first pavilion built for Automate 2025—designed around fast show-floor decision cycles, multiple robotics/automation touchpoints, and predictable union-ready installation sequencing at Huntington Place.
Detroit, MI, US (Huntington Place)

20x30 Booth
OpTech 2025
Inhabit
A 20×30 PropTech booth built for high-frequency demos and clear wayfinding—featuring overhead branding, repeatable demo pods, and logistics-first execution planning.
Las Vegas, NV, US (Mandalay Bay Convention Center)

20x30 Booth
IHS 2025
DREO
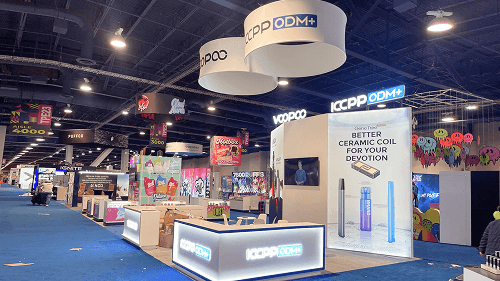
A 20x30 IHS case study showing how DREO used a circular hanging sign, tall fascia walls, open product counters, and clean category planning to build a stronger smart home booth at McCormick Place in Chicago.
McCormick Place, Chicago, IL, US.
20x30 Booth
DevLearn 2023
Blinkist
20×30 booth for Blinkist at DevLearn 2023, designed for clear brand visibility, controlled circulation, and fast, repeatable product demos.
MGM Grand, Las Vegas, NV
20x30 Booth
OpTech 2025
Inhabit
A 20×30 PropTech booth built for high-frequency demos and clear wayfinding—featuring overhead branding, repeatable demo pods, and logistics-first execution planning.
Las Vegas, NV, US (Mandalay Bay Convention Center)
20x30 Booth
Automate 2025
Taiwan Excellence
A 20×30 demo-first pavilion built for Automate 2025—designed around fast show-floor decision cycles, multiple robotics/automation touchpoints, and predictable union-ready installation sequencing at Huntington Place.
Detroit, MI, US (Huntington Place)
20x30 Booth
VRMA 2024
Streamline
A 20x30 VRMA case study for Streamline, showing how vacation rental software demos, workflow-led conversations, and buyer-ready show-floor execution came together in one clear platform booth system.
Phoenix, AZ, USA
20x30 Booth
RE+ 2024
HyxiPower
A demo-ready 20×30 clean energy booth for RE+ 2024—built for energy storage and inverter storytelling with clear zoning, hanging sign visibility, and install-ready logistics.
Anaheim, CA, US (Anaheim Convention Center)
20x30 Booth
IHS 2025
DREO
A 20x30 IHS case study showing how DREO used a circular hanging sign, tall fascia walls, open product counters, and clean category planning to build a stronger smart home booth at McCormick Place in Chicago.
McCormick Place, Chicago, IL, US.
Want to compare more booth layouts, graphics, logistics, and installation details? View more trade show booth case studies, or review SEMA booth planning for vehicle displays when a 20x30 booth needs product walls, demo counters, and stronger aisle visibility.
How to Plan a 20x30 Booth Layout
A 20x30 booth should not be filled just because the space is available. The layout should start with the booth’s main job: product demo, buyer meetings, sample display, lead capture, screen presentation, or a mix of these.
Most 20x30 booths work better when the layout has one main path and a few clear zones. For exhibitors using reusable walls, counters, graphics, or display zones, modular booth systems can help keep the space flexible without making the booth feel crowded.
Create one main visual anchor.
A screen wall, demo counter, product display, or branded wall should give visitors an immediate reason to stop.
Keep demo and meeting areas separate.
If conversations and demos happen in the same space, the booth can feel noisy and hard to use.
Plan open sides carefully.
A 20x30 island can receive traffic from multiple directions, so walls and counters should not close off the booth.
Use storage as part of the layout.
Storage should support booth operation without becoming a visible wall or blocking staff movement.
For technology exhibitors, a 20x30 booth can separate quick product demos, screen-based presentations, and buyer conversations. CES booth planning is a useful reference when the layout needs demo counters, branded walls, storage, and clear movement between product zones.If your exhibit needs more balanced island space, wider visitor access, or stronger separation between demos and meetings, compare the 30x30 booth planning guide before finalizing the layout.
How to Plan a 20x30 Booth Layout
A customizable trade show booth rental in Las Vegas uses a reusable booth structure with branded graphics, adaptable counters, display areas, lighting, and meeting zones. It gives exhibitors a faster path than a fully custom build while still requiring logistics planning, drayage timing, labor coordination, and on-site installation at major venues like LVCC, Venetian Expo, and Mandalay Bay.
Create one main visual anchor.
A screen wall, demo counter, product display, or branded wall should give visitors an immediate reason to stop.
Keep demo and meeting areas separate.
If conversations and demos happen in the same space, the booth can feel noisy and hard to use.
Plan open sides carefully.
A 20x30 island can receive traffic from multiple directions, so walls and counters should not close off the booth.
Use storage as part of the layout.
Storage should support booth operation without becoming a visible wall or blocking staff movement.
A customizable trade show booth rental in Las Vegas uses a reusable booth structure with branded graphics, adaptable counters, display areas, lighting, and meeting zones. It gives exhibitors a faster path than a fully custom build while still requiring logistics planning, drayage timing, labor coordination, and on-site installation at major venues like LVCC, Venetian Expo, and Mandalay Bay.
20x30 Booth Design and Execution Details
A 20x30 booth usually has more moving parts than a smaller island. Larger graphics, more counters, meeting furniture, lighting, flooring, product displays, and screen walls all need to work together.
Before production or shipping, the team should understand how the booth will be packed, delivered, staged, and installed. For a 20x30 layout with multiple components, [logistics and pre-show coordination](/services/logistics-pre-show-coordination) helps keep freight timing, crate order, drayage, and move-in priorities clear before the booth reaches the venue.
Rental-Friendly or Custom 20x30 Booth?
A 20x30 booth can be planned as a rental-friendly exhibit system or as a fully custom booth build. Both can work, but the decision should come from the booth’s function, not just the look.
A rental-friendly 20x30 booth can be a good fit when the exhibitor needs branded graphics, counters, screen walls, meeting space, storage, and a polished island presence without building every structural element from scratch.
A custom 20x30 booth makes more sense when the project needs unique architecture, specialized product displays, private meeting rooms, overhead branding, or a multi-show structure that will be reused with specific brand requirements.
Either way, the booth still needs a clear layout, production checks, graphics planning, freight coordination, and a realistic installation sequence.
For exhibitors planning a 20x30 trade show booth rental in Las Vegas, a rental-friendly layout can support branded graphics, demo counters, screen content, meeting areas, storage, visitor flow, and show-site setup. Exhibitors comparing broader rental paths can also review Las Vegas trade show booth rental options before deciding whether a 20x30 rental or a custom booth build is the better fit.
20x30 Booth Execution in Las Vegas
For Las Vegas shows, a 20x30 booth should be planned with the venue schedule in mind. LVCC, Venetian Expo, Mandalay Bay, and Caesars Forum each bring different move-in timing, dock access, labor coordination, drayage, and electrical planning needs.
A 20x30 booth may include larger walls, multiple graphic surfaces, meeting furniture, screens, counters, flooring, and packed components that need to arrive and install in the right order. For exhibitors preparing a 20x30 booth in Las Vegas, Las Vegas trade show booth builder support can help connect layout, fabrication, logistics, and show-site execution.
20x30 Booth Execution in Las Vegas
A customizable trade show booth rental in Las Vegas uses a reusable booth structure with branded graphics, adaptable counters, display areas, lighting, and meeting zones. It gives exhibitors a faster path than a fully custom build while still requiring logistics planning, drayage timing, labor coordination, and on-site installation at major venues like LVCC, Venetian Expo, and Mandalay Bay.
Common 20x30 Booth Mistakes to Avoid
A 20x30 booth gives more room than a 20x20, but that extra space can create new problems if the layout is not controlled. The booth should feel easier to use, not simply larger.
Too many zones
If the booth tries to hold demos, meetings, storage, reception, product display, and screens without a clear priority, visitors may not know where to go.
Reception placed in the wrong spot
A reception counter should welcome visitors, not block the strongest entry path.
Meeting space too exposed
If the meeting area sits in the main traffic path, conversations feel rushed and staff may lose control of the booth flow.
Graphics spread too thin
A larger booth needs a clear brand hierarchy. Too many small messages can make the booth harder to read.
Storage forgotten until late
Samples, tools, bags, brochures, cables, and staff supplies need a place before move-in begins.
Common 20x30 Booth Mistakes to Avoid
A customizable trade show booth rental in Las Vegas uses a reusable booth structure with branded graphics, adaptable counters, display areas, lighting, and meeting zones. It gives exhibitors a faster path than a fully custom build while still requiring logistics planning, drayage timing, labor coordination, and on-site installation at major venues like LVCC, Venetian Expo, and Mandalay Bay.
Too many zones
If the booth tries to hold demos, meetings, storage, reception, product display, and screens without a clear priority, visitors may not know where to go.
Reception placed in the wrong spot
A reception counter should welcome visitors, not block the strongest entry path.
Meeting space too exposed
If the meeting area sits in the main traffic path, conversations feel rushed and staff may lose control of the booth flow.
Graphics spread too thin
A larger booth needs a clear brand hierarchy. Too many small messages can make the booth harder to read.
Storage forgotten until late
Samples, tools, bags, brochures, cables, and staff supplies need a place before move-in begins.
20x30 Booth Planning Checklist
Define the main booth purpose.
Is the booth built for product demos, buyer meetings, lead capture, product display, screen education, or a mix of these?
Separate active and quiet zones.
Demo areas and meeting areas should support each other without competing for space.
Map traffic from multiple sides.
A 20x30 island should be easy to approach from more than one aisle.
Confirm demo equipment early.
Screens, devices, product samples, counters, lighting, and power needs should be planned before production.
Plan graphics by distance.
Larger walls and lightboxes should be readable from the aisle, not only from inside the booth.
Reserve practical storage.
Storage should be easy for staff to reach but not visible as clutter.
Think through freight and setup.
Large graphics, counters, flooring, wall sections, and lighting should be packed and installed in a clear order.
Because a 20x30 booth often includes separate demo, meeting, storage, and product display zones, exhibitors should confirm freight timing, graphics placement, electrical needs, and Las Vegas exhibit installation and dismantle before the booth reaches the venue.
20x30 Booth Planning Checklist
Define the main booth purpose.
Is the booth built for product demos, buyer meetings, lead capture, product display, screen education, or a mix of these?
Separate active and quiet zones.
Demo areas and meeting areas should support each other without competing for space.
Map traffic from multiple sides.
A 20x30 island should be easy to approach from more than one aisle.
Confirm demo equipment early.
Screens, devices, product samples, counters, lighting, and power needs should be planned before production.
Plan graphics by distance.
Larger walls and lightboxes should be readable from the aisle, not only from inside the booth.
Reserve practical storage.
Storage should be easy for staff to reach but not visible as clutter.
Think through freight and setup.
Large graphics, counters, flooring, wall sections, and lighting should be packed and installed in a clear order.
A customizable trade show booth rental in Las Vegas uses a reusable booth structure with branded graphics, adaptable counters, display areas, lighting, and meeting zones. It gives exhibitors a faster path than a fully custom build while still requiring logistics planning, drayage timing, labor coordination, and on-site installation at major venues like LVCC, Venetian Expo, and Mandalay Bay.
FAQs
Quick clarity on scope, timeline, and execution workflow
Quick clarity on scope, timeline, and execution workflow
Is a 20x30 booth considered an island booth?
Yes. A 20x30 booth is often used as an island booth with multiple open sides. The final setup depends on the show floor plan, venue rules, and how the exhibitor wants visitors to enter and move through the space.
What can you include in a 20x30 trade show booth?
Is a 20x30 booth better than a 20x20 booth?
Should a 20x30 booth be custom-built or rental-friendly?
Planning a 20x30 Booth for an Upcoming Trade Show?
Share your show name, venue, product type, timeline, and booth goals. Circle Exhibit teams can help review layout, demos, meeting areas, graphics, storage, logistics, and show-site setup for a practical 20x30 booth plan.