Planning an OSET Repair-Product Booth Around Application Understanding

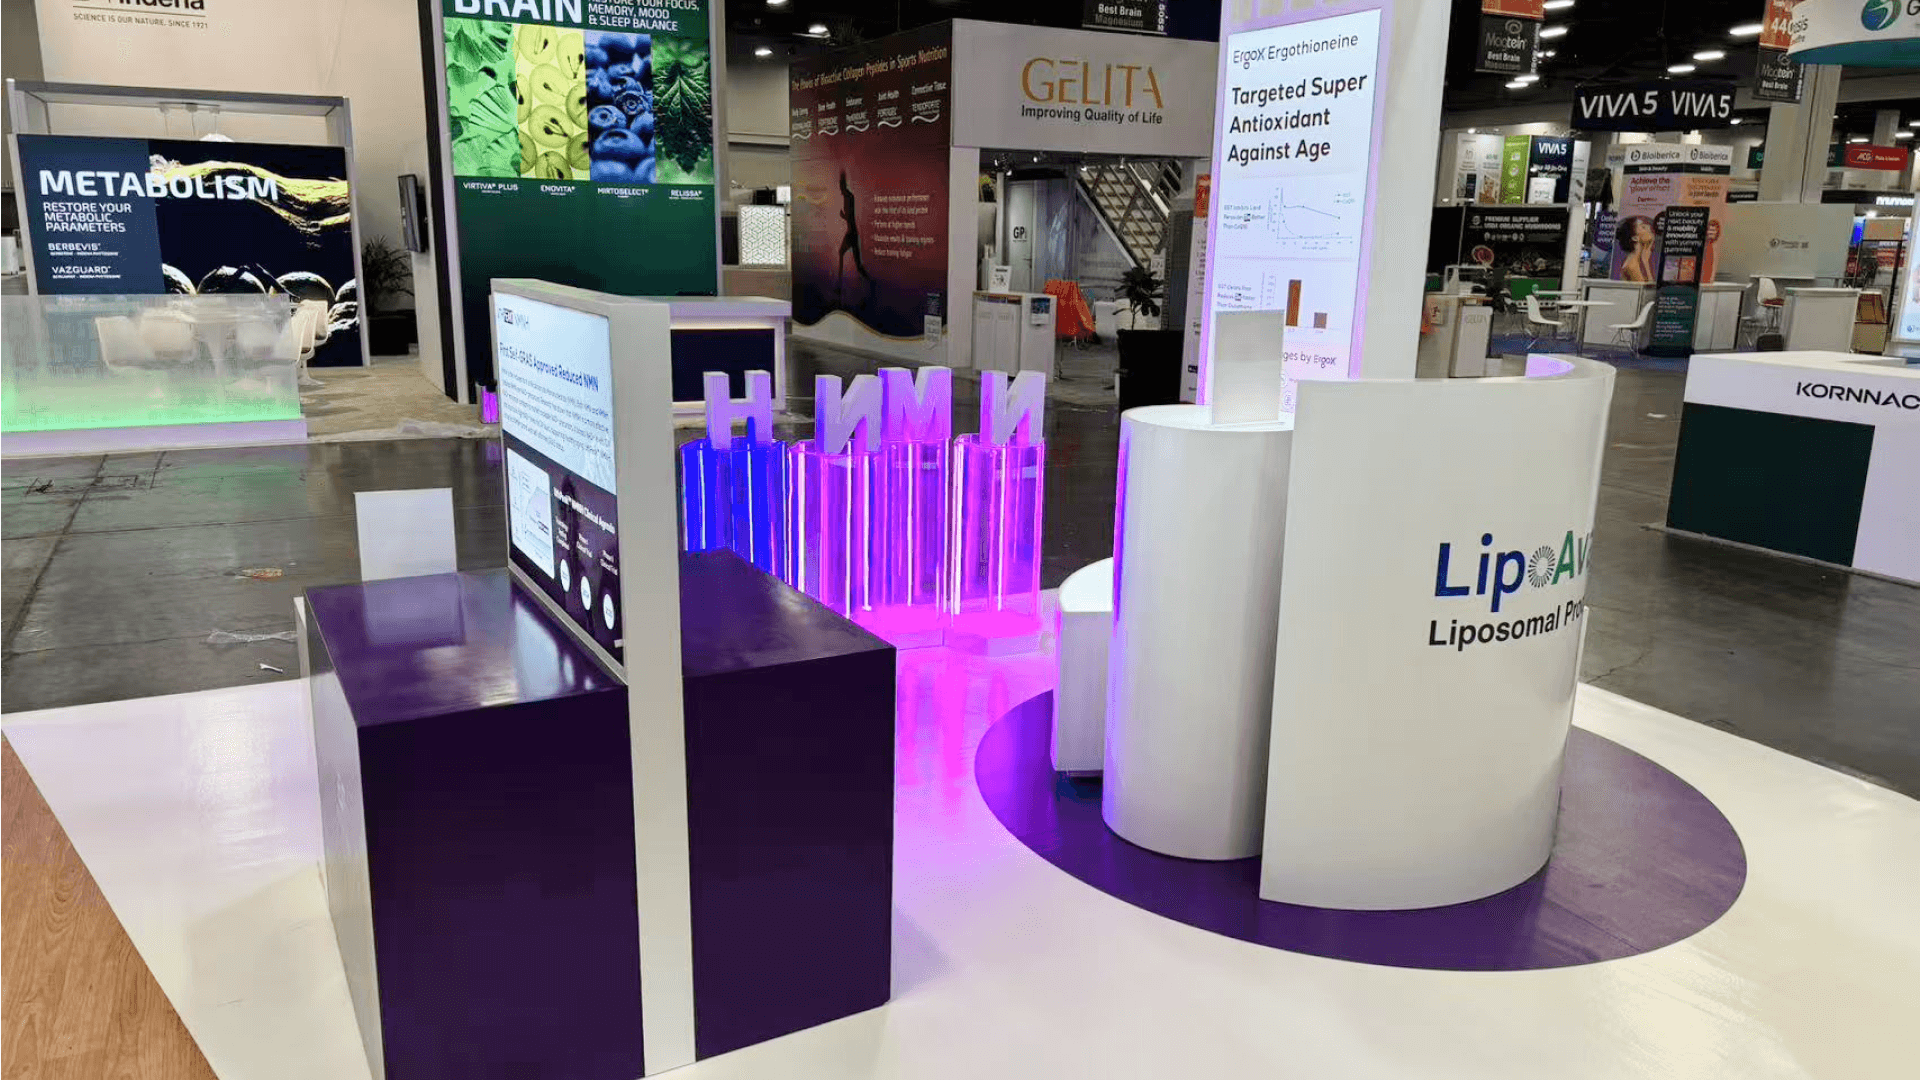


How should OSET repair products be presented so surgeons understand the application?
Start by showing where the product fits and what role it plays. Then use the physical product, a model, graphics, or screen content to explain only the technique relationship that matters to the visitor. The booth should make the application understandable without turning a short product conversation into a full procedural lesson.
A repair product rarely explains itself. Visitors need to understand where it fits, what application it supports, and what role it plays before the booth adds more detailed technique information.
When one product story can be explained with a physical product, one model or visual cue, and a screen, a 10×20 booth can keep the presentation clear and easy to follow. If several applications, product groups, models, or conversations need to happen at the same time, the booth needs more room to keep those stories from competing with one another.
This page focuses on explaining repair-product applications. Teams still deciding the overall booth scope, interaction level, or whether the product needs a more hands-on evaluation path can start with Orthopaedic Summit booth planning. At Fontainebleau Las Vegas, product placement, models, screens, graphics, and staff positions should all be reviewed together before the booth opens.
Why Exhibitors Choose Circle Exhibit
Clear scope, transparent quote review, nationwide booth support, and efficient setup planning for qualified rental and custom exhibit projects.
48hr
Setup Window
10+
Years Since 2014
U.S.
Trade Show Support
Real
Booth Project Proof
The deciding factor is not just how many products are on display. Models, screens, graphics, staff explanations, and ongoing conversations all compete for attention and floor space.
A 10×20 booth can work well when one product group, one model or visual cue, and one screen support the same application story.
A 20×30 footprint becomes useful when different repair applications, product groups, or explanation points need their own visual space.
A 20×20 booth gives visitors more room to understand the product, model, graphics, and screen content without crowding the display.
A larger island works better when several application zones, screens, discussion points, staff positions, and replenishment needs operate at the same time.
A repair-product discussion may start with the product, model, or application visual, but it does not always need to stay there. Once the visitor understands the product and the conversation shifts into longer follow-up, OSET booth meeting planning helps determine whether keeping that discussion in the booth still supports the next visitor interaction.
The display should answer where the product fits, what role it plays, and what part of the technique needs to be visualized before a longer discussion is worthwhile.
Give the visitor an immediate cue to the relevant application, repair context, or anatomical area before asking them to study product detail.
Do not separate the physical product from the explanation that gives it meaning. The visitor should be able to connect what they see with where and why it is used.
Models, graphics, or screen content should clarify the product’s role in the sequence, not recreate an entire procedure.
Once the application makes sense, the visitor should know where to continue a longer technical or clinical conversation without holding the main display.
A repair product may be easy to see and still be hard to understand without showing where it fits, what problem it addresses, and what role it plays.
The parent OSET event runs December 2–5, 2026 at Fontainebleau Las Vegas.
The booth should establish the application first, then show the physical product and only the amount of technique detail needed to support the next useful question.
Not Sure Which Booth Size You Need?
Not every exhibitor knows whether a 10x20, 20x20, 20x30, or larger booth is the right fit. Circle Exhibit can help review your event goals, product display needs, demo areas, meeting space, storage, budget scope, and setup timeline before you choose a booth size.
Product, Model, and Graphics Pull in Different Directions
Technique Explanation Turns Into a Mini-Lecture
1
Start With the Application
2
3
4
Keep the Structure Standard When the Story Lives in the Content
A Las Vegas trade show booth rental can work when graphics, a screen, a freestanding model, and standard product displays do most of the explaining. The structure provides a clean setting without becoming part of the application story.
Integrate the Display When the Physical Setup Carries Meaning
The booth needs more custom work when built-in product niches, integrated models, specialty mounts, lighting, or application zones determine how visitors understand the product. In that case, design and engineering should shape the physical explanation before graphics are finalized.
Customize the Explanation Layer, Not Necessarily the Whole Exhibit
A reusable structure can still support custom model stands, product mounts, visual panels, or replenishment features. Only the parts that carry the application story need to change from show to show.
After setup, check that each physical product still sits next to the context that explains it. A model or graphic positioned too far away can break the story.
Run the screen while standing where the visitor will stand. The content should support the nearby product or model rather than operate as a disconnected brand loop.
Samples, model pieces, packaging, printed material, and replacement products need an easy reset location that staff can reach without using the visitor area as storage.
Before opening, follow the display in visitor order: context, product, model or visual explanation, then discussion. Remove anything that interrupts that sequence.
Need a Rental Booth for an OSET Repair-Product Display?
A rental booth can support a focused repair-product story with strong graphics, a screen, product counters, a freestanding model, light storage, and room for follow-up conversations without overbuilding the exhibit.
How should a repair product be displayed at OSET?
Show the application first, then connect that context to the physical product and only the amount of technique detail needed for the next useful question.
When is an anatomical or repair model useful?
How much technique explanation belongs in the booth?
What should the product, model, and screen each explain?
What needs to be reset during the show day?
READY TO PLAN YOUR NEXT BOOTH?
Let’s Build a Booth That Fits Your Event
Share your event name, booth size, city, timeline, product display needs, and design references. Circle Exhibit will review your project direction and help you choose a rental-friendly or custom exhibit path.
3000+
Booth Projects Supported
50+
U.S. Event Cities
Transparent
Quote Review
For repair-product exhibits that need more room between physical products, models, screen content, and staff discussion.
For application graphics, product labels, model context, and technique visuals that need to stay clear without overloading the display.
For coordinating product displays, model positions, screens, counters, storage, and visitor movement before fabrication.
For organizing samples, products, models, graphics, screens, backup materials, and installation dependencies.
For final placement, presentation checks, show-site adjustments, and compliant teardown.