

Related 10x20 Booth Project References
Real booth photos help exhibitors understand how 10x20 booth layouts, graphics, visitor flow, and product display choices work on the show floor. These project references show how compact booth spaces can support product demos, sample displays, storage control, and aisle-facing graphics.
To compare more real booth examples by size, industry, and display type, browse Circle Exhibit’s trade show booth project galleries.

10x20 Technology Product Demo Booth
A 10x20 inline booth layout using backwall graphics and a demo counter to support product explanation from the aisle.

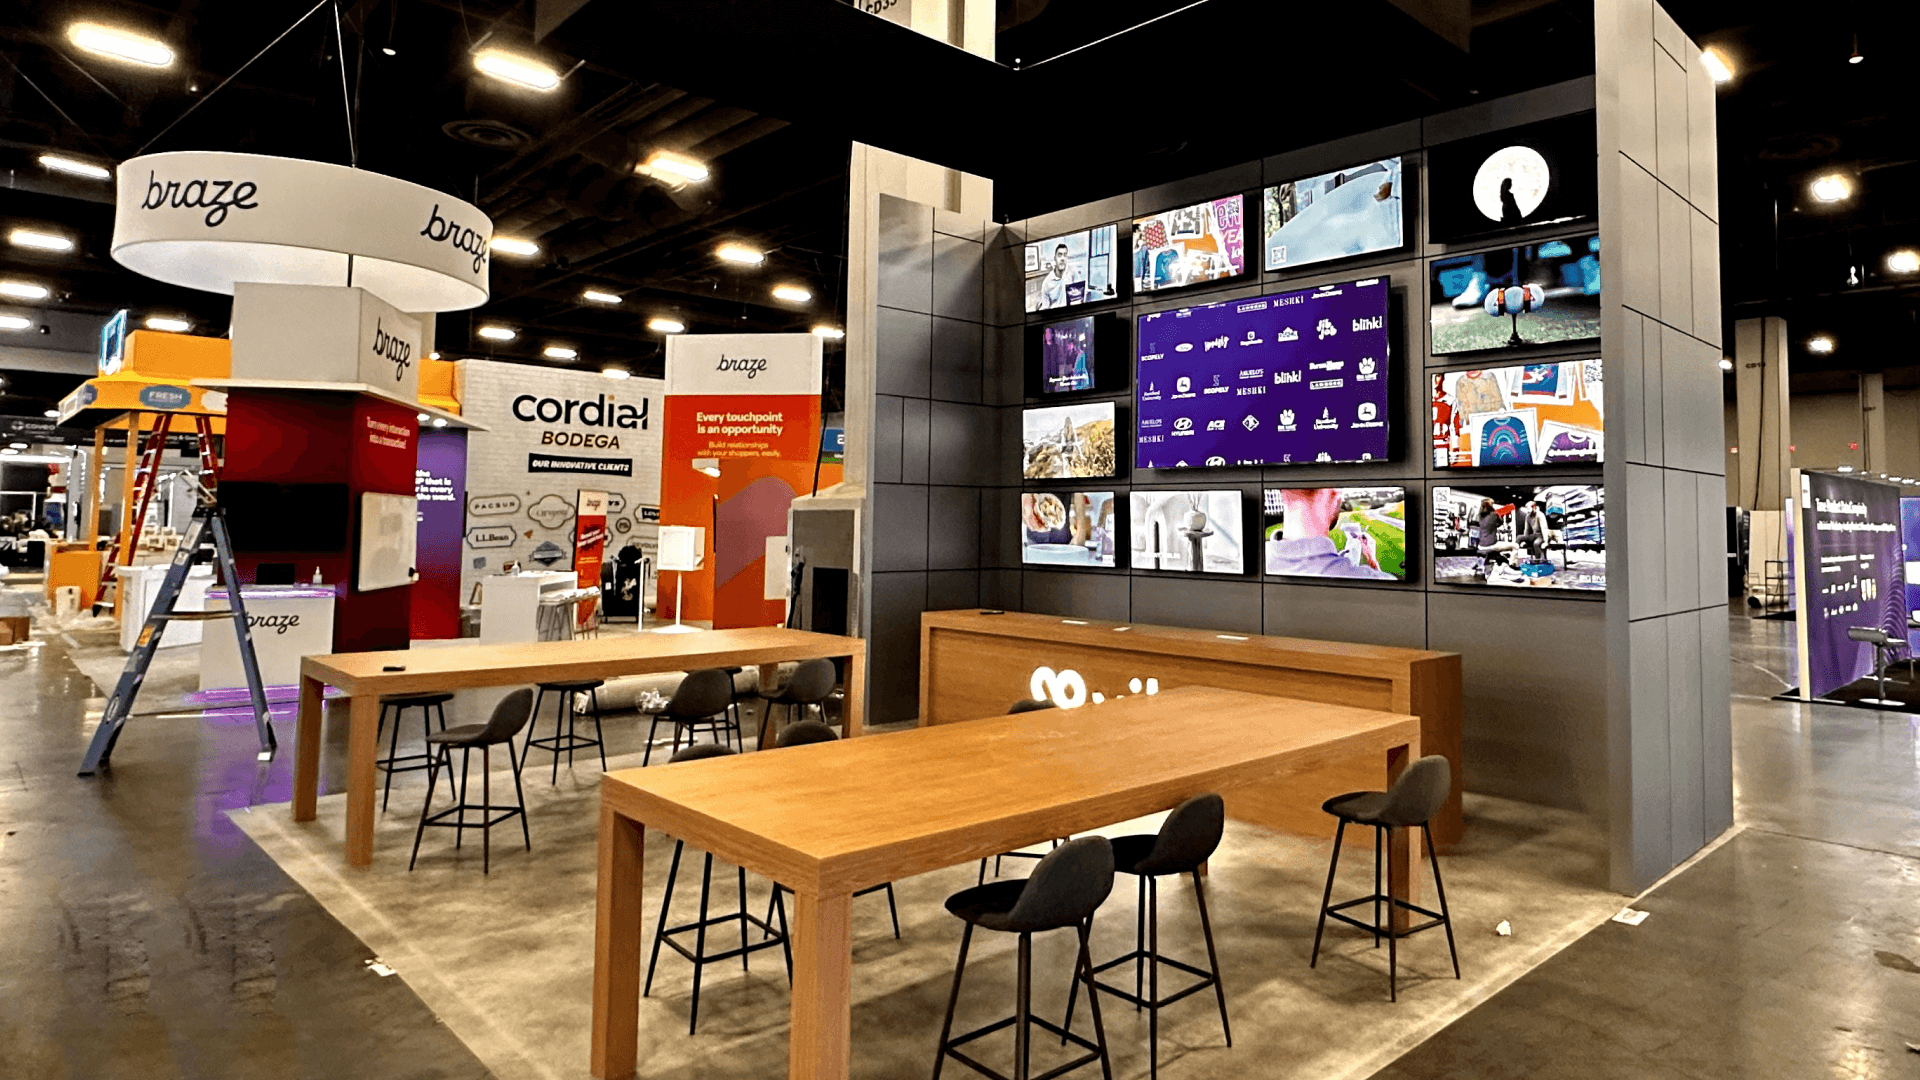
10x20 Retail Product Display Booth
A screen-led 10x20 trade show display layout designed for product demos, software explanation, or technical presentations.

Small Inline Booth Project Gallery
A product-focused 10x20 booth layout with display space, storage planning, and graphics positioned for aisle visibility.
What Fits in a 10x20 Booth?
A 10x20 booth gives exhibitors more message width than a 10x10 booth while still requiring careful control of space. The booth should not be filled from edge to edge. A clear visitor path is usually more valuable than adding another counter, shelf, or furniture piece.
Backwall Message Block
The backwall is usually the strongest visual surface in a 10x20 inline booth. It should explain who you are, what you offer, and why visitors should stop. Keep the message short enough to read from the aisle.
One Main Demo or Display Point
A 10x20 booth can support one strong demo counter, one main product display, or one screen-based explanation area. Trying to run multiple demos in the same footprint often creates crowding.
Limited Meeting Area
A small table or standing-height counter can support short conversations. If private meetings or multiple buyer discussions are required, a 20x20 or 20x30 booth may be a better fit.
Controlled Storage
Storage is easy to overlook in a 10x20 trade show booth. Even a small storage cabinet or hidden compartment can help keep brochures, tools, samples, staff items, and packing materials out of sight.


10x20 Trade Show Display Planning
A 10x20 trade show display should be planned around one clear visitor action: stop, understand, ask, demo, scan, or meet. When that action is clear, the booth layout becomes easier to control.
Message Hierarchy
The top-level message should be readable first. Product details, feature lists, and technical points should support the main message, not replace it.
Aisle Visibility
Most visitors decide quickly whether to stop. A 10x20 booth should use clear graphics, lighting, and open front space to make the booth easy to read from the aisle.
Demo Flow
If the booth includes a product demo, the visitor should know where to stand, where staff will speak, and where the next person can wait without blocking the booth.
Staff Positioning
Staff should not stand in a line across the booth entrance. In a 10x20 layout, even one poorly placed staff position can block the main visitor path.
Material Control
Printed materials, giveaways, cables, product samples, and personal items should have assigned locations before the booth ships. Good material control makes the booth look cleaner during the show.
Buildability and Execution Notes
A strong 10x20 booth design is not only about how it looks in a rendering. It also needs to be practical to fabricate, label, ship, stage, install, and dismantle.
For a buildable 10x20 booth, Circle Exhibit reviews the layout, graphics, structure, and show-site sequence before production. This is where booth design and engineering support connects the design idea with real exhibit execution.
Power and Cable Routing
Screens, counters, lighting, and demo devices need early power planning. Cable routes should be hidden where possible and easy to access during setup.
Graphic Fit Checks
Backwall graphics, SEG panels, lightboxes, and printed surfaces should be checked against the final booth structure before shipping.
Packing Logic
A 10x20 booth may look simple, but crates, graphics, counters, hardware, and tools still need clear labeling. Good packing logic reduces confusion during move-in.
Install Sequence
The booth should be installed in a clear order: structure first, graphics next, lighting and screens after that, then counters, products, and final cleanup.
Opening-Day Readiness
Before the show opens, staff should have a clean counter, working screens, aligned graphics, organized storage, and a booth that is ready for visitor traffic.

Common 10x20 Booth Planning Mistakes
Booth rental cost in Las Vegas depends on booth size, structure type, graphics, counters, flooring, lighting, storage, freight timing, installation needs, venue rules, and whether the booth requires custom elements. Exhibitors should compare rental cost by function, not only by square footage.
Adding Too Many Counters or Furniture Pieces
A 10x20 booth can feel crowded quickly. One strong counter or demo point is usually more effective than several small elements competing for space.
Blocking the Visitor Path
Counters, staff positions, product displays, and furniture should not create a wall across the booth entrance. Open front space is important for visitor flow.
Using Graphics Without a Clear Message Hierarchy
Large graphics do not automatically make a booth clear. The main message, product category, and call-to-action should be readable from the aisle.
Treating the Booth Rendering as the Final Plan
A good 10x20 booth also needs graphics checks, packing logic, power routing, and an install sequence. The booth has to work on the show floor, not only in a rendering.
Forgetting Storage Until the Booth Is Already Designed
Even a small 10x20 booth needs space for brochures, samples, staff items, cables, tools, and packing materials. Storage should be planned before production.
Frequently Asked Questions
What fits in a 10x20 trade show booth?
A 10x20 booth usually fits a branded backwall, one demo counter or product display, a screen or graphic feature, limited storage, and a focused visitor path. The layout should stay simple so staff and visitors have enough room to move.
How do you design a 10x20 booth layout?
What is the best layout for a 10x20 inline booth?
Can a 10x20 booth support product demos?
What graphics work best for a 10x20 trade show display?
Is a 10x20 booth enough for a rental exhibit?
Plan a Buildable 10x20 Trade Show Booth
A 10x20 booth needs more than a good-looking rendering. Circle Exhibit helps exhibitors plan practical booth layouts, graphics, demo counters, storage, and show-site setup details so the booth is easier to build and ready for the show floor.