Research Instrument Demo Booth Planning for Neuroscience

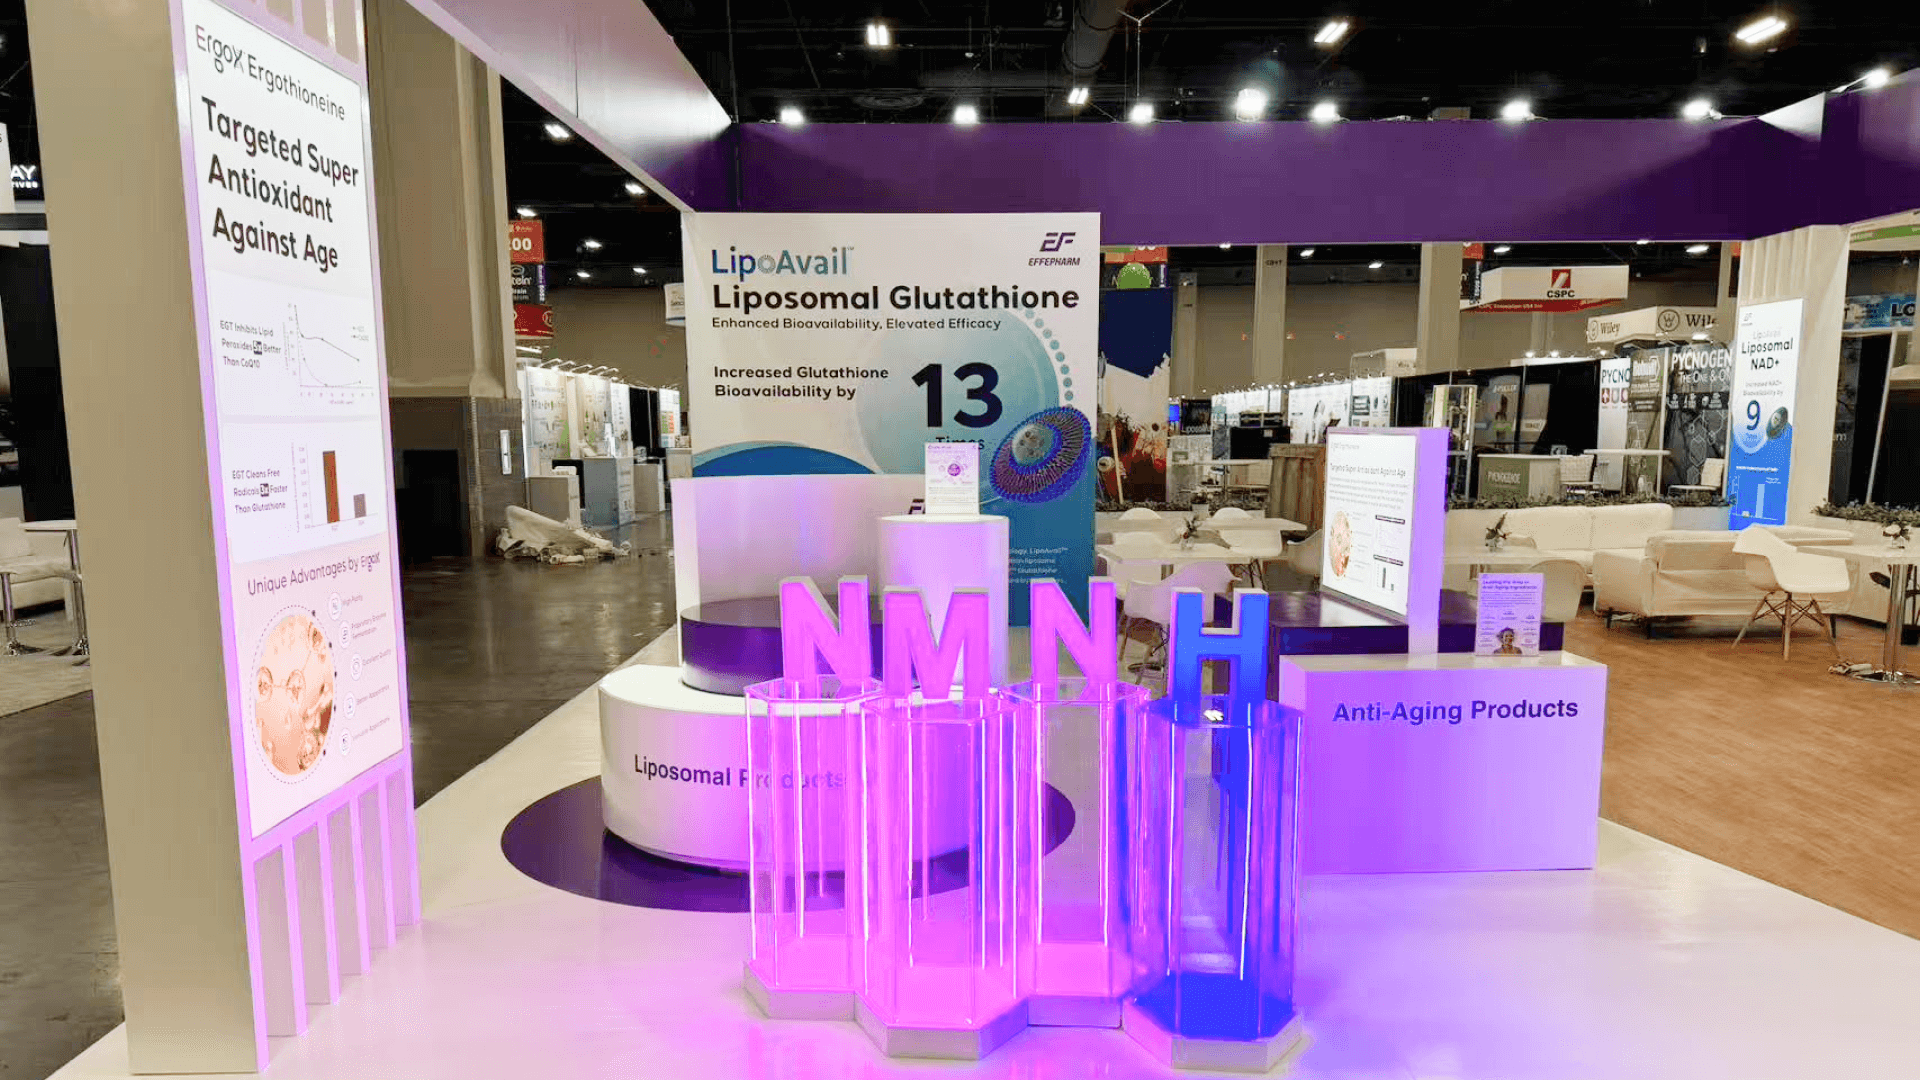


How should research instrument exhibitors plan a Neuroscience booth?
Plan from the working system outward. Product dimensions, operator position, access needs, utilities, and peripherals should define the usable operating area first. Visitor viewing, output screens, technical discussion, storage, and installation can then be arranged around that zone so the demonstration can run repeatedly during the show.
Before graphics or meeting furniture are added, establish where the system sits, who operates it, where visitors stand, what panels or connections must remain accessible, and which power, data, screens, or peripherals are required. A unit that looks compact on paper may need considerably more room once rear access, door swing, operator movement, cables, and visitor viewing are taken into account.
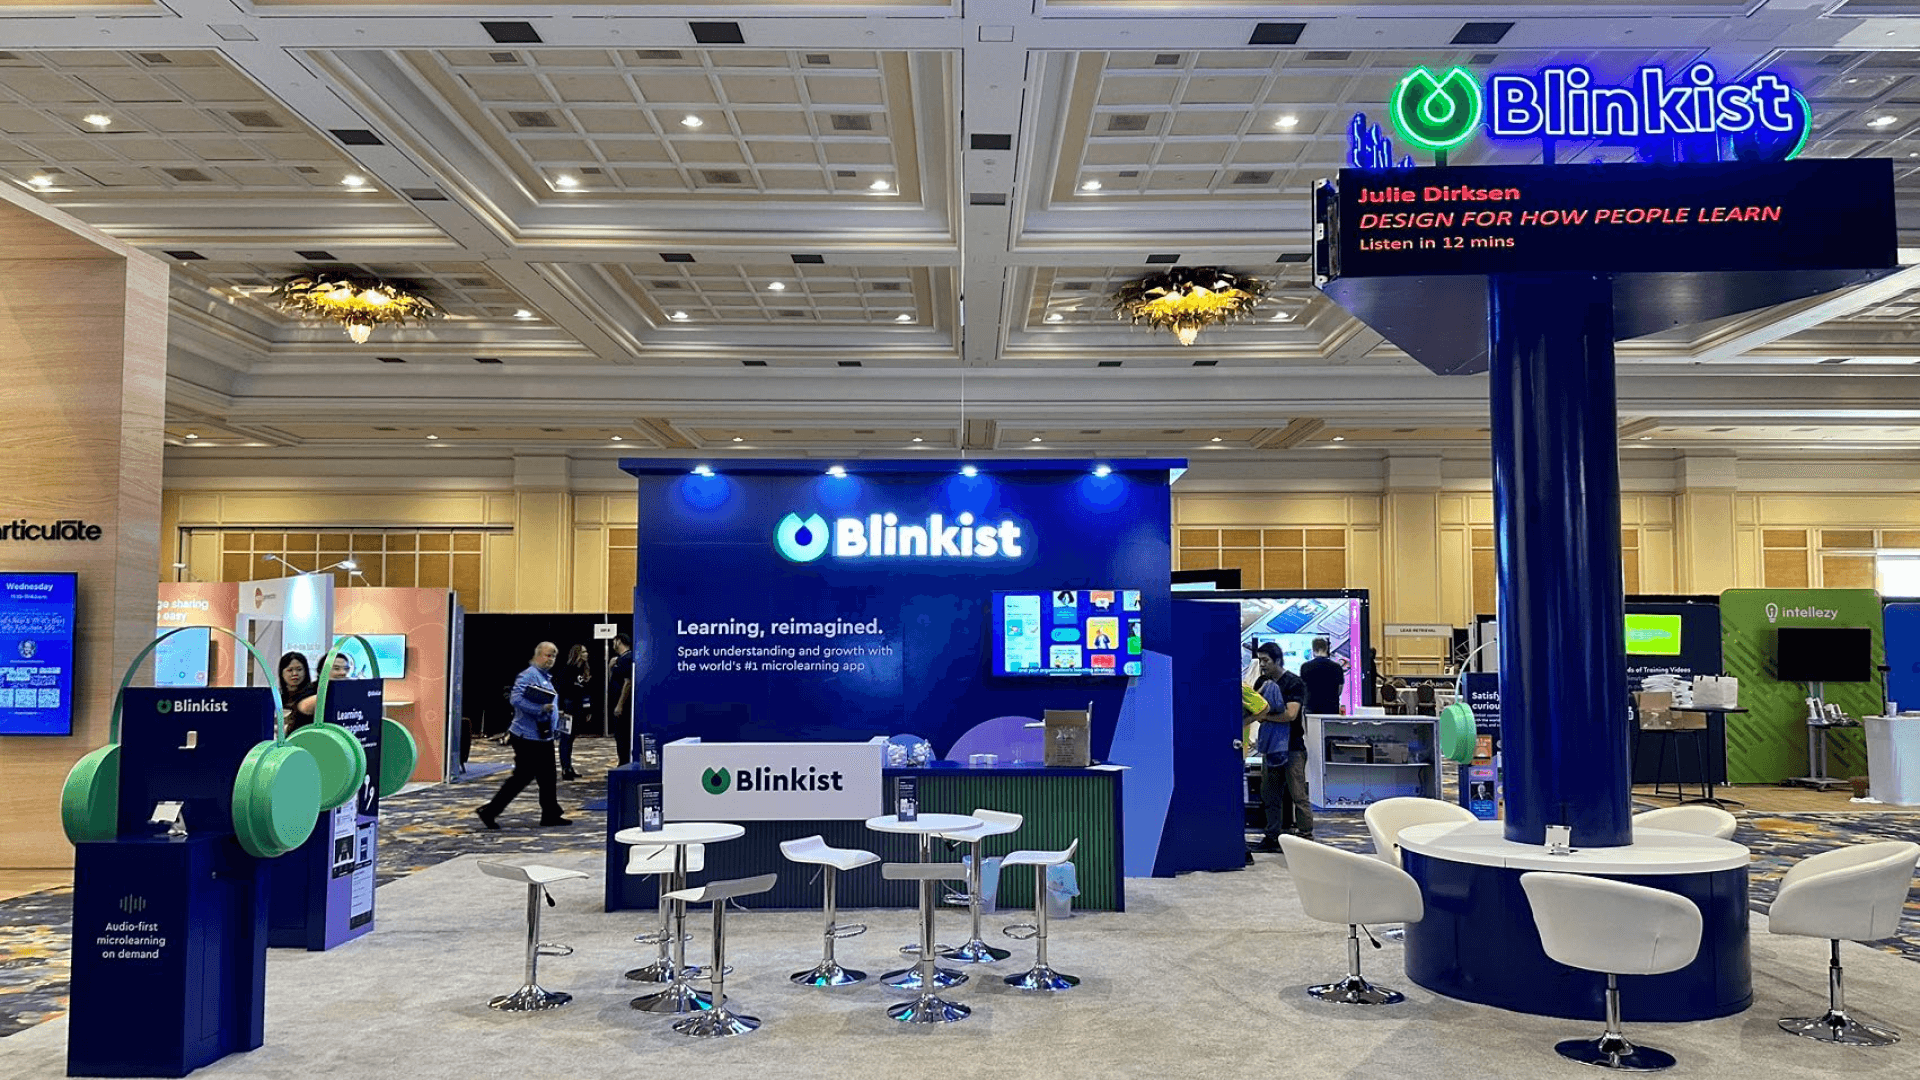
A compact system may still fit a 10x20 booth. Once the setup also needs an operator, several observers, an output screen, technical discussion space, and storage for accessories, a 20x20 booth often gives the demonstration enough room to run without pushing visitors into the aisle. Larger systems or several live stations may require a 20x30 or island footprint.
Exhibitors still deciding whether physical hardware or a digital workflow should drive the layout can return to the Neuroscience booth planning hub. Once the equipment-led direction is clear, venue services and show requirements can be checked against the final power, connectivity, freight, installation, and testing plan.
Why Exhibitors Choose Circle Exhibit
Clear scope, transparent quote review, nationwide booth support, and efficient setup planning for qualified rental and custom exhibit projects.
48hr
Setup Window
10+
Years Since 2014
U.S.
Trade Show Support
Real
Booth Project Proof
Size the booth around the working area rather than the product footprint alone. Hardware, operator access, visitor viewing, output display, technical discussion, storage, and required clearances all count.
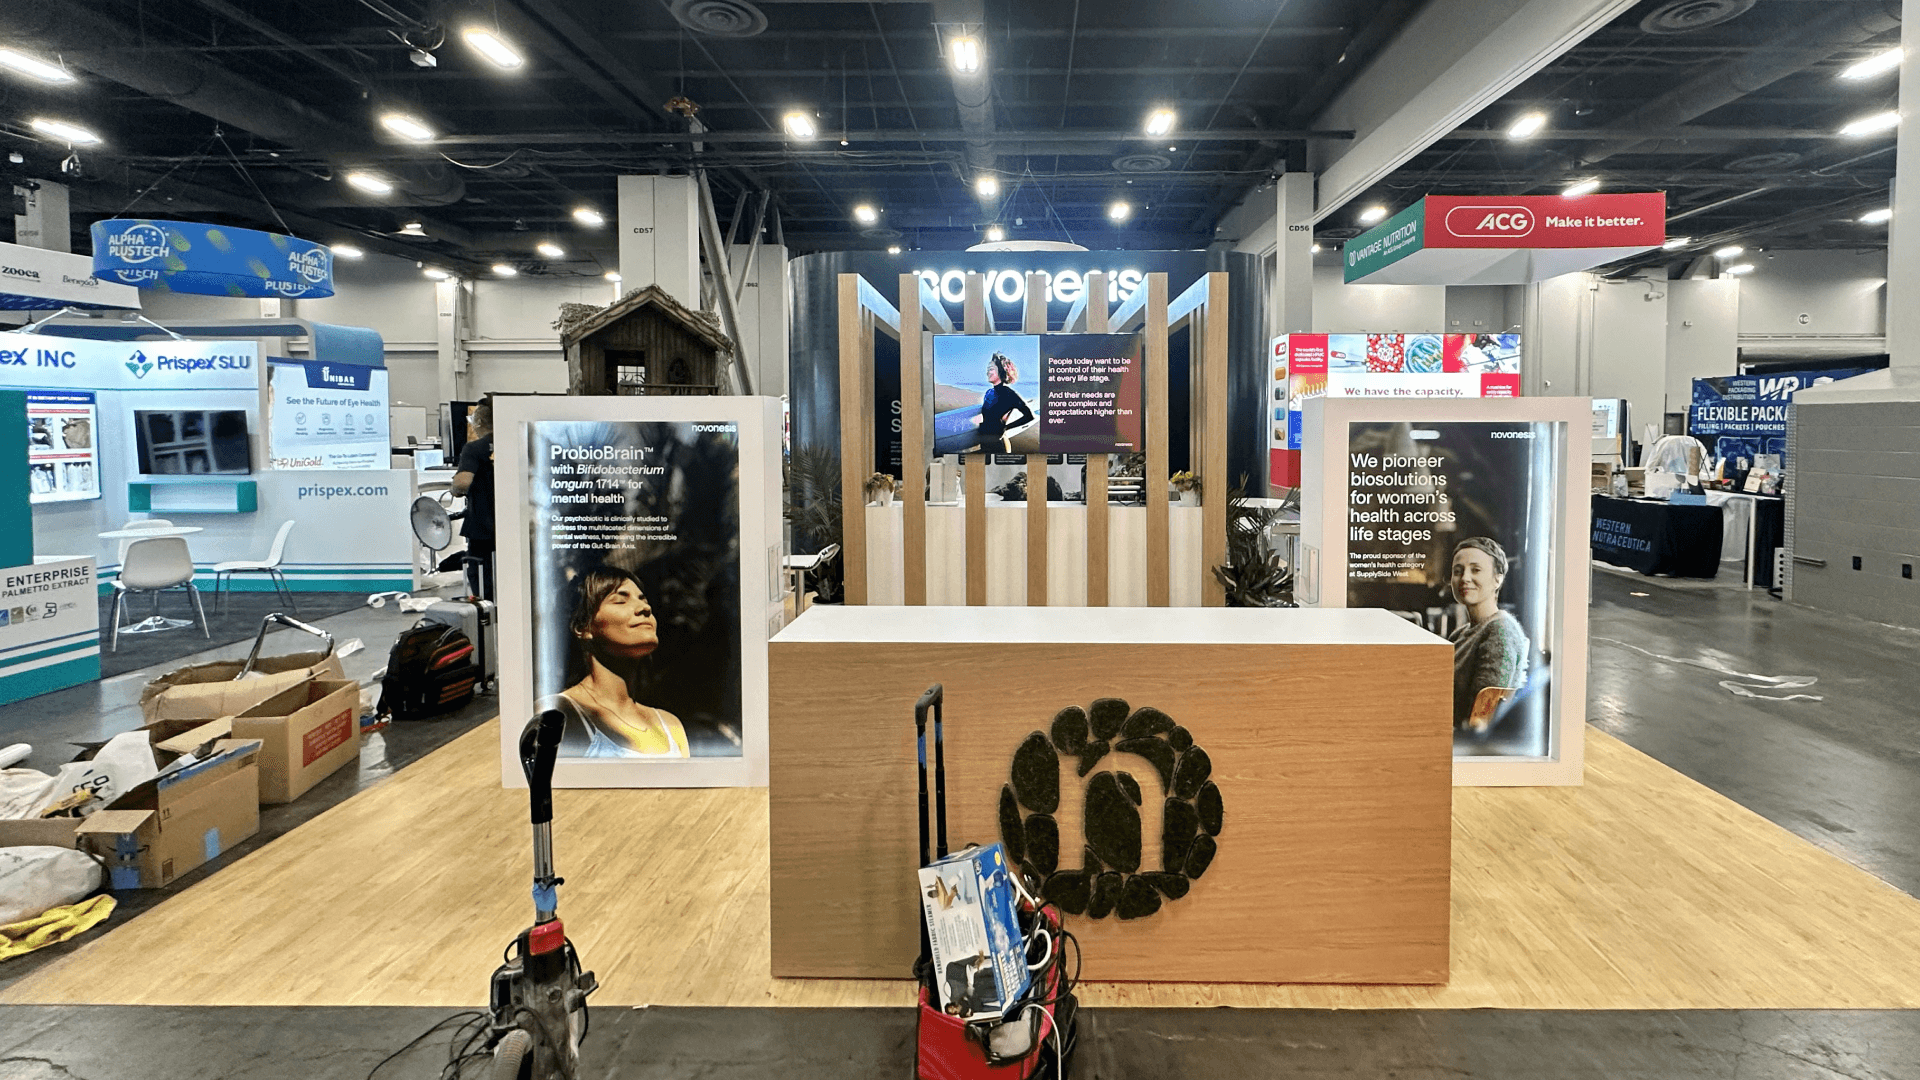
A 10x20 booth can fit one compact system with a simple operator position, limited peripherals, controlled visitor viewing, and light storage. Keep the remaining floor area flexible until the working clearance is confirmed.
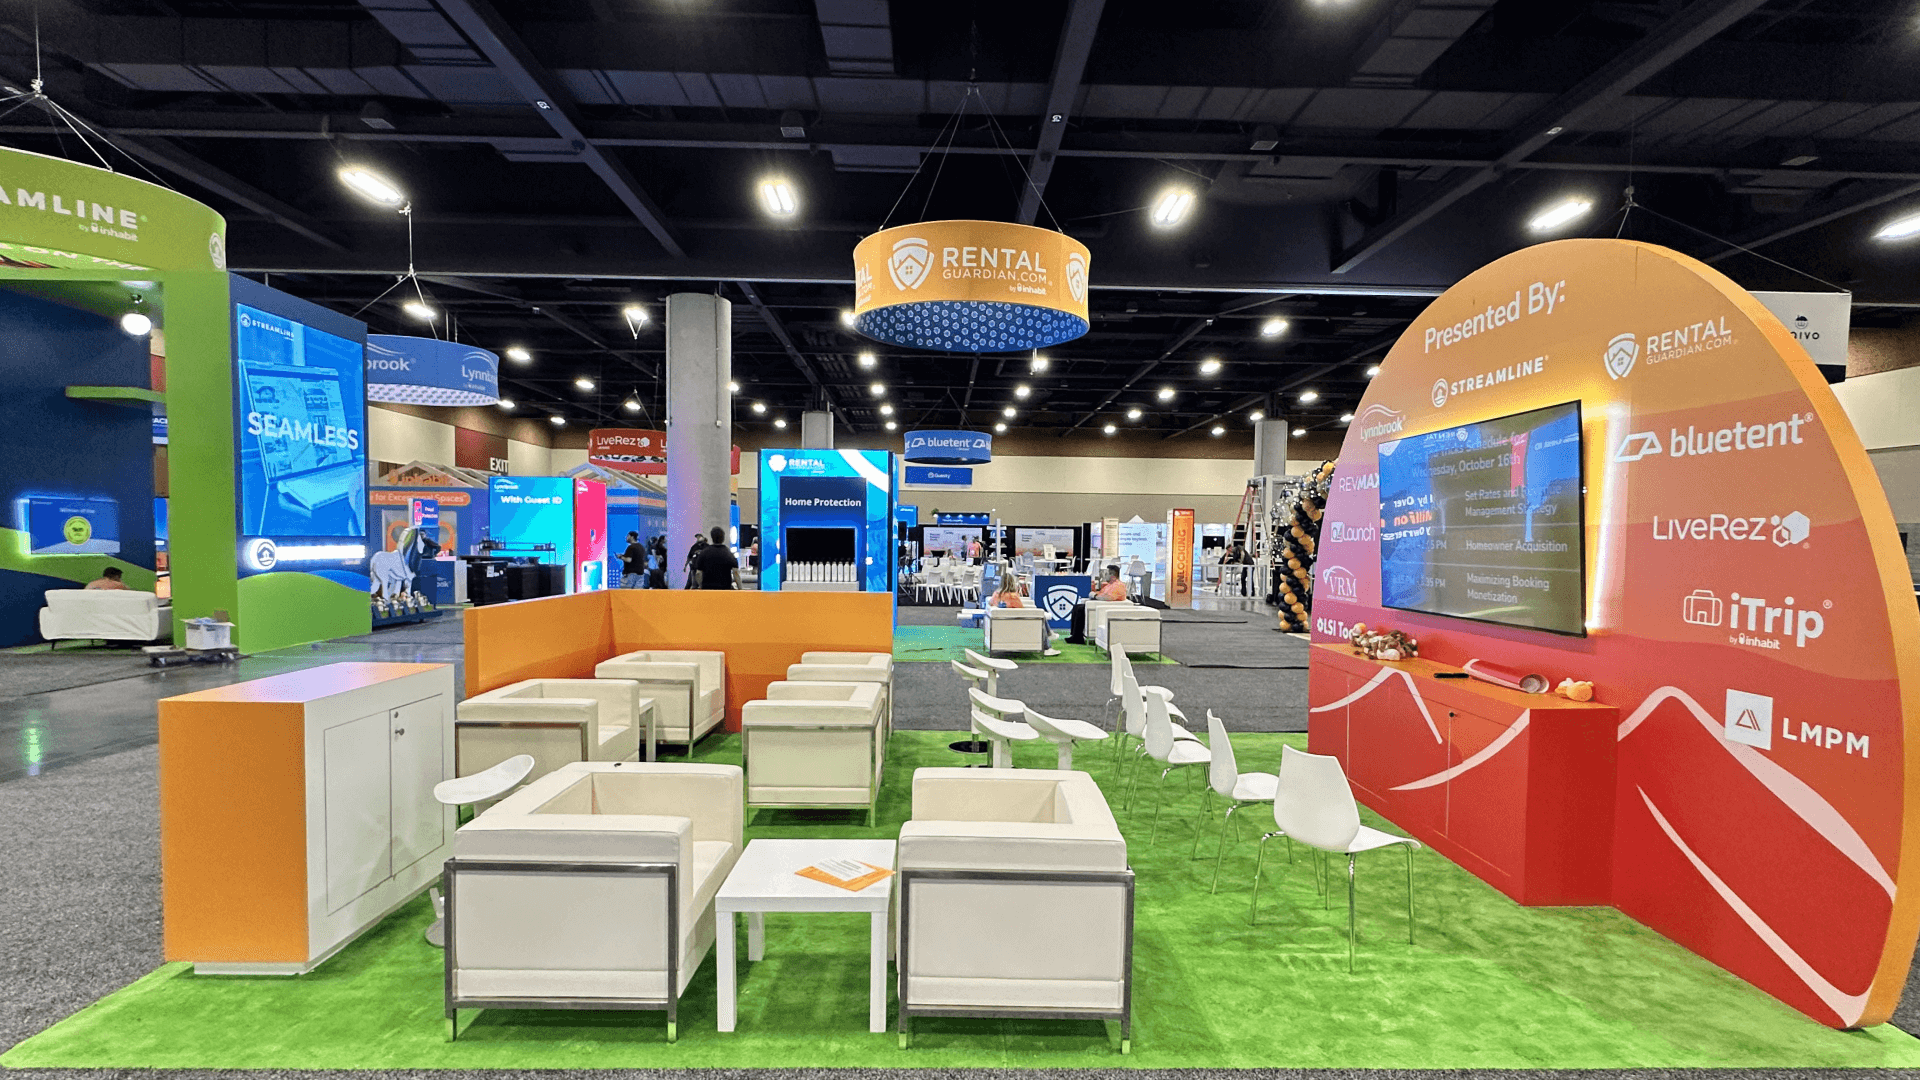
A 20x30 booth becomes useful when the setup includes a larger system, several live functions, more storage, or a separate discussion area that should not interfere with operation.
A 20x20 booth gives clearer separation between the system, operator, viewing area, output screen, storage, and technical conversation. It is a stronger reference when the product needs to run rather than simply sit on display.
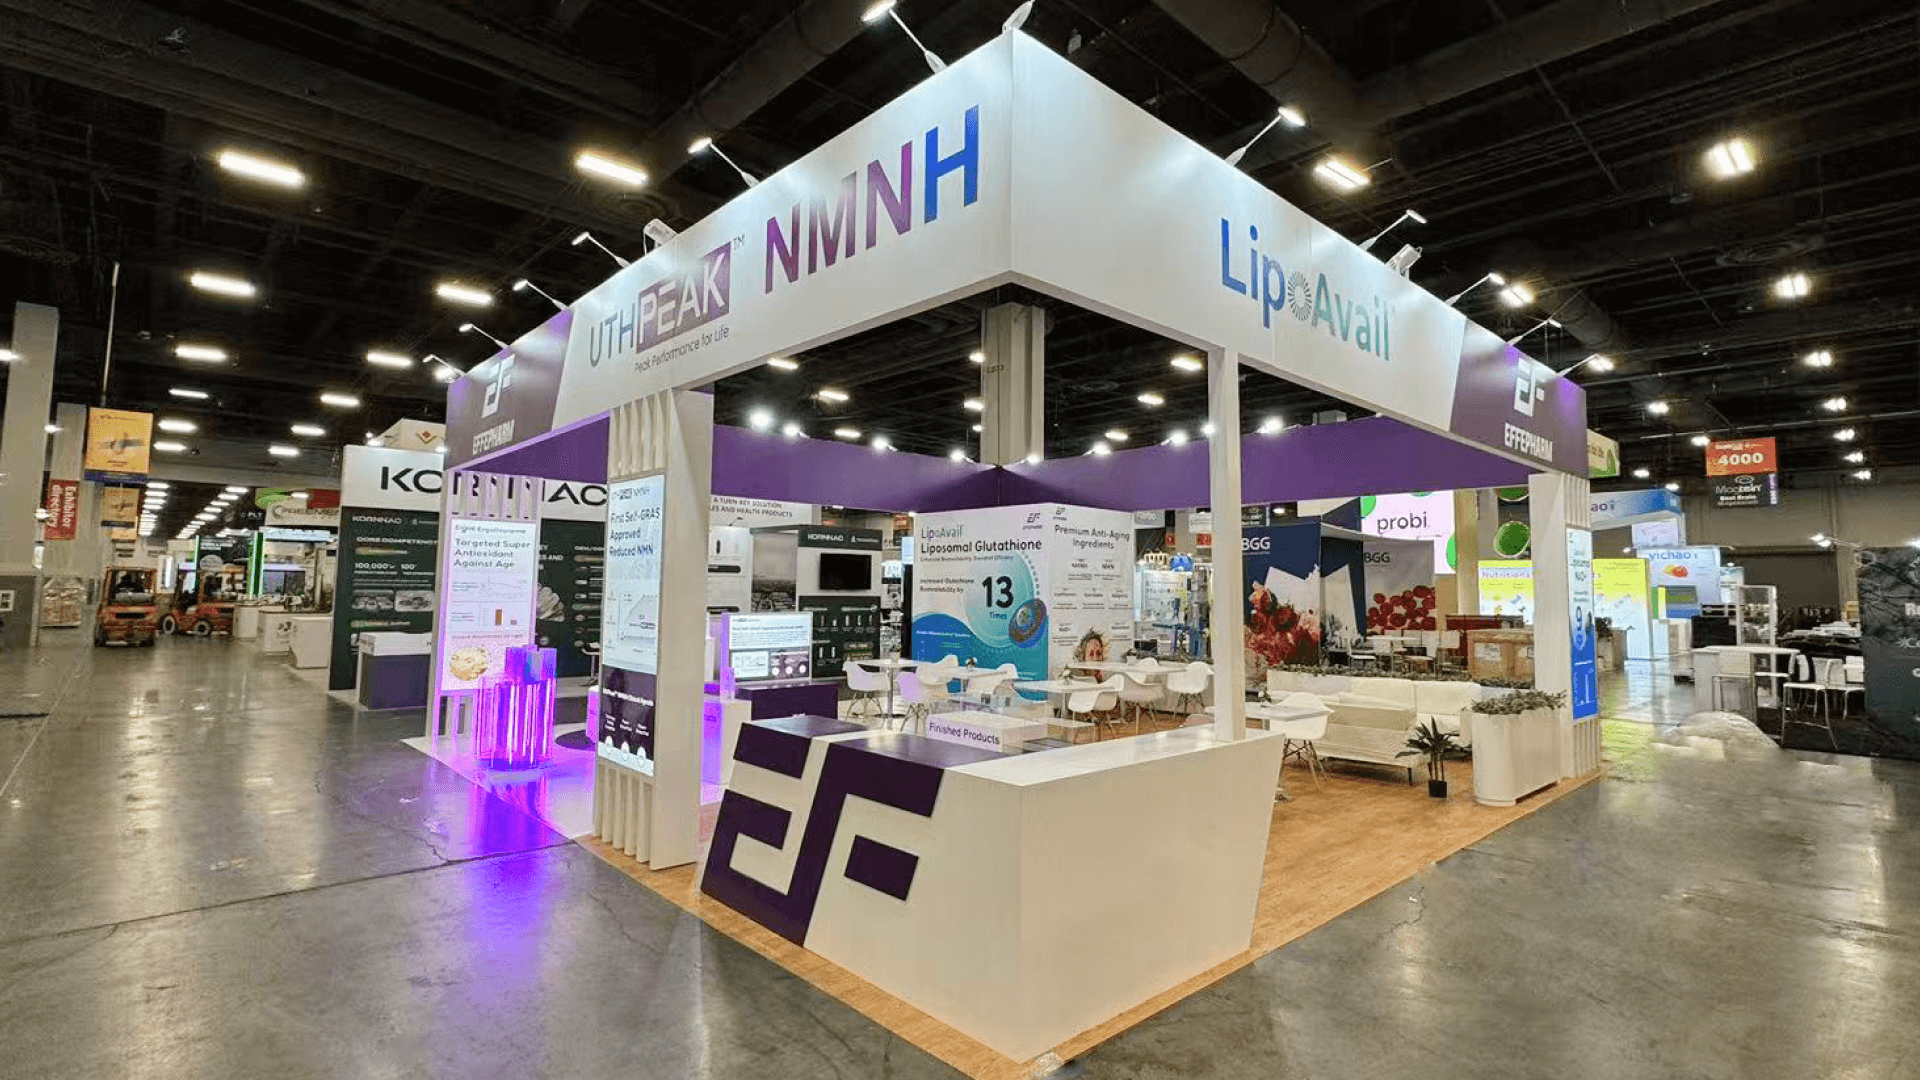
A 30x40 booth or similar island layout suits programs where several systems, independent demos, larger viewing areas, meetings, and storage need their own circulation paths.
A research instrument can require far more working space than its physical dimensions suggest once operator access, visitor viewing, peripherals, output screens, and technical discussion are added. If that working area begins controlling circulation or forcing several functions into the same zone, inline vs. island booth planning helps test whether the equipment requirements are strong enough to justify an island.
The product is already visible. The display has to make its operation, output, research relevance, and next technical discussion easy to follow.
Leave enough room for operation, staff access, peripherals, required connections, and any doors or panels that must stay usable during the demo.
Visitors should be able to watch without stepping into the operator area or aisle. Their position should preserve sightlines to both the system and its output.
Screens, labels, and graphics should clarify the data, controls, or result being produced. They should reinforce the live demonstration rather than compete with it.
After the demo, staff need a nearby place to discuss application, compatibility, method, or purchasing questions while the system remains ready for the next visitor.
Exhibitors in this group include microscopy, imaging, electrophysiology, neurotechnology, laboratory hardware, recording systems, and other research tools that require operating space on the show floor.
The parent Neuroscience meeting runs November 14–18, 2026 at Walter E. Washington Convention Center.
Researchers may need to watch the system operate, see its output, ask how it fits a method or workflow, and continue into technical discussion.
Not Sure Which Booth Size You Need?
Not every exhibitor knows whether a 10x20, 20x20, 20x30, or larger booth is the right fit. Circle Exhibit can help review your event goals, product display needs, demo areas, meeting space, storage, budget scope, and setup timeline before you choose a booth size.
Operator Space and Visitor Space Collide
Aisle Visibility Can Hurt Demo Flow
1
Measure the Full Working Area
2
3
4
Rental Structure for Self-Contained Systems
Rental works when the product stands independently and the booth mainly needs branded walls, screens, counters, storage, and discussion space. A 20x20 rental booth design provides a practical reference.
Hybrid Support for Partial Integration
A hybrid setup works when standard walls and structure remain reusable but the product needs a custom platform, counter, enclosure, cable management, screen integration, or dedicated support element.
Custom Build When Hardware Controls the Architecture
More custom fabrication is justified when large systems, special access, integrated supports, several instruments, or unusual operating clearances determine the layout itself.
Electrical, network, AV, cable routing, and other required services should match the final product position before sensitive equipment is staged.
Complete surrounding structure and finish work first, then leave enough access for peripherals, screens, cables, and operator setup.
Verify the full operating sequence, peripherals, control interface, output screen, data path, and staff demonstration rather than checking only that the system turns on.
Complete calibration, charging, cleaning, consumables, accessory placement, storage access, and a final live run before opening.
Need a Rental Booth for a Research Instrument Demo?
A rental-based layout can work when the research system is self-contained and does not require the booth structure itself to support the equipment. A 20x20 configuration can leave room for the instrument, operator access, visitor viewing, an output screen, storage, and technical discussion while keeping the surrounding exhibit structure reusable.
How much space should be planned around a research instrument?
Plan beyond the product dimensions. Include operator position, opening panels, cables, peripherals, service access, visitor viewing, and safe movement around the working system.
Should a research instrument face the aisle?
When does a physical instrument need a separate screen?
Is a 20x20 booth enough for a research instrument demo?
When should equipment testing happen?
READY TO PLAN YOUR NEXT BOOTH?
Let’s Build a Booth That Fits Your Event
Share your event name, booth size, city, timeline, product display needs, and design references. Circle Exhibit will review your project direction and help you choose a rental-friendly or custom exhibit path.
3000+
Booth Projects Supported
50+
U.S. Event Cities
Transparent
Quote Review
Return to the main Event Hub when the team still needs to compare physical equipment, software/data, booth size, or broader Neuroscience exhibit decisions.
Once the working system appears to fit a 20x20, the size guide helps test operator clearance, visitor viewing, output screens, storage, and technical discussion in more detail.
Equipment dimensions and utility requirements eventually have to become buildable drawings; design and engineering handles that transition.
Physical systems add freight, staging, service, and arrival dependencies. Pre-show coordination helps align equipment, booth materials, utility orders, storage, and site timing before move-in.
After fabrication, installation planning controls the sequence from structure and utilities to equipment staging, connection, testing, and final readiness.