Light + Intelligent Building NA Lighting Comparison Booth Planning


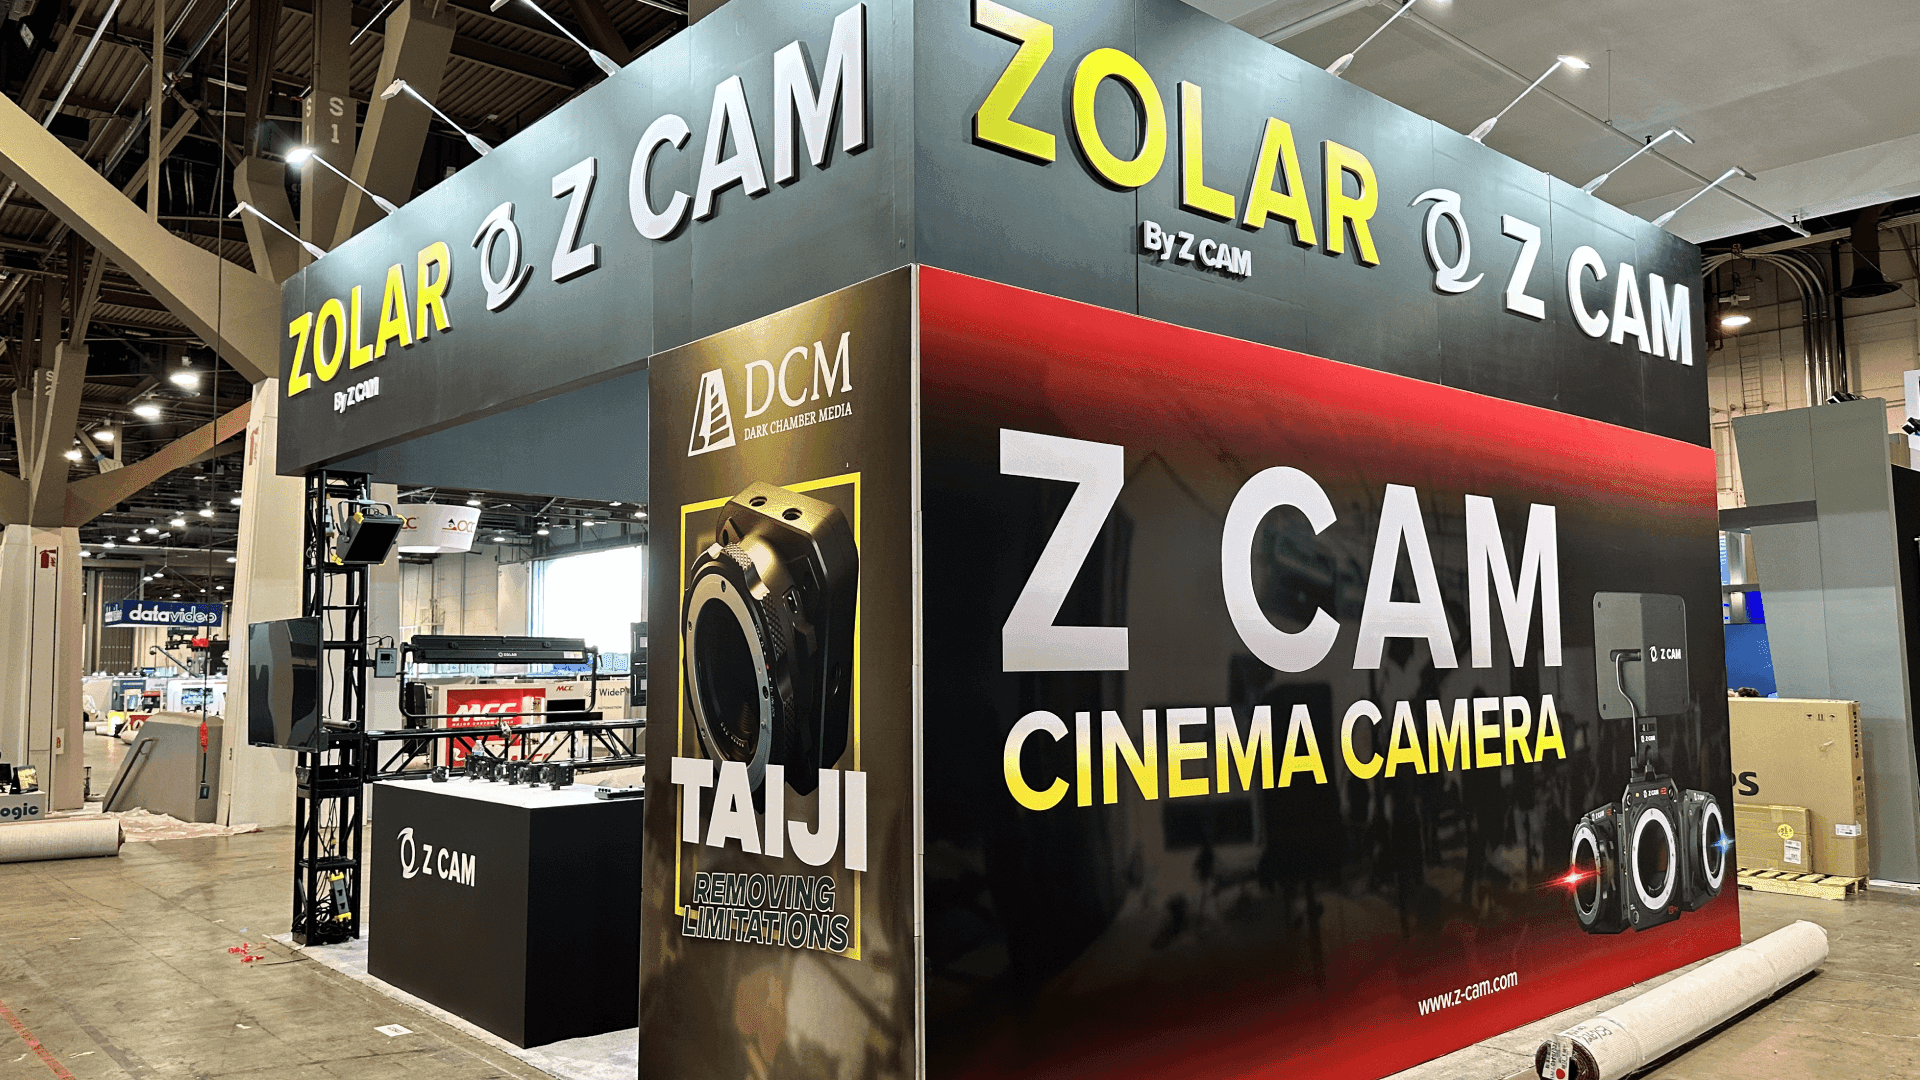

How should exhibitors arrange a lighting fixture comparison booth?
At Light + Intelligent Building NA, arrange fixture comparisons around the choice buyers need to make. For light-distribution comparisons, use comparable surfaces and viewing positions. Show the relevant model and configuration beside each fixture, and leave room to review specifications nearby. Plan the presentation for ambient hall light rather than relying on a complete blackout.
A designer may first notice a luminaire’s appearance, then ask how it lights a surface or fits a specific project. Keep each fixture close to its application details and technical information so the viewing experience can lead naturally into a specification discussion.
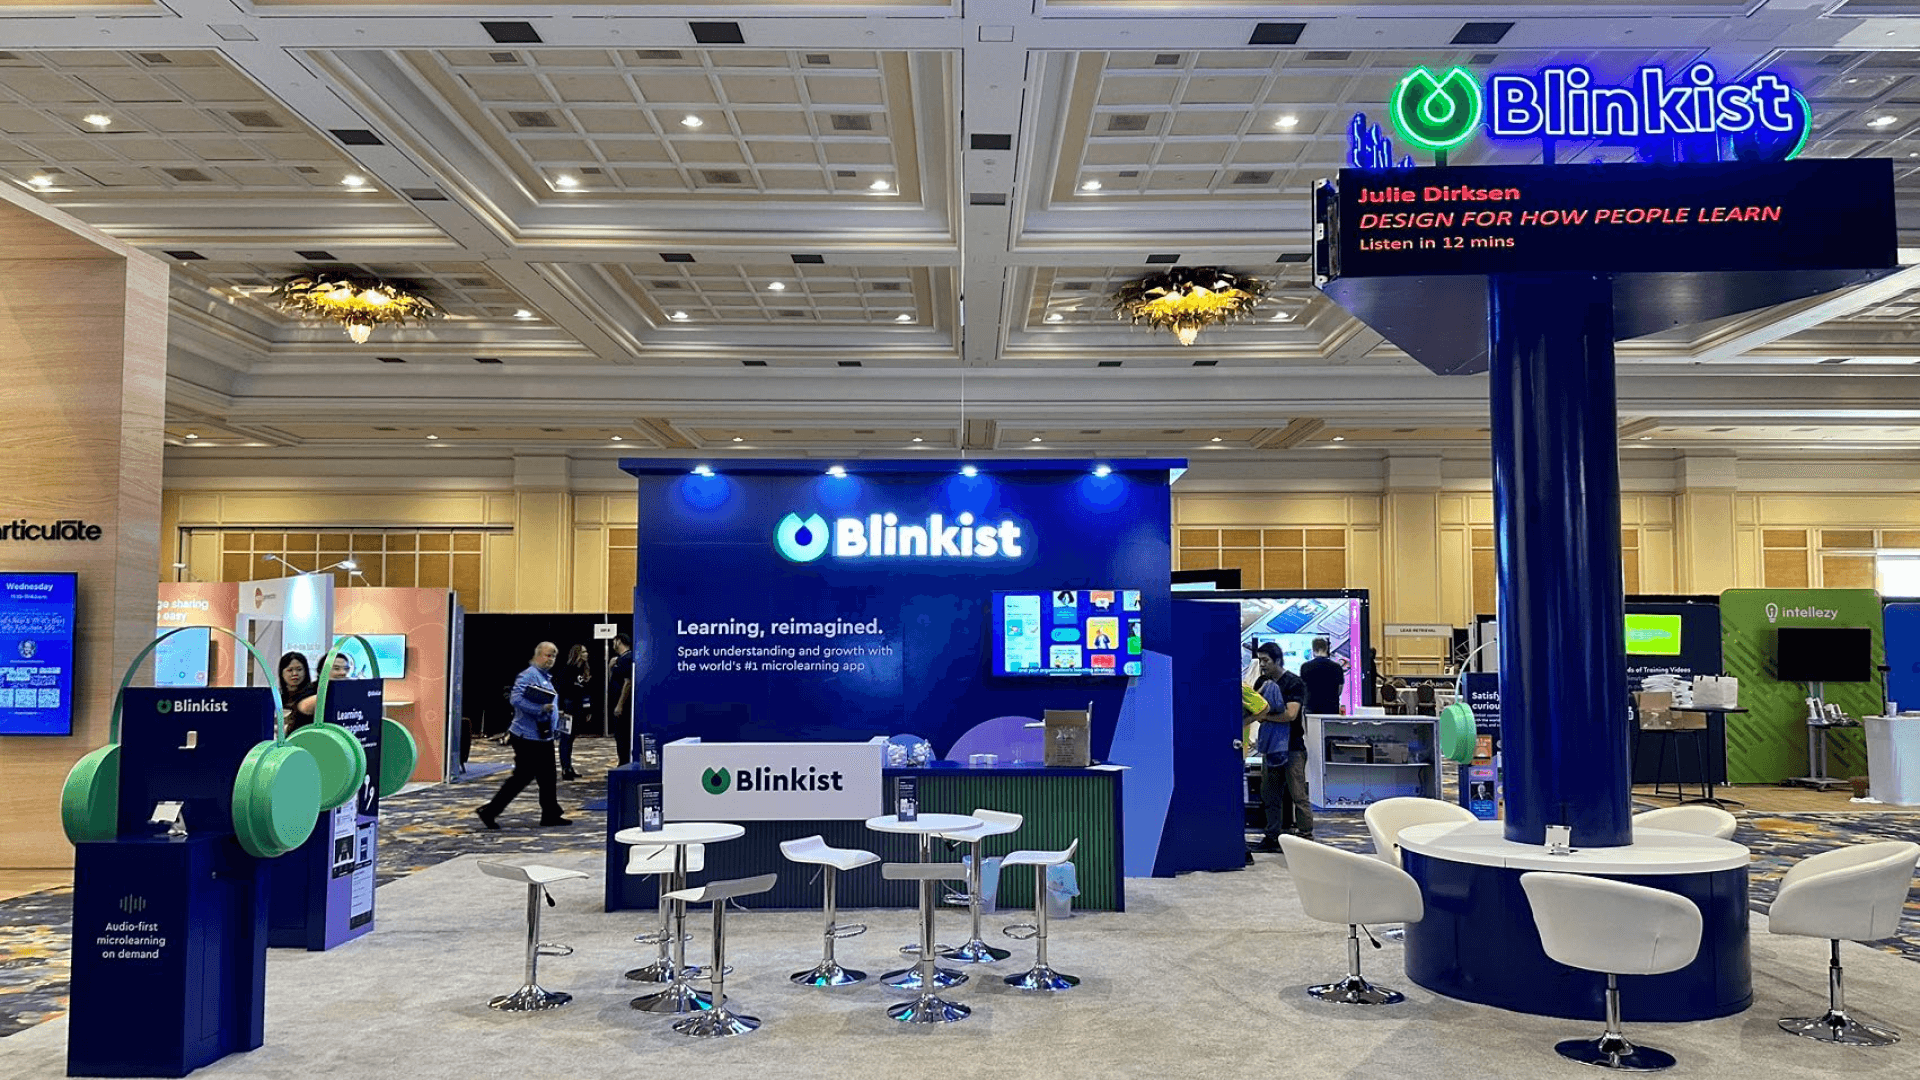
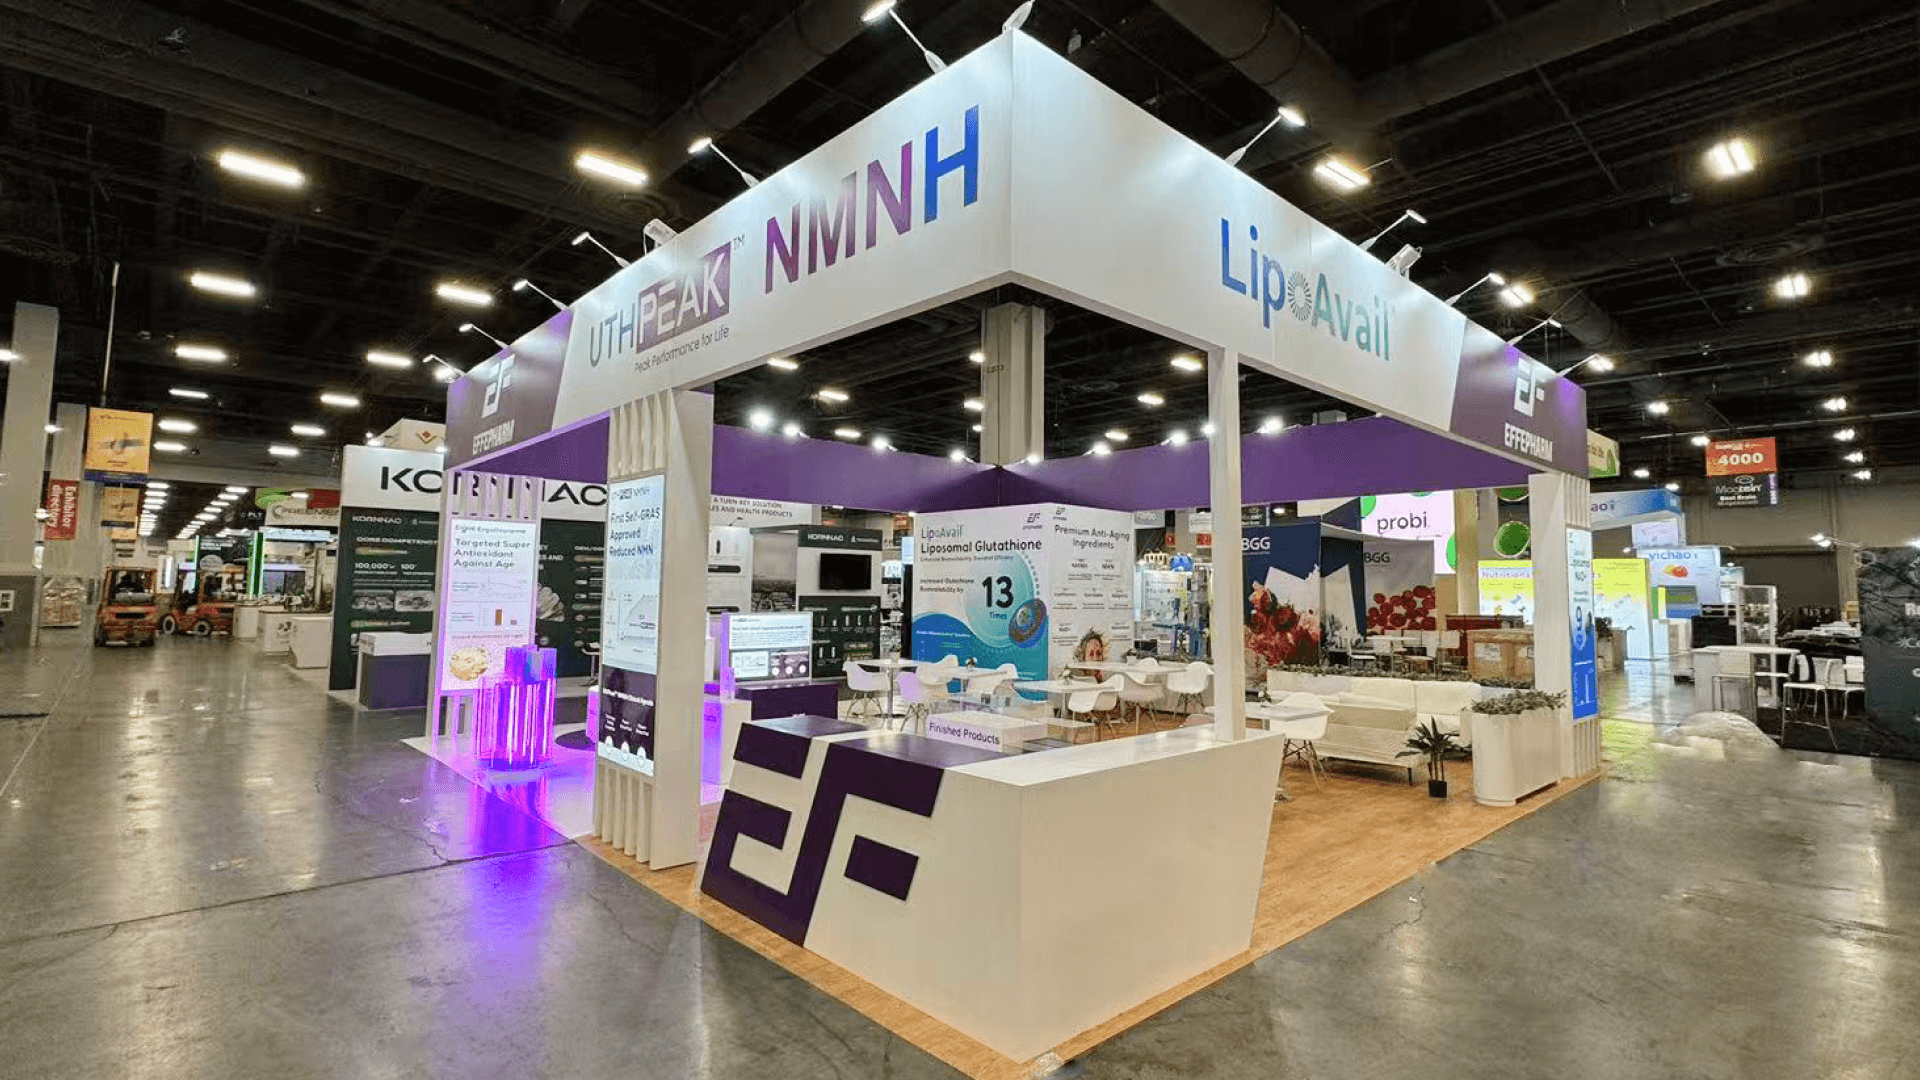
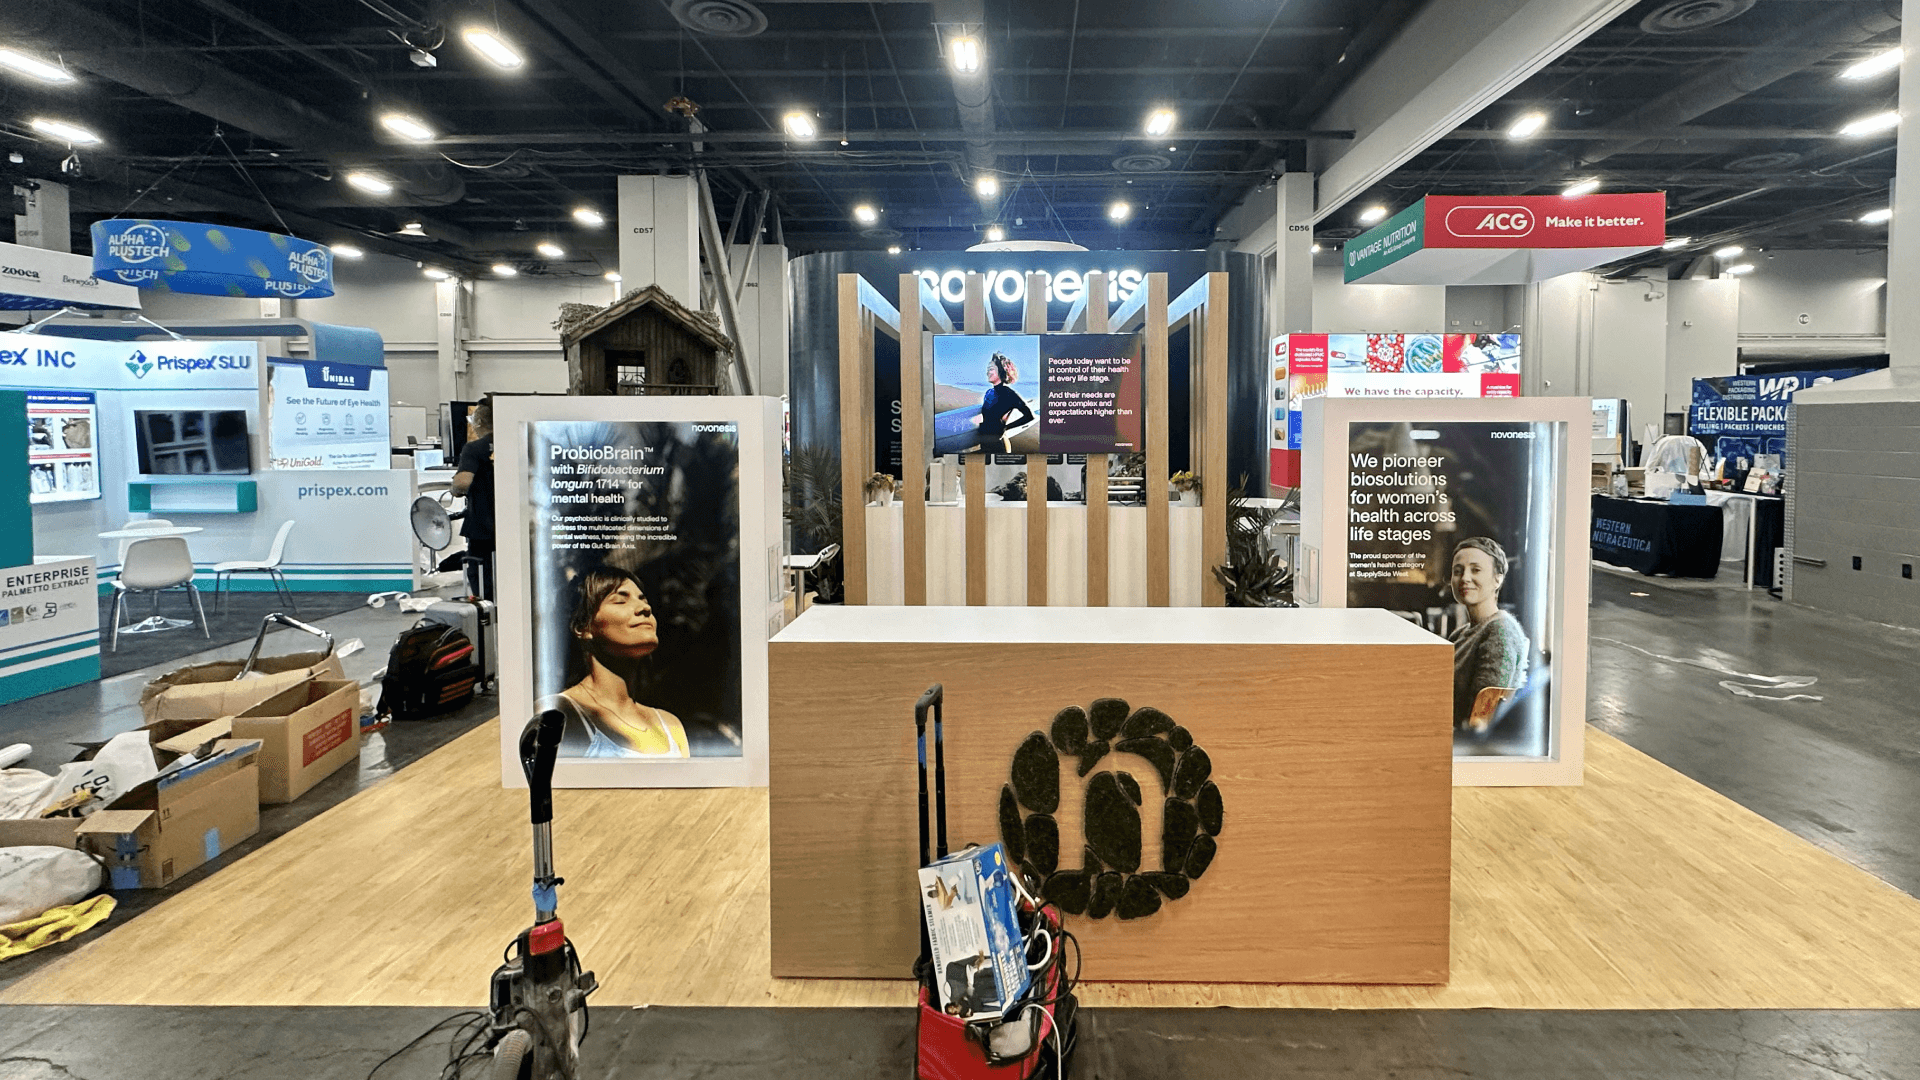
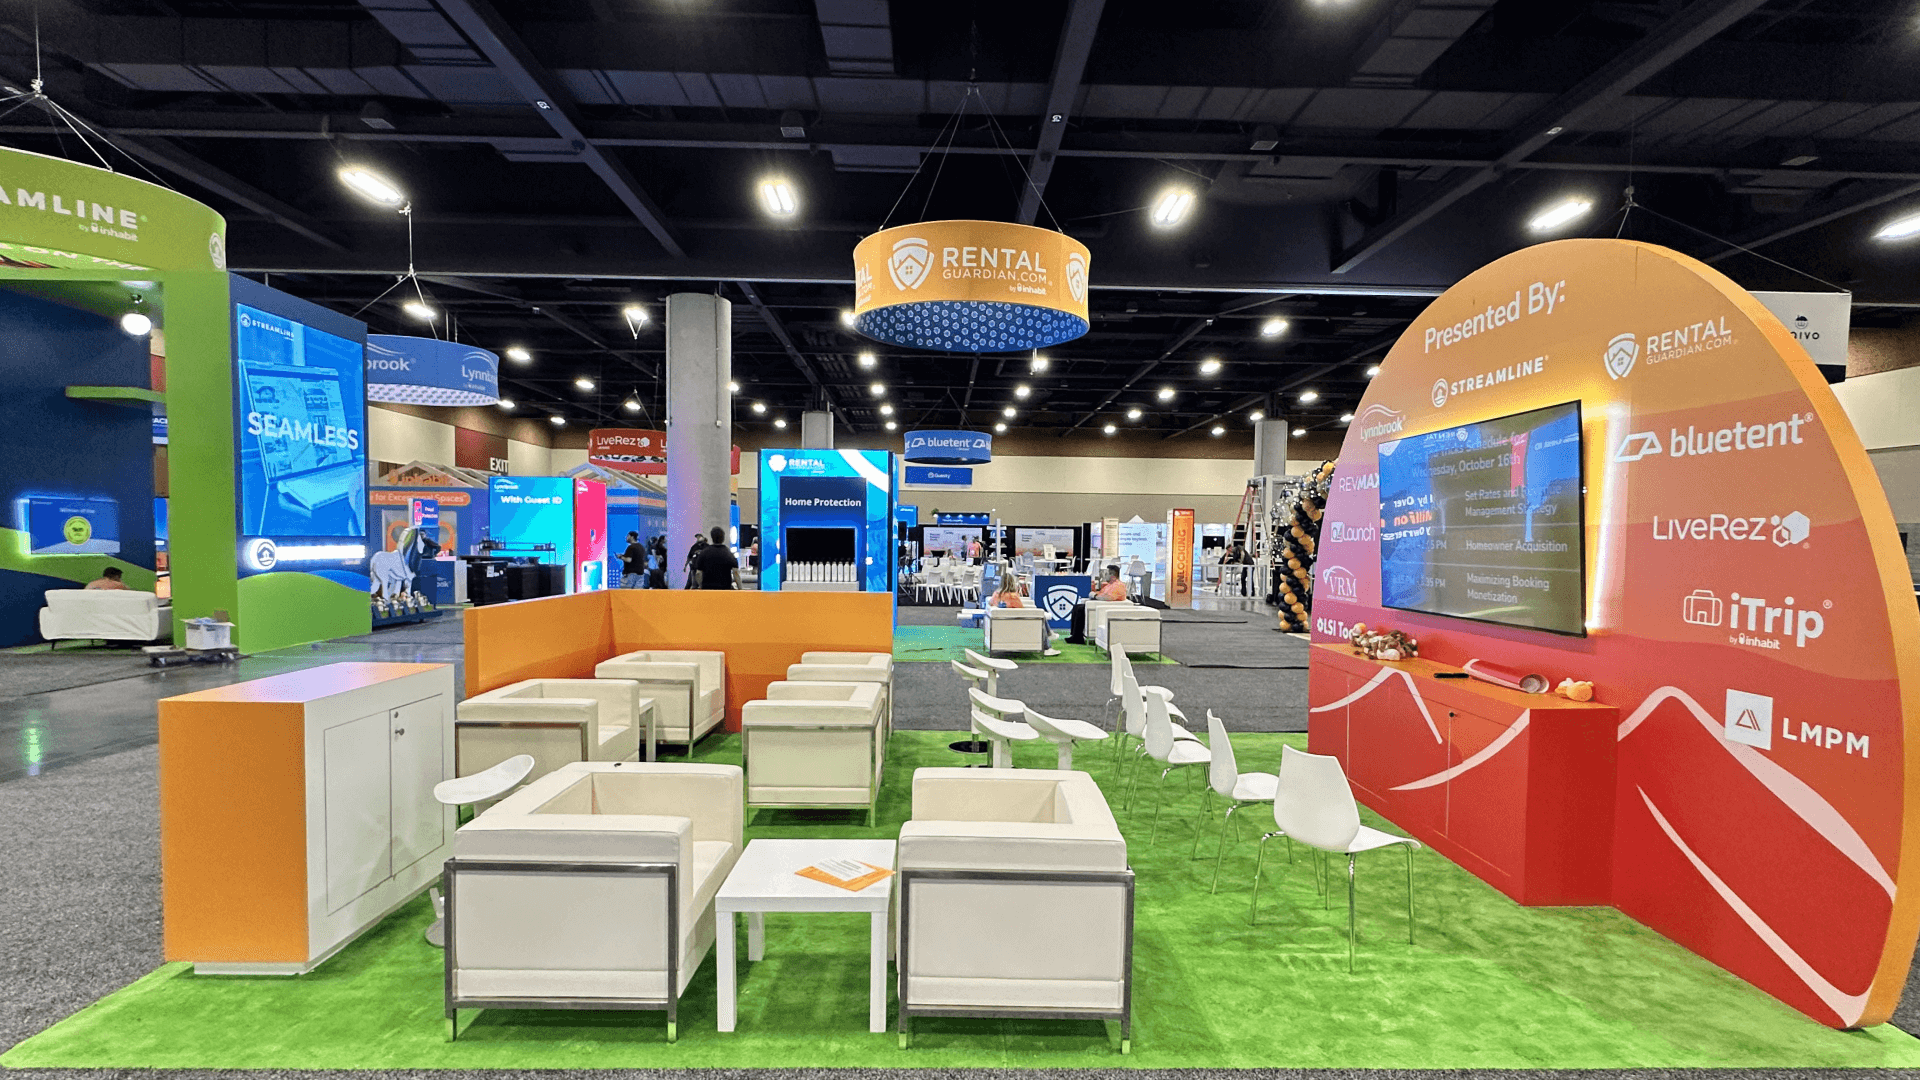
A 10×20 booth can support one focused comparison area and a consultation point. A 20×20 layout allows the viewing area to remain separate from drawing and specification review. Consider 20×30 when application displays, multiple fixture groups, or longer viewing distances require more room.
When fixture comparisons share the exhibit with meetings or other product categories, the overall Light + Intelligent Building North America booth layout should define how visitors move between those activities. Because the show takes place at the Las Vegas Convention Center, fixture supports, power locations, and product installation must also be coordinated with the booth setup sequence.
Why Exhibitors Choose Circle Exhibit
Clear scope, transparent quote review, nationwide booth support, and efficient setup planning for qualified rental and custom exhibit projects.
48hr
Setup Window
10+
Years Since 2014
U.S.
Trade Show Support
Real
Booth Project Proof
Viewing distance and application geometry determine the working display area. Place consultation space and circulation around those requirements before adding more fixtures.
A compact lineup can work along a defined display surface. Keep the viewing position and consultation point within the footprint, with room to move between them.
Larger reference walls or distinct mounting examples may require more space. Establish the dimensions and viewing positions before deciding whether this footprint is necessary.
A 20×20 booth layout can separate comparison viewing from a small specification table. Check the sightline when staff and visitors occupy both areas.
Reserve the required distance before filling the booth with fixtures or furniture. A smaller lineup may make a stronger comparison within the available floor area.
A fixture display becomes easier to evaluate when buyers can connect each visible result with the correct product. Mounting position, viewing distance, display surfaces, surrounding light, and demonstration sequence can all affect what they see.
The lighting fixture comparison guide explains how to decide which product variable may change and which viewing conditions should remain stable. That method can then inform the fixture supports, viewing area, consultation point, and booth size selected for Light + Intelligent Building North America.
The physical display should establish the intended conditions, identify the products, and give visitors somewhere to discuss the result.
Select finishes and surfaces appropriate to the application being shown. Where a comparison requires matched conditions, use those surfaces consistently across the selected fixtures.
Provide mounting points suited to the displayed units and access to any controls used in the presentation. Coordinate both with the planned viewing positions.
Identify each fixture and the relevant option beside the installed example. Keep drawings and specification sheets available for the questions that follow.
Allow enough room to open a drawing or compare datasheets. Position the surface beside the viewing route so discussion can continue without occupying the comparison.
Fixture samples and application displays give buyers a basis for comparing appearance, light distribution, and project suitability.
Education begins March 15. Exhibits run March 16–18 at the Las Vegas Convention Center, Central Hall.
Visitors assessing fixture options need to connect what they see with design intent, mounting conditions, and product specifications.
Not Sure Which Booth Size You Need?
Not every exhibitor knows whether a 10x20, 20x20, 20x30, or larger booth is the right fit. Circle Exhibit can help review your event goals, product display needs, demo areas, meeting space, storage, budget scope, and setup timeline before you choose a booth size.
Glare at the Aisle
Several Variables Change at Once
1
Select the Comparison Set
2
3
4
Rental Around Compatible Fixture Supports
When the proposed structure accommodates your fixture supports, a lighting display booth rental can provide the surrounding walls, counters, and consultation area.
Custom Elements for Application Displays
Dedicated mounting positions or reference surfaces may call for purpose-built display units. Define those elements around the comparison before deciding how much of the booth requires custom construction.
Reusable Panels for Changing Product Lines
A reusable comparison panel can sit within different rental layouts. Plan access and replaceable fixture positions around the product updates expected between shows.
The installation team needs the fixture positions, attachment method, and power locations before arrival. Check these against the booth drawings and current exhibitor requirements.
The organizer describes a darkened area within the Lighting sector, without a complete blackout. Test the planned comparison with surrounding light present.
Use fabrication and prebuild checks for display panels, mounting hardware, and labels before packing. Have the product team review the fixture presentation.
View the completed display from the intended visitor positions. Adjust aiming and settings as needed, then verify product references and access to the specification table.
Rental Booths for Lighting Fixture Comparisons
Give buyers room to compare fixtures and review specifications beside the display. Share your fixture lineup and mounting needs so the rental structure and any dedicated comparison panels can be planned together.
Will the Lighting sector be completely dark?
The organizer describes a darkened area within the Lighting sector, with no complete blackout. Allow for hall and neighboring light in the presentation.
Should we display the full fixture range?
Can a booth comparison replace photometric documentation?
What belongs beside each fixture?
Where should buyers review project drawings?
READY TO PLAN YOUR NEXT BOOTH?
Let’s Build a Booth That Fits Your Event
Share your event name, booth size, city, timeline, product display needs, and design references. Circle Exhibit will review your project direction and help you choose a rental-friendly or custom exhibit path.
3000+
Booth Projects Supported
50+
U.S. Event Cities
Transparent
Quote Review
Develop the fixture positions, application surfaces, sightlines, and consultation area into coordinated drawings for the booth and its dedicated display elements.
Prepare readable model references and concise comparison explanations that match the installed samples and the way staff discuss them.
Review which walls, counters, storage elements, and mounting provisions are included in the proposed rental scope for your display.
Compare rental structures that could separate fixture viewing from specification review while leaving usable circulation within the 20×20 footprint.
Review the fabrication checks and packing preparation available for the mounting units, display panels, and labeled hardware used in your fixture presentation.