ADLM Diagnostic Instrument Demo Booth Planning


How should exhibitors plan a diagnostic instrument demo booth for ADLM?
Plan the booth from the equipment outward. Start with the machine footprint, operating side, viewer position, interface visibility, technology needs, and reset support, then add a clear path into technical conversation. Buyers should be able to see the equipment work without crowding the operator, viewing area, and follow-up discussion into one small zone.
A diagnostic analyzer takes up functional space before the first visitor reaches the booth. For exhibitors whose planning extends beyond the equipment itself, ADLM Clinical Lab Expo booth planning covers the broader product mix, buyer journey, booth-size decisions, and overall exhibit program.
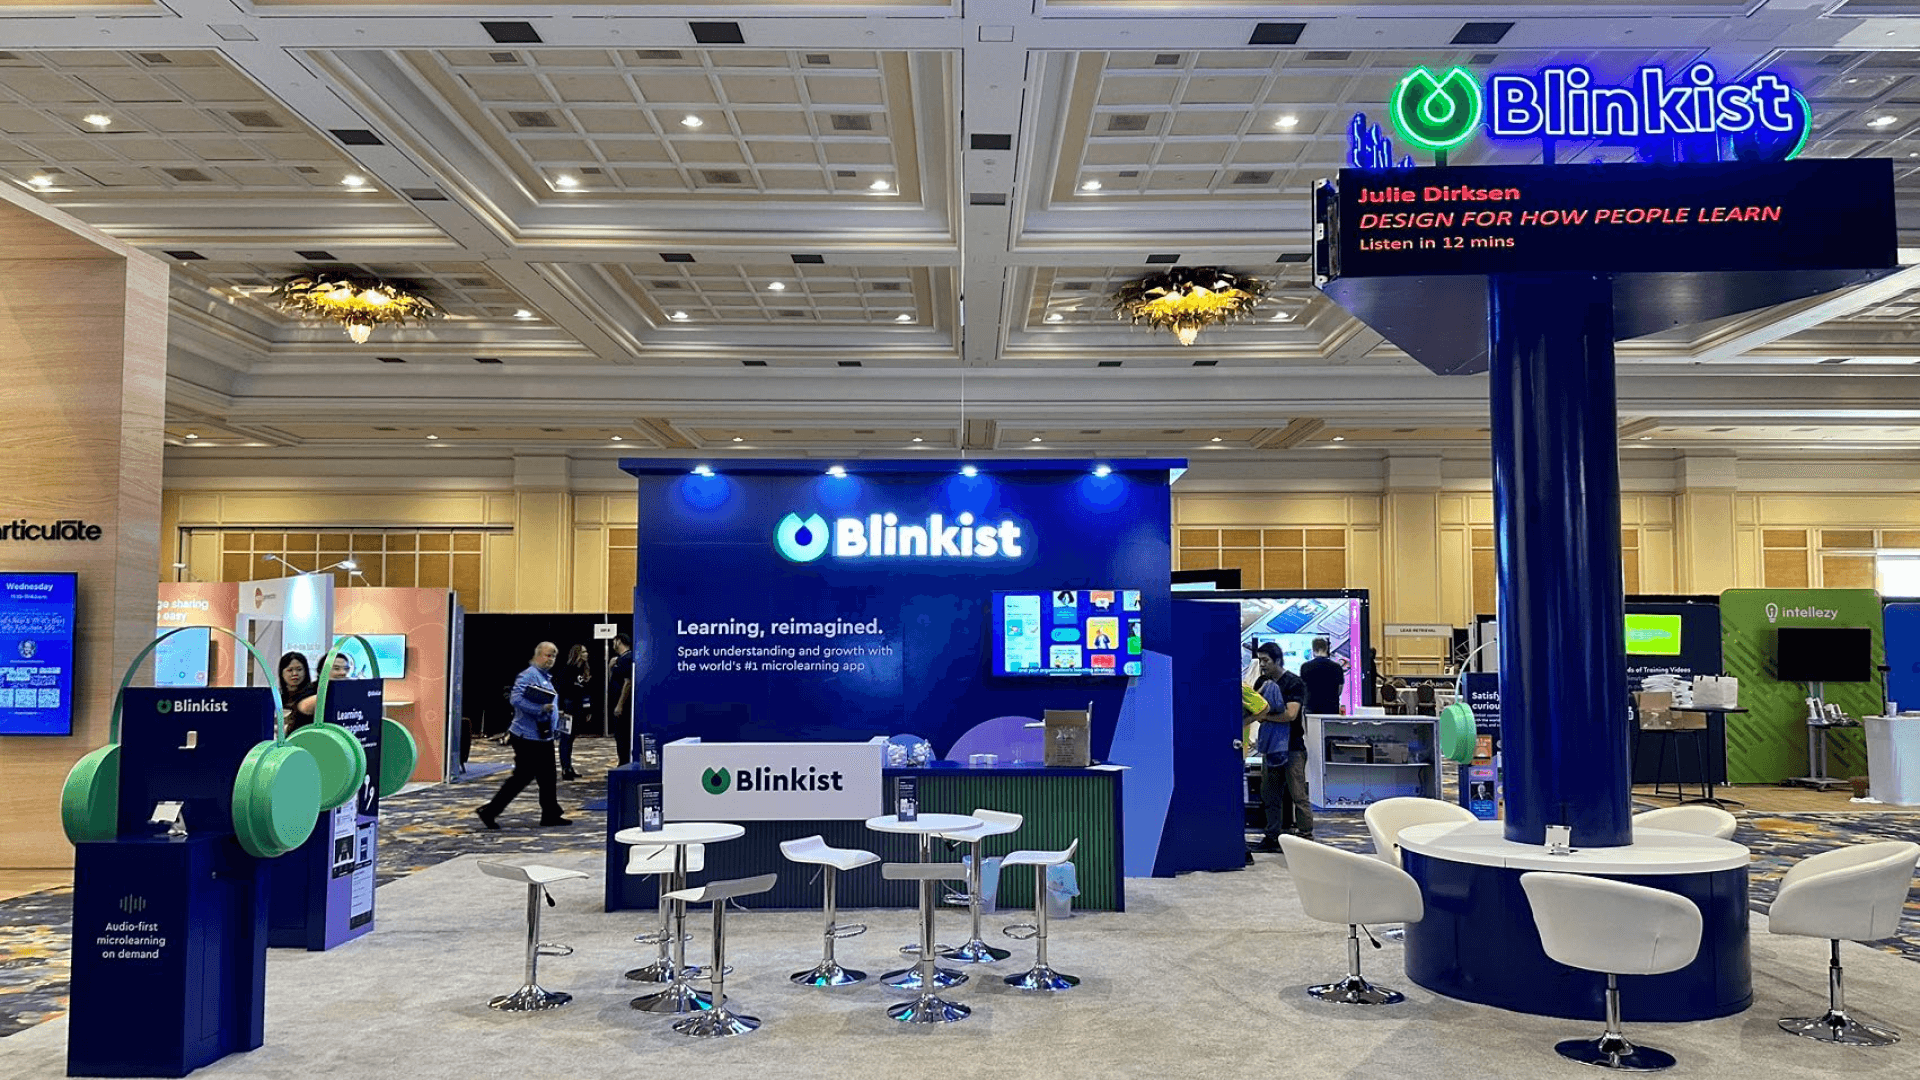
A 20x20 booth gives many equipment-led exhibits enough room to account for more than the machine footprint alone. Operator access, visitor viewing, a support screen, nearby demo supplies, and space for deeper technical questions all need to fit around the instrument without crowding the demonstration.
At McCormick Place, connected equipment should be positioned with its technology requirements in mind before network or telecom service is installed. Once fabrication, equipment integration, EAC coordination, or local installation starts affecting that setup, Chicago booth show-site execution becomes part of the planning process.
Why Exhibitors Choose Circle Exhibit
Clear scope, transparent quote review, nationwide booth support, and efficient setup planning for qualified rental and custom exhibit projects.
48hr
Setup Window
10+
Years Since 2014
U.S.
Trade Show Support
Real
Booth Project Proof
For a physical equipment demo, the functional footprint is the machine plus the space required to operate it, watch it, explain it, reset it, and continue the conversation.
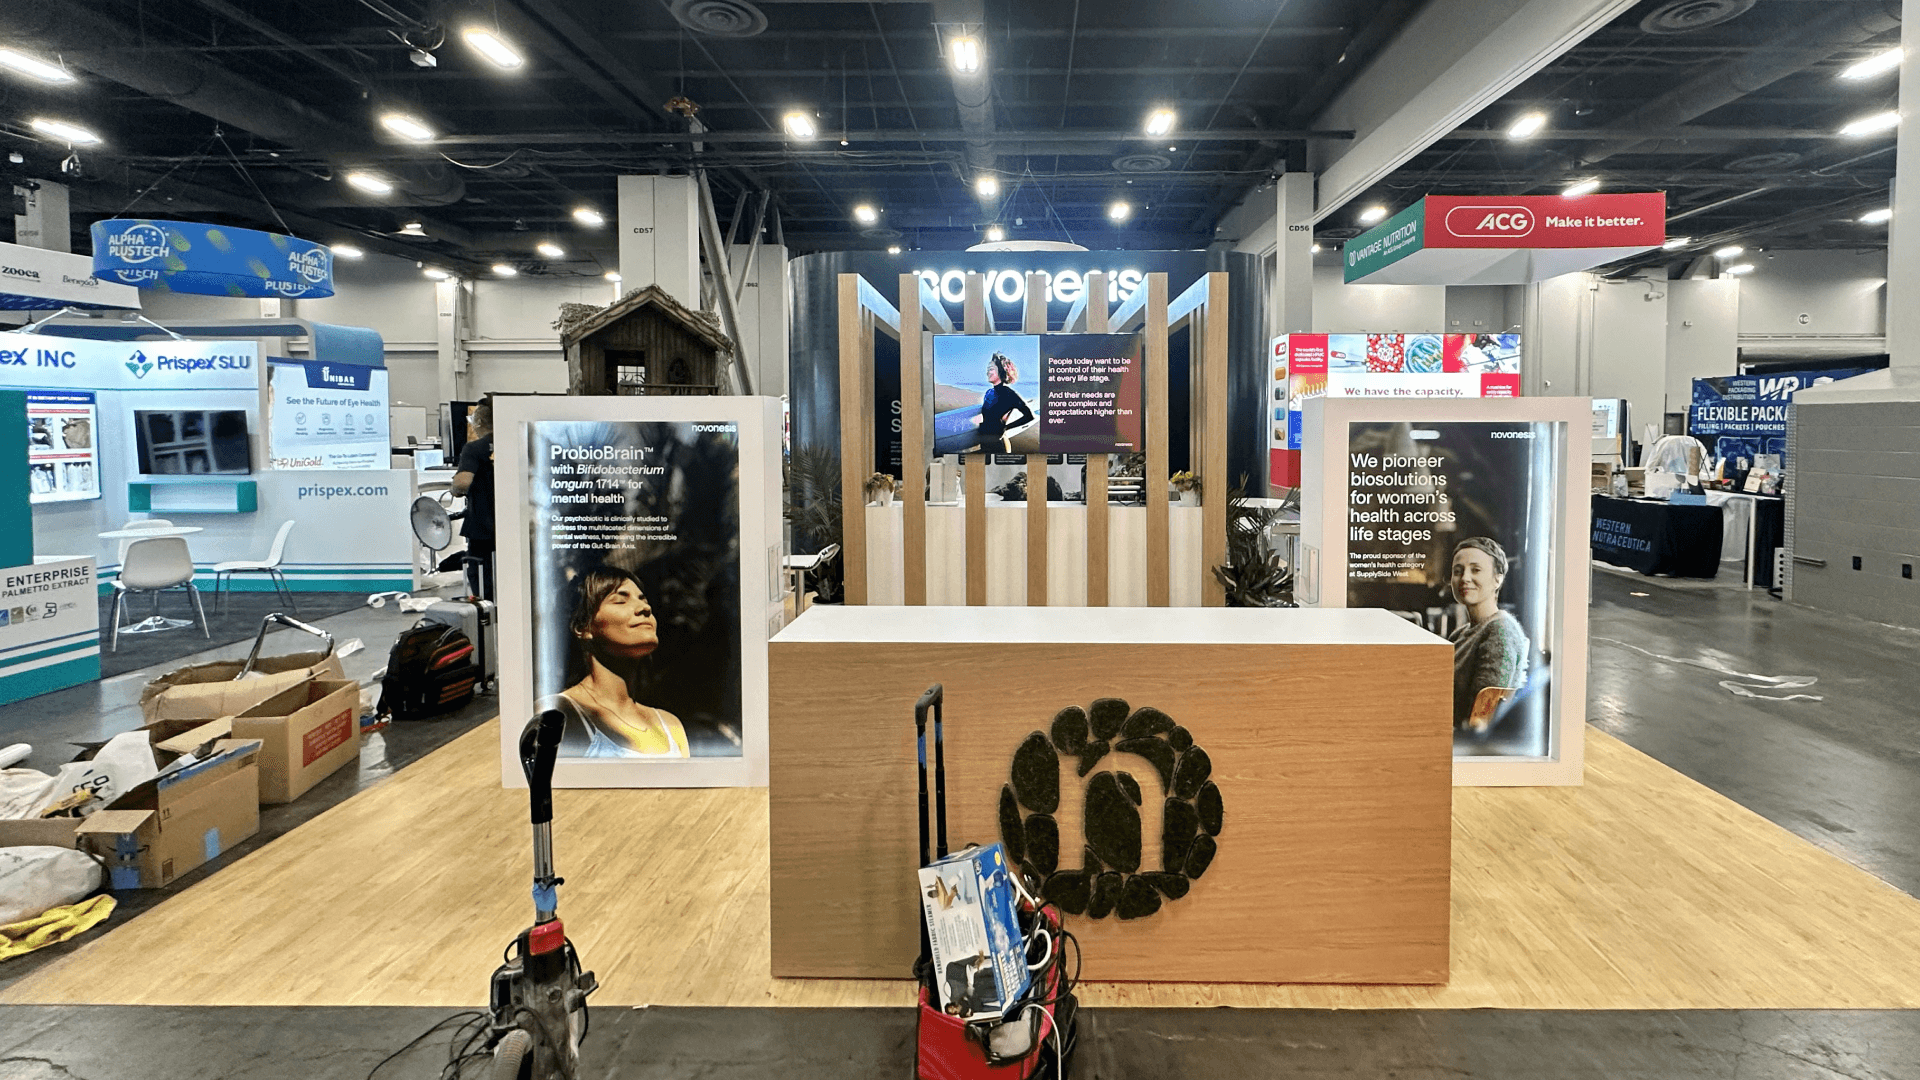
A 10x20 booth suits a compact instrument when one clear viewing position is enough and deeper technical discussion does not require a large dedicated zone.
A 20x30 booth fits programs where several machines, comparison points, larger screens, or separate demonstration and discussion zones remain active at the same time.
A 20x20 booth creates more separation between the operating zone, visitor viewing, supporting screen, hidden supplies, and the point where technical questions continue.
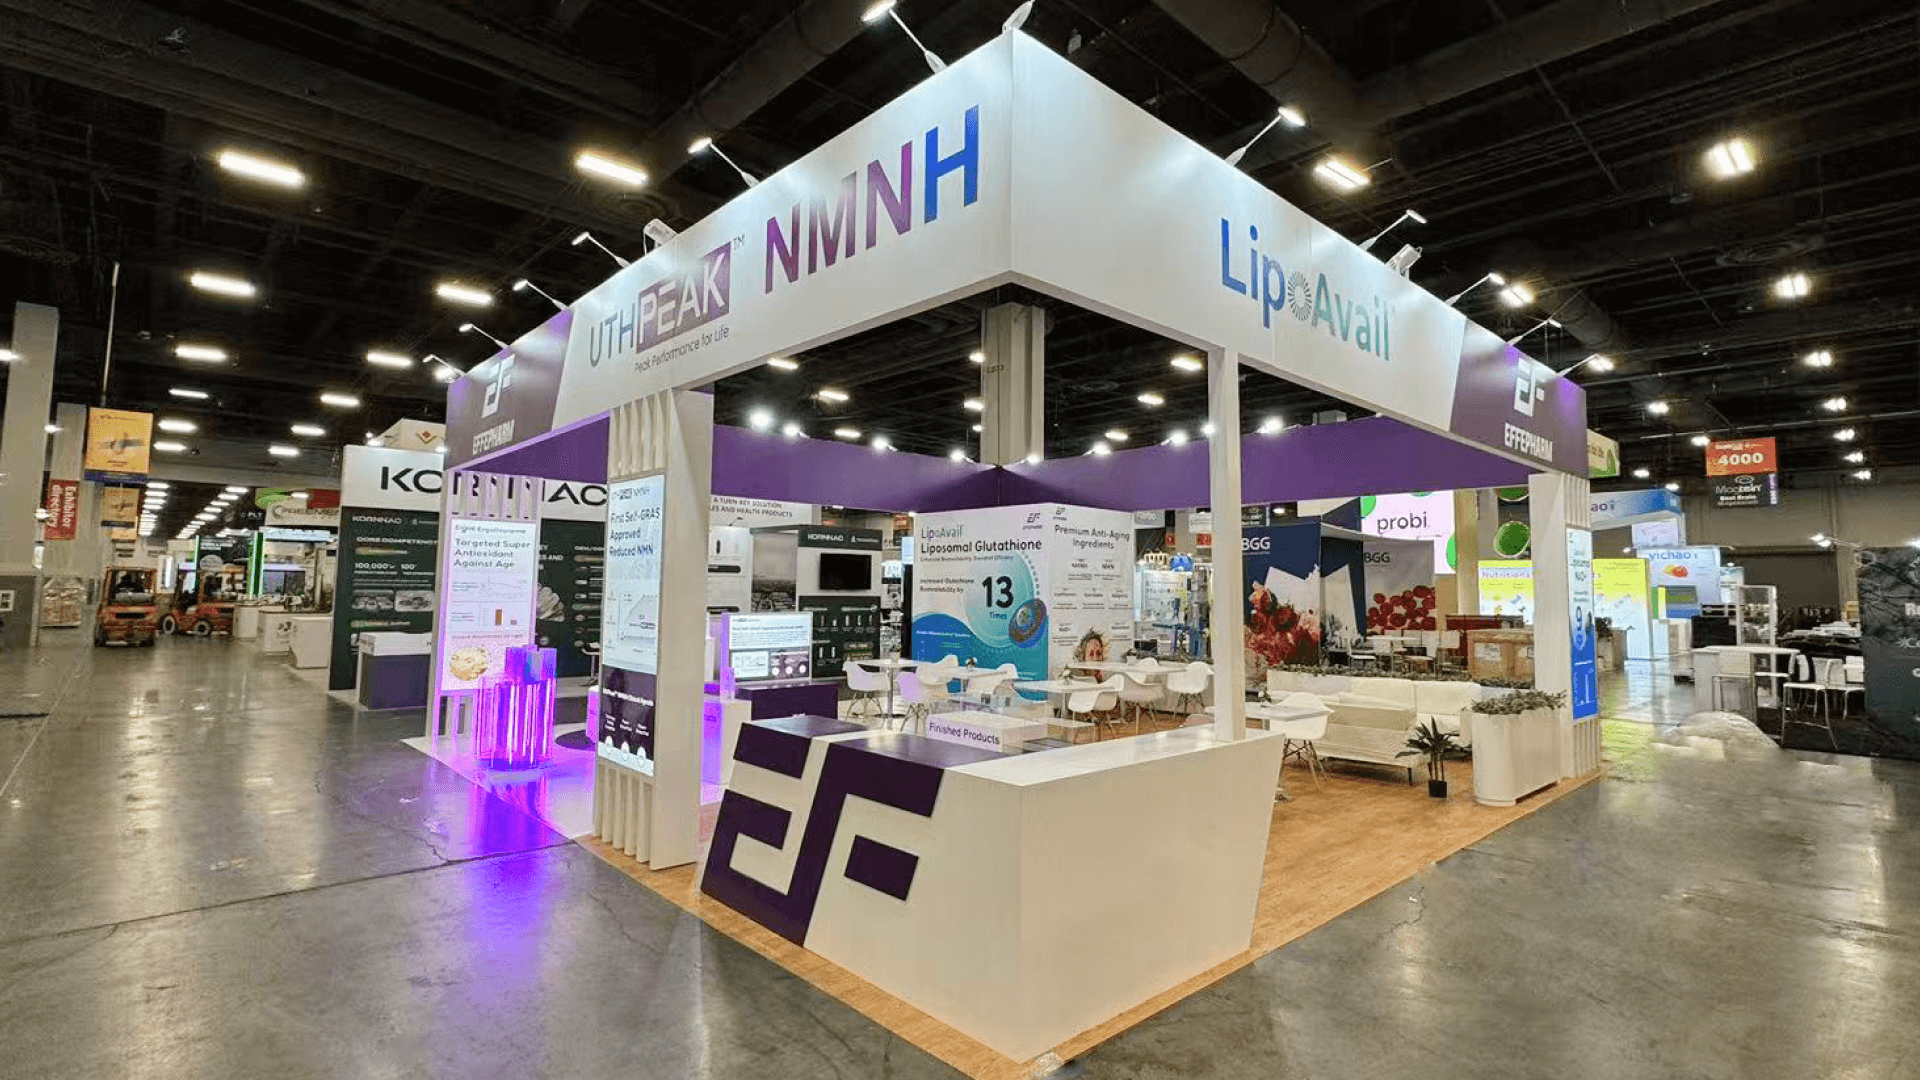
A larger island supports multiple or heavier equipment pieces, wider viewing zones, larger technical teams, stronger aisle access, and clearer separation between demos and longer conversations.
A live analyzer demo works best when the scientific and diagnostic context has already been established. The ADLM Lecture Series vs. Booth Demo guide helps instrument exhibitors decide which evidence belongs in the presentation, which proof should happen on the show floor, and when the discussion should move to a technical specialist.
Treat the instrument as an operating product rather than a static object. The layout has to support the machine, operator, visitors, and the discussion that follows.
Visitors should immediately understand which machine is being demonstrated and where they can stand without blocking the operator or aisle.
When controls, sample handling, internal processes, or results are difficult to see directly, a supporting screen can extend the demonstration beyond the machine zone.
Consumables, accessories, cleaning materials, replacement items, and reset supplies should stay close to staff but outside the customer-facing presentation.
Visitors with deeper questions should be able to move away from the operating position so the next demonstration can begin without waiting.
This planning scenario covers analyzers and laboratory equipment that need enough space to operate, remain visible, and support live technical explanation.
The 2027 Clinical Lab Expo runs July 27–29 at McCormick Place in Chicago.
The booth should let laboratory buyers watch the instrument operate and move naturally from demonstration into detailed product or application questions.
Not Sure Which Booth Size You Need?
Not every exhibitor knows whether a 10x20, 20x20, 20x30, or larger booth is the right fit. Circle Exhibit can help review your event goals, product display needs, demo areas, meeting space, storage, budget scope, and setup timeline before you choose a booth size.
The Operator and the Audience Need Different Space
Visitors May Not See What the Operator Sees
1
Document the Machine Before Drawing the Booth
2
3
4
When a Rental Structure Can Surround the Machine
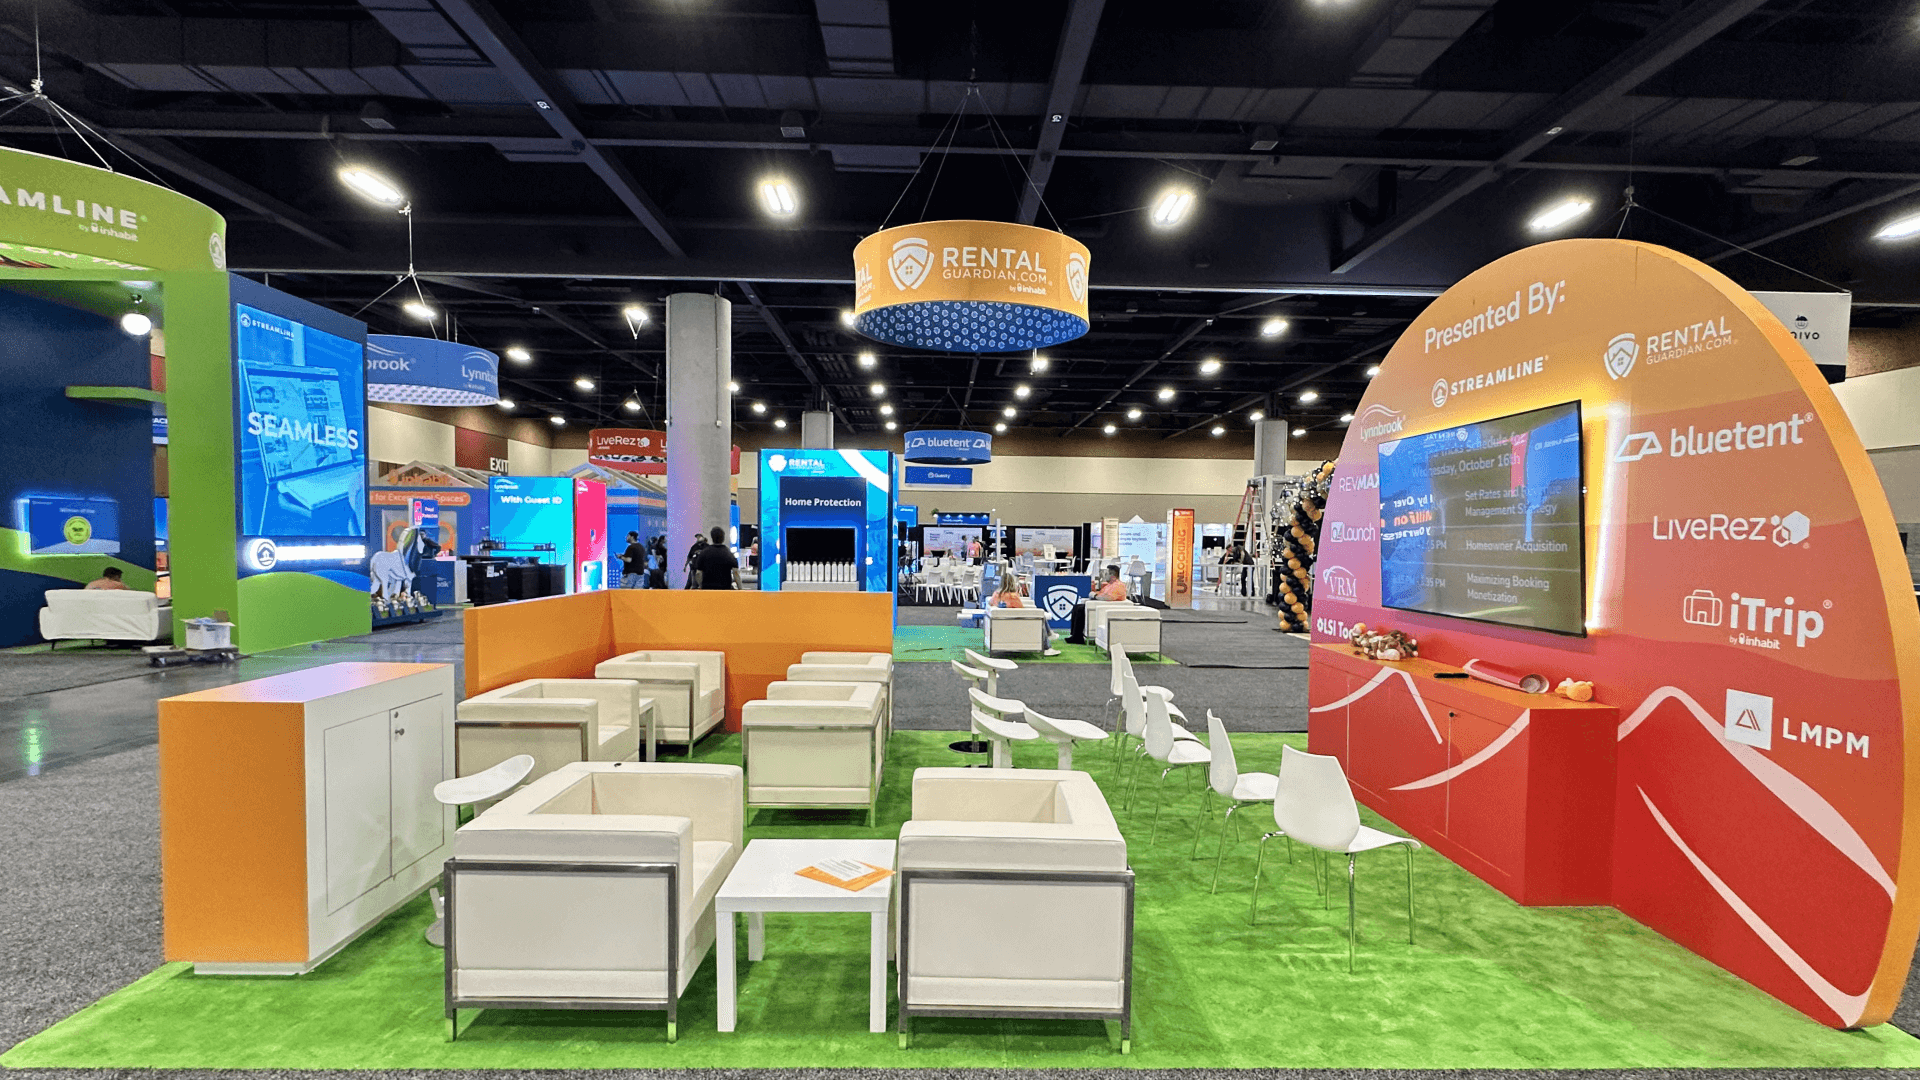
A Chicago trade show booth rental works well when the analyzer remains freestanding and the surrounding needs are branded walls, screens, counters, hidden storage, and conversation space.
When the Instrument Must Shape the Architecture
More custom fabrication is justified when the machine needs a platform, enclosure, unusual access, specialized cable management, or structure that directly supports operation.
Reusable Structure With Custom Equipment Integration
A hybrid approach can keep the primary exhibit system reusable while adding custom supports, interfaces, or product-specific elements only where the instrument requires them.
For connected equipment, the final machine and computer locations should appear on the booth plan before technology service is installed.
Equipment, screens, cables, data connections, and operator access should be planned as one working zone rather than assembled independently during move-in.
Fabrication and installation should protect machine access, viewing positions, cable routes, and nearby support space instead of treating the instrument as a final object to place.
Before opening, test the instrument, screen, operator position, viewing area, handoff point, and reset sequence together rather than checking each element separately.
Rental Booths Around Diagnostic Equipment
A rental structure works well when the analyzer remains freestanding and the surrounding booth provides screens, counters, storage, and conversation space. This keeps the exhibit flexible while reserving custom work for equipment-specific supports or interfaces.
How much operating space does a diagnostic instrument demo need?
Start with the instrument dimensions, then add operator access, visitor viewing, supporting screens, and any service or reset space required during one complete demonstration.
Where should visitors stand during an analyzer demo?
When should an instrument demo use a support screen?
What should stay close to the demo?
What should be tested before the ADLM expo opens?
READY TO PLAN YOUR NEXT BOOTH?
Let’s Build a Booth That Fits Your Event
Share your event name, booth size, city, timeline, product display needs, and design references. Circle Exhibit will review your project direction and help you choose a rental-friendly or custom exhibit path.
3000+
Booth Projects Supported
50+
U.S. Event Cities
Transparent
Quote Review
The main ADLM hub covers the broader buyer journey, exhibit program, booth-size choices, and event-level planning beyond the individual machine demo.
When several instruments, robotics, software, and data must read as one connected process, the problem shifts from a machine demo to a workflow story.
Once the machine dimensions are known, 20x20 planning helps test how much room remains for viewers, screens, storage, and technical discussion.
Equipment-sensitive fabrication, EAC coordination, installation, and McCormick Place setup can continue through the Chicago execution page.
Installation planning matters most when booth structure, equipment positioning, graphics, screens, and final testing have to happen in a controlled sequence.