What Buyers Need to Compare First
Buyers may be comparing profile shape, coating finish, connection method, or installed appearance. These are different decisions and should not compete on the same display surface.
Group materials by the question they answer. Profiles belong together, finishes need consistent lighting, and connection details need a drawing or project image that makes the assembly easier to understand.
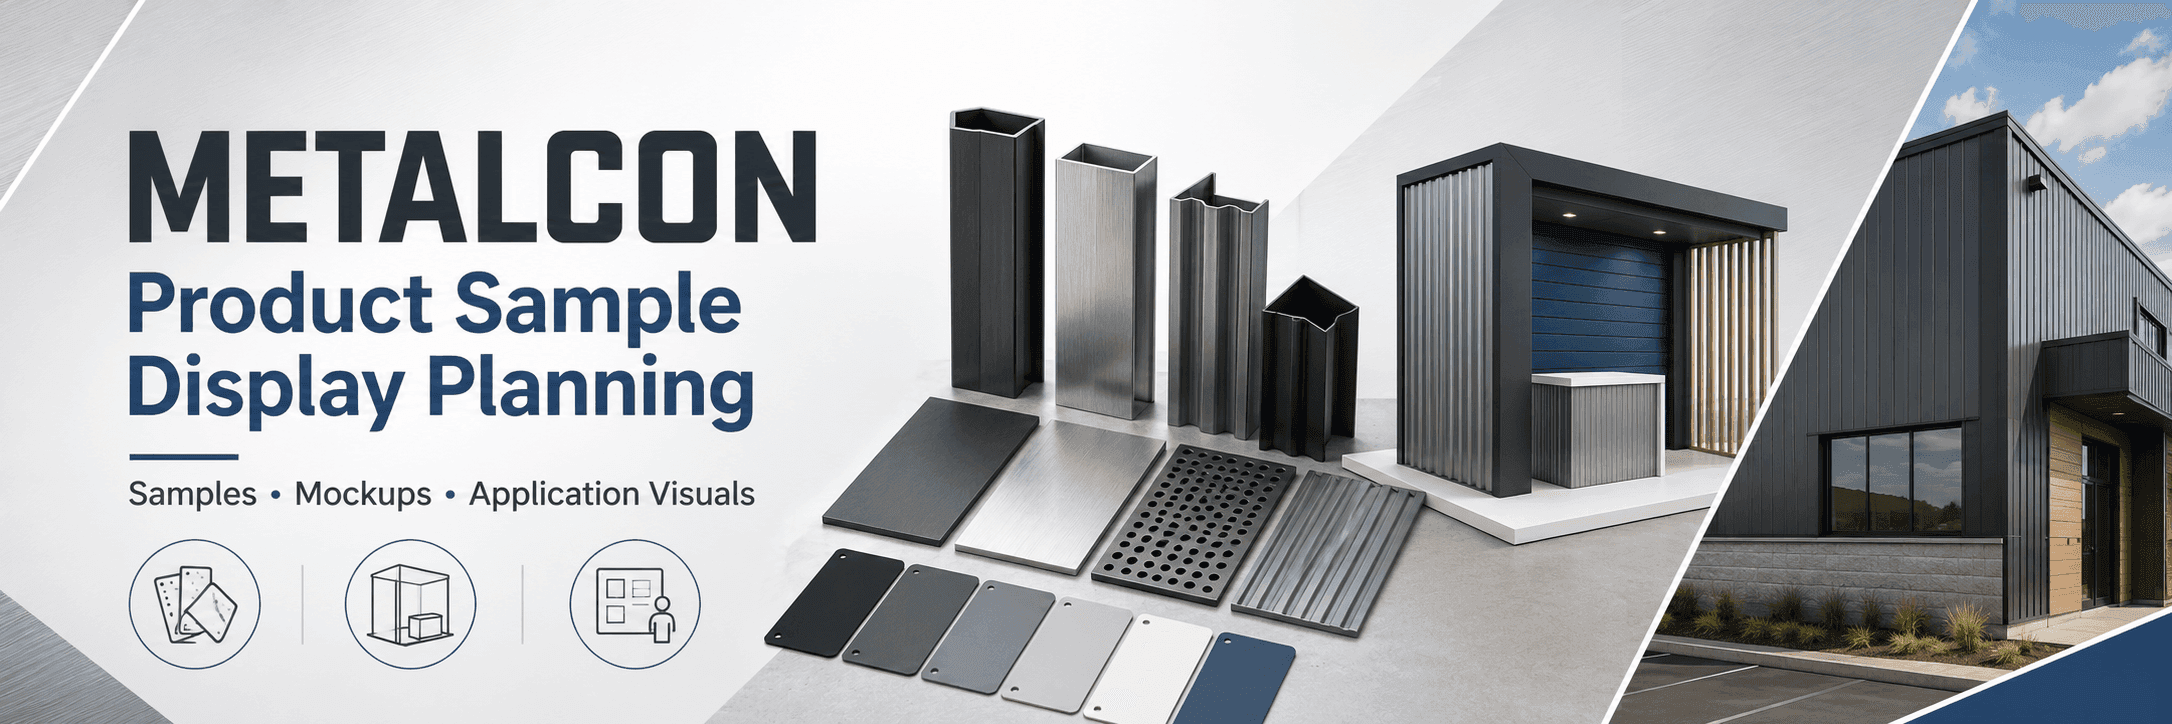
Make Profiles, Finishes, and Mockups Easy to Compare
Profiles, finishes, seams, and connection details each reveal something different. A profile shows shape and system fit, a finish sample shows color and texture, and a mockup helps buyers understand how the pieces come together once installed.
Display Element | What It Helps Buyers Understand | Presentation Focus |
|---|---|---|
Profile sample | Shape and system fit | Keep the cross-section visible |
Finish sample | Color, texture, and coating | Use consistent lighting |
Seam or connection detail | How components meet and install | Add a short drawing or callout |
Mockup | Assembly, scale, and construction context | Leave room for close inspection |
Project image | Installed appearance | Place it beside the matching sample |
Related samples work best within the same viewing area. In roofing and wall systems booth planning, profiles, coatings, seams, and connection details should be easy to inspect without turning the display into an overcrowded sample wall.
Metal profiles, coatings, and finish samples arranged under consistent lighting for direct comparison.
Connect Each Sample to a Real Project Application
A sample shows the material up close, but it does not show how the product will read across a finished building. Place each board, profile, or mockup beside a project image that uses the same finish, scale, or application.
For architects, designers, and specifiers, that pairing makes the material easier to place in context. In METALCON Design District exhibit planning, samples and project photography should help visitors connect material details with a real architectural use.

A metal construction mockup paired with project imagery to show how the material appears in a finished building.
Keep Technical Labels Short and Close to the Product
Place the product name, finish or profile code, application type, and one useful technical note beside the sample they describe. A project image or mockup can add context, but it should not create a second block of information elsewhere on the wall.
When several products share one display, clear graphics and brand presentation can separate the groups and keep the main details readable without filling the wall with technical copy.
Keep the Display Usable After Buyers Handle the Samples
Once buyers start lifting samples, comparing finishes, and moving closer to inspect details, the display can lose its order quickly. Leave enough room around mockups for close viewing and short conversations, while staff stay nearby without crowding the comparison area.
Replacement samples, technical sheets, cleaning supplies, and damaged pieces belong behind the display. At OCCC, decide where those items will sit before the sample wall and mockups are fixed, so staff can restore the display without interrupting buyers.

Profiles, connection details, and concise technical labels organized for close inspection on the METALCON show floor.
Display Review
Walk the display once from the buyer’s side:
Is each sample’s purpose easy to understand?
Are profiles, finishes, and connection details grouped clearly?
Does each project image sit beside the material it shows?
Can buyers inspect mockups without narrowing the aisle?
Can staff replace samples without interrupting a conversation?
Where Material Displays Lose Clarity
Too many samples can make a wall or counter difficult to read. Finishes shown under different lighting may also look inconsistent, while long labels can bury the detail buyers are trying to compare.
Backstock added after the display is already full takes space away from inspection and short conversations. Spare samples, literature, and cleaning supplies belong behind the main viewing area.
FAQ
How should metal construction samples be grouped?
Group them by what buyers need to compare. Keep similar profiles together, show finishes under the same lighting, and place connection details beside the drawing or mockup that explains them.
How can exhibitors connect samples with project images?
Place each image beside the material it shows. Matching the finish, profile, or assembly helps buyers connect the sample with its installed appearance and real project use.
How much technical information should appear beside a mockup?
Keep the label short: product name, profile or finish code, application type, and one useful technical note. Detailed specifications can stay in a handout or later conversation.