What Is a Medical Device Demo Station?
A medical device demo station is a working area built around a specific product interaction. It brings together the equipment, people, screens, accessories, and technical access required to repeat the demonstration throughout the show.
Key Terms
Demo Station
A booth area where a medical device is operated, explained, viewed, or handled during a product demonstration.
Viewing Line
The position or outer viewing zone from which attendees can see the device, operator action, and supporting screen without entering the technical workspace.
Reset Zone
A nearby working and storage area where staff return accessories, check connections, reload content, and prepare the device for the next demonstration.
Medical Device Demo Types and Layout Needs
Demo Type | How the Demo Works | Main Layout Need | Common Failure |
|---|---|---|---|
Screen-led product explanation | Attendees follow a presenter, screen, or interface without operating the device | A shared sightline between the device, screen, presenter, and audience | The presenter or front row blocks the screen |
Staff-operated device demonstration | A trained staff member operates the device while attendees watch | Operator clearance, accessory access, and an outer viewing line | Attendees move into the operator’s workspace |
Hands-on medical device demo | An attendee uses the product with staff guidance | Controlled interaction and nearby reset access | The next attendee enters before the device is ready |
Equipment or system demonstration | Attendees watch a larger device or connected system operate | Protected technical access, wider viewing space, cable routes, and service clearance | Visitor circulation crosses the operator or service path |
The right format depends on what attendees need to understand or do. A screen-led explanation may require little physical interaction, while a hands-on medical device demo needs controlled access, staff guidance, and enough time to reset the product.
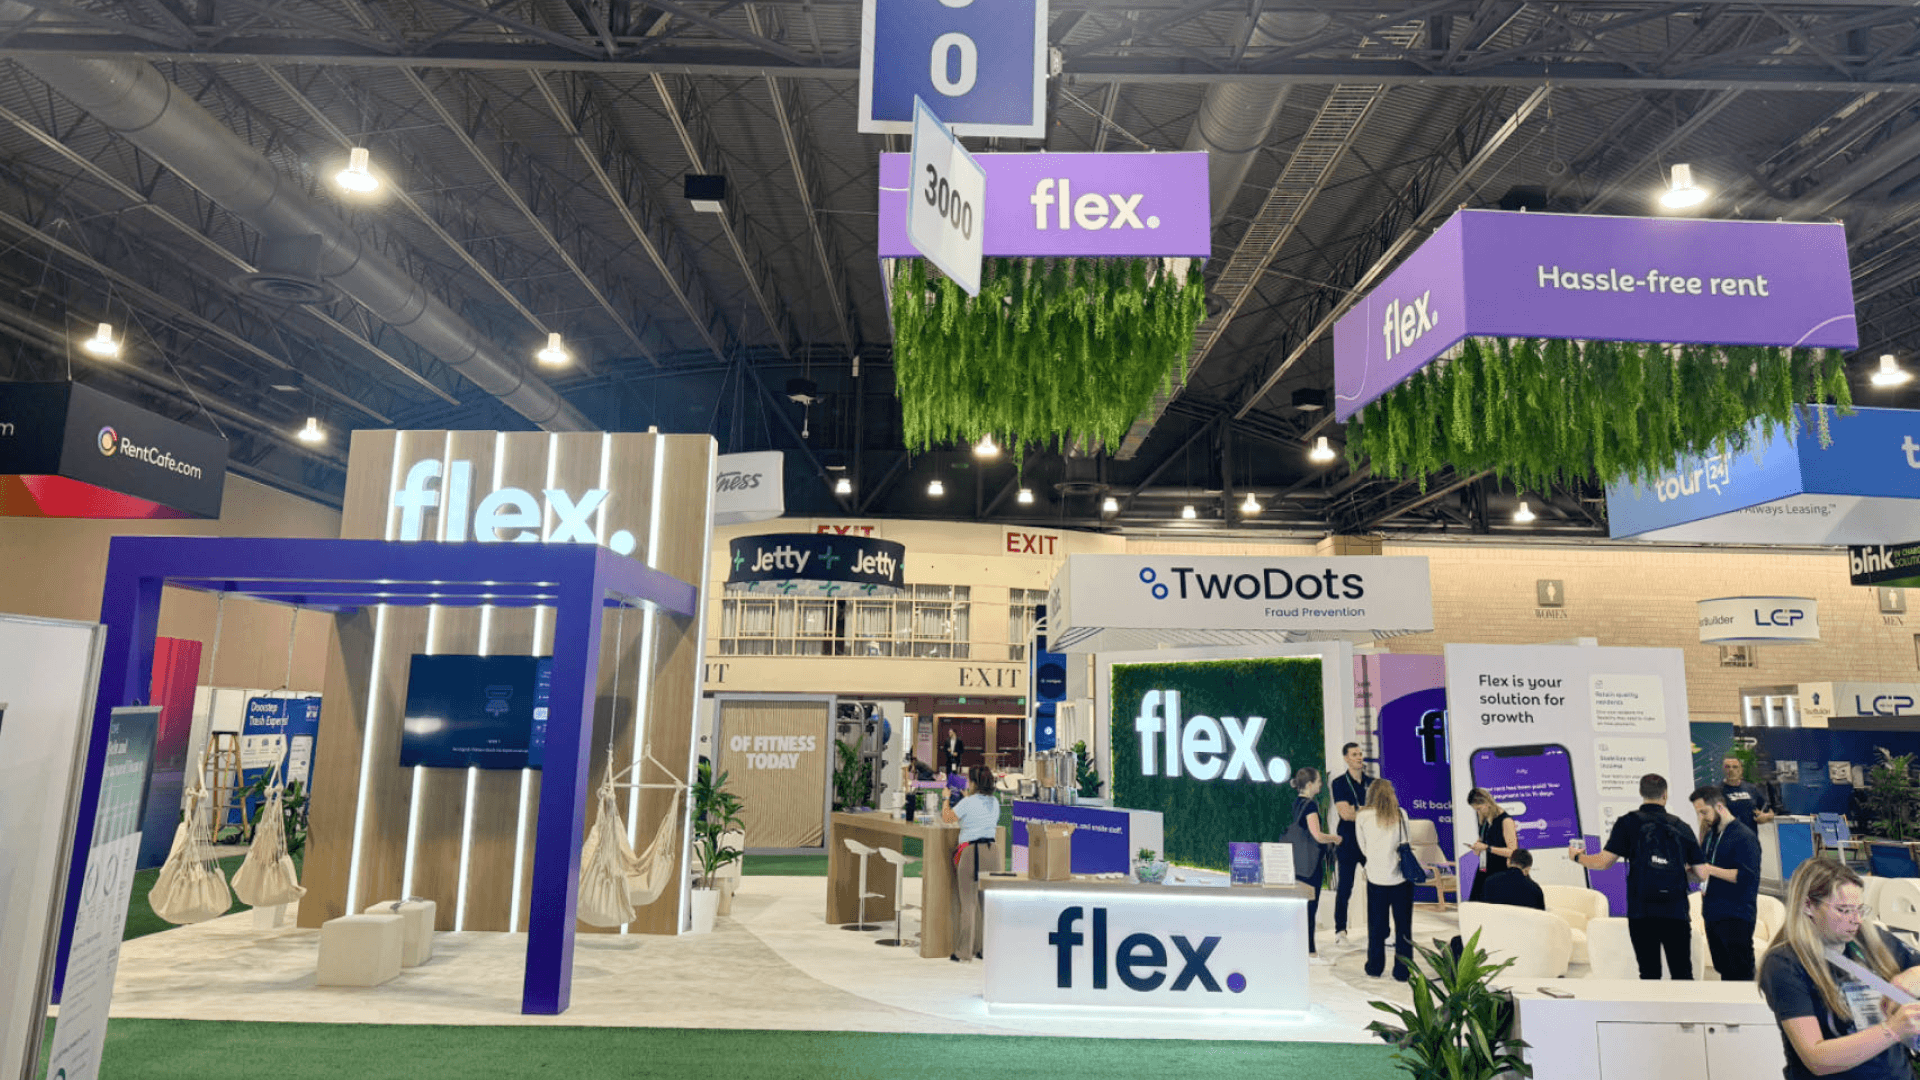
Separating the operator side from the visitor viewing line keeps controls accessible while allowing attendees to follow the device and supporting screen.
Demo Format and Station Count Shape the Floor Plan
The floor plan should follow how the demonstration runs. A short walk-up explanation uses space differently from a scheduled clinical walkthrough. The number of stations operating at the same time usually matters more than the total number of products on display.
Walk-Up or Scheduled?
Walk-Up Demonstration
Walk-up demonstrations suit short, repeatable explanations with limited setup. Attendees can watch first, then move toward lead capture or a longer conversation once they understand the product.
Scheduled Demonstration
Scheduled demonstrations work better when the session requires a named operator, technical preparation, a controlled audience, or a longer clinical walkthrough. Registration, equipment checks, and content loading may happen before the group enters the station.
How Many Demo Stations Does the Booth Need?
Station Setup | When It Works Best | Staffing Coverage | Layout Consequence |
|---|---|---|---|
One station | One primary device or workflow leads the booth | One operator; the presenter may be the same person or a separate team member | Viewing and reset can stay compact, but lead capture should remain outside the active position |
Two stations | Two related demonstrations need to run independently, together, or in alternating sessions | Coverage should match the stations active at the same time | When both are active, screens, presenter audio, waiting lines, accessories, and reset points need separation |
Multiple stations | Several device families, simultaneous demos, or scheduled rotations are planned | Staffing should follow the number of active stations, with technical support shared where practical | Each active station needs a clear viewing reference and reset point. Screens may be dedicated or shared during alternating sessions, while back storage and technical support can remain shared |
Product count alone does not determine station count. Several related devices may share one workflow, while one complex device may create separate moments for live use, supporting evidence, and technical discussion.
A 20x20 booth may support one primary station or two compact stations when the equipment and interactions remain light. Once several active stations need separate screens, waiting areas, reset access, and staff coverage, 20x30 booth planning provides a clearer way to separate those functions.
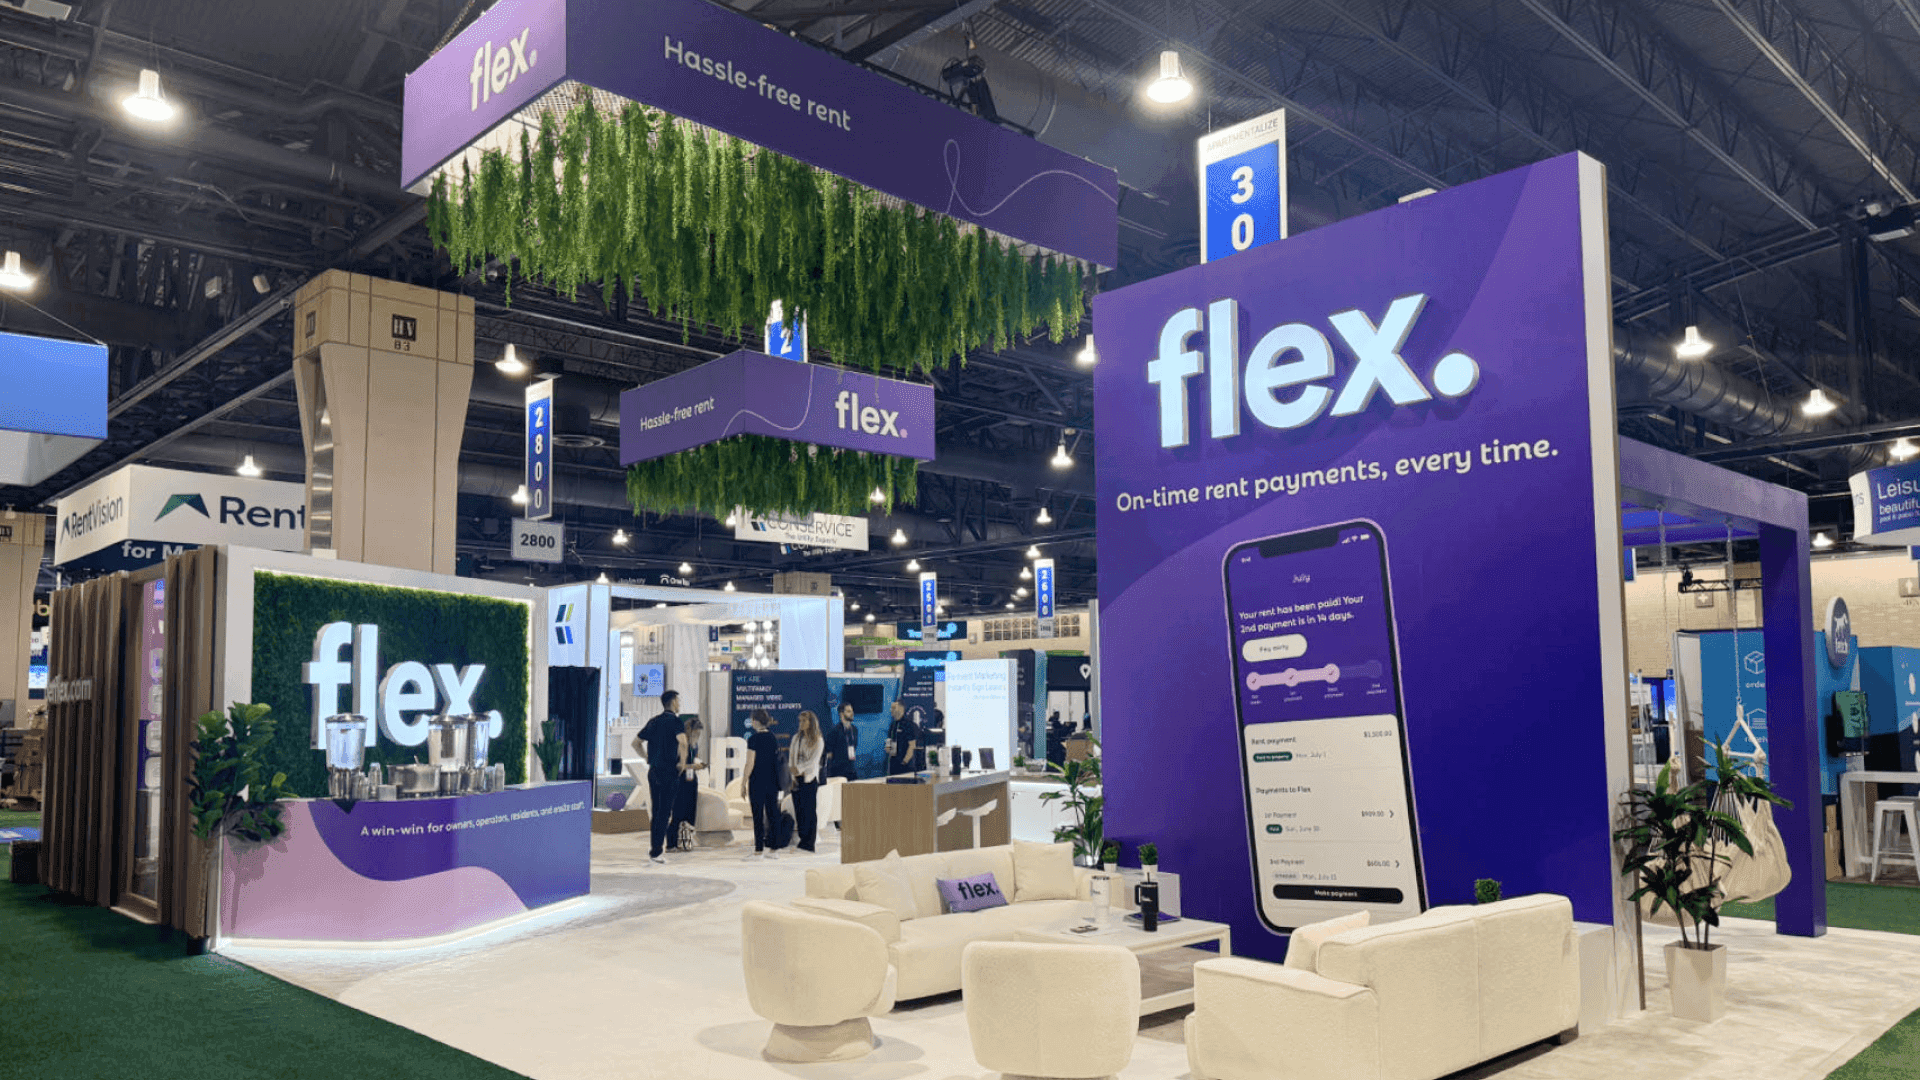
A single-station 20x20 layout can connect the operator, presenter, screen, lead capture, and nearby reset storage without crowding the entrance.
How the Operator Side, Visitor Side, and Screen Work Together
A medical device demo station has two working conditions. One side supports operation, equipment access, and reset. The other helps attendees see, understand, and discuss the product.
Operator Side vs Visitor Side
Operator Side
The operator side needs direct access to controls, accessories, cables, tools, a nearby interface, and technical support. Staff should be able to operate and reset the device without attendee traffic crossing the working area.
Visitor Side
The visitor side needs a clear product view, supporting screen, defined interaction position, outer viewing line, and exit route. Attendees should be able to follow the demonstration without entering the technical workspace.
Position the People Around the Demo
Place the operator where controls and accessories remain within reach.
Keep the presenter beside the viewing field rather than in front of it.
Give the attendee at the station a defined interaction position.
Leave an outer viewing line for observers.
Keep technical support on the equipment side.
Separate the exit route from the next attendee’s entry.
These positions do not require permanent floor markings, but the booth team should understand them before opening. Unclear roles often lead to the presenter blocking the screen, observers moving into the operator’s space, or technical staff crossing the attendee route.
Check the Screen Sightline
Can attendees see the screen before entering the station?
Can they see the device and screen without turning around?
Does the operator block the procedure view?
Is the content readable from the outer viewing line?
Can the screen switch to backup content if the live source fails?
The main screen should usually serve the audience. The operator may use a smaller interface closer to the controls, while the larger supporting screen shows the procedure view, imaging output, interface, or workflow to people outside the active position.
Product Message and Supporting Evidence
Product Message
The first message should explain what the device does, where it fits in the clinical workflow, and what attendees are about to see. It should remain close to the physical product and be understandable before the demonstration begins.
Supporting Evidence
Procedure views, imaging, workflow steps, specifications, product status, and clinical evidence can add detail after the product is understood. Supporting content should remain connected to the device being demonstrated rather than becoming a separate presentation.
Field note: A device may fit correctly while the operator blocks the main screen during rehearsal. Moving the screen outside the operator’s shoulder line can preserve access to the controls while keeping the procedure view visible to the outer audience.

A two-station 20x30 layout gives each demonstration its own screen, viewing direction, waiting area, and quick-access reset storage.
Where Queueing, Lead Capture, Storage, and Reset Should Happen
Waiting visitors, follow-up conversations, storage access, and equipment reset often compete for the same space. The active station should remain clear while the queue, lead capture, and preparation for the next demonstration happen beside it.
Keep the Queue Away from the Entrance
Place the active demonstration slightly inside the booth.
Establish a visible outer viewing line.
Keep waiting visitors beside the station.
Direct completed attendees toward lead capture or discussion.
Keep the equipment side clear for technical access.
This arrangement protects aisle clearance and creates a clearer visitor exit route without blocking other booth traffic.
Put Lead Capture in the Right Place
For a short walk-up demonstration, lead capture usually works better near the demo exit after the attendee understands the product. Scheduled demonstrations may use registration beforehand when the operator, equipment, or content requires advance preparation.
Longer clinical, technical, or procurement discussions should move to a nearby conversation area rather than remain inside the active demo position.
Keep Reset Storage Close
A medical device reset zone does not need to hold every shipping case or backup item. It should keep frequently used materials within reach:
Accessories and sample components
Consumables used during the demonstration
Chargers, adapters, cables, and tools
Cleaning or reset materials, when applicable
Replacement devices or backup components
Clinical literature and backup screen content
Field note: A booth may have enough storage overall while adapters, tools, and replacement parts remain too far from the active station. A small reset cabinet on the technical side reduces staff movement and keeps the attendee path clear.
Why Medical Device Demo Stations Become Difficult to Run
Most problems appear only after the equipment, staff, audience, and supporting screen are placed together.
Planning Only for the Device Footprint
The equipment fits, but the operator, presenter, attendee, viewing line, and technical support do not have enough usable space. The working area around the device matters as much as the device itself.
Making Two Stations Share One Screen
When unrelated demonstrations run at the same time, attendees cannot tell which interface, workflow, or evidence belongs to which product. Each active station needs a clear visual relationship with its supporting content.
Putting the Presenter in the Viewing Line
A presenter standing between the device and the main screen may block the procedure view for the outer audience. The presenter should remain beside the viewing field rather than inside it.
Testing the Device Without Rehearsing the Team
A device may power on correctly while the operator, presenter, attendee, and technical support still interfere with one another. A full medical device booth rehearsal can reveal blocked screens, crossed circulation paths, missing accessories, and unclear staff handoffs.
One Station or Two: Medical Device Demo Layout Scenarios
These are illustrative planning scenarios rather than fixed formulas for every 20x20 or 20x30 medical device booth.
20x20 Single-Station Scenario
A 20x20 medical device booth uses one primary device, one operator, a presenter, and a supporting screen for the outer audience. During rehearsal, the presenter blocks the screen, lead capture occupies the active attendee position, and waiting visitors stop near the entrance.
The revised layout moves the screen beyond the operator’s shoulder line, places the presenter beside the viewing field, and shifts lead capture toward the demo exit. A compact reset cabinet sits on the technical side, allowing the next demonstration to begin while the previous conversation continues nearby.
20x30 Two-Station Scenario
A 20x30 medical device booth includes a screen-led diagnostic workflow and a staff-operated treatment device. When both stations share one screen and waiting area, attendees struggle to connect the content with the correct product.
The revised layout gives each station its own viewing direction and supporting screen. The middle area explains product relationships and clinical evidence. Rear storage is shared, but each station retains quick-access reset storage. Longer discussions move to a meeting area away from the active demonstrations.
Applying the Same Logic at AUA2027
Different device families may be organized into stations by clinical application, workflow, or buyer need. Each station needs a clear product context, supporting screen, accessories, staff coverage, viewing line, and reset plan. AUA urology medical device booth planning explains how those stations fit within the wider portfolio.
A surgical robotics presentation usually operates as one integrated system rather than several independent demo stations. The robotic platform, surgeon console, procedure view, technical access, and audience positions must remain connected. AUA surgical robotics exhibit planning covers that complete system relationship.
Before the Booth Opens: Is the Demo Station Ready?
Powering on the device is only the first check. The complete station should be tested with the screens, accessories, staff positions, attendee route, reset process, and follow-up handoff in place.
Pre-Show Demo Readiness Checklist
The device runs in the intended demo mode.
The screen receives the correct video or software source.
Demo content and required user accounts are ready.
Accessories, consumables, and tools are assigned to the correct station.
Power and data connections stay outside attendee circulation.
The operator and presenter have rehearsed their positions.
Backup content is available if the live source fails.
Reset materials and replacement components remain within reach.
Practical Questions
How much space does a medical device demo station need?
Allow room for the device footprint, operator reach, attendee interaction, outer viewing line, technical access, and a clear exit path. The required clearance depends on the equipment and interaction rather than one standard dimension.
Can two medical device demos share one screen?
They can share a screen when the demonstrations alternate and the content clearly switches between related products. Simultaneous demonstrations usually need separate screens or clearly separated viewing references.
Where should lead capture happen in a medical device demo booth?
For a short walk-up demonstration, lead capture usually works best near the demo exit after the attendee understands the product. A scheduled demonstration may use registration beforehand, provided it does not occupy the active station.
A device is not ready for the show simply because it powers on. The better test is whether one demonstration can finish, reset, and hand off without blocking the screen, the attendee path, or the next session.