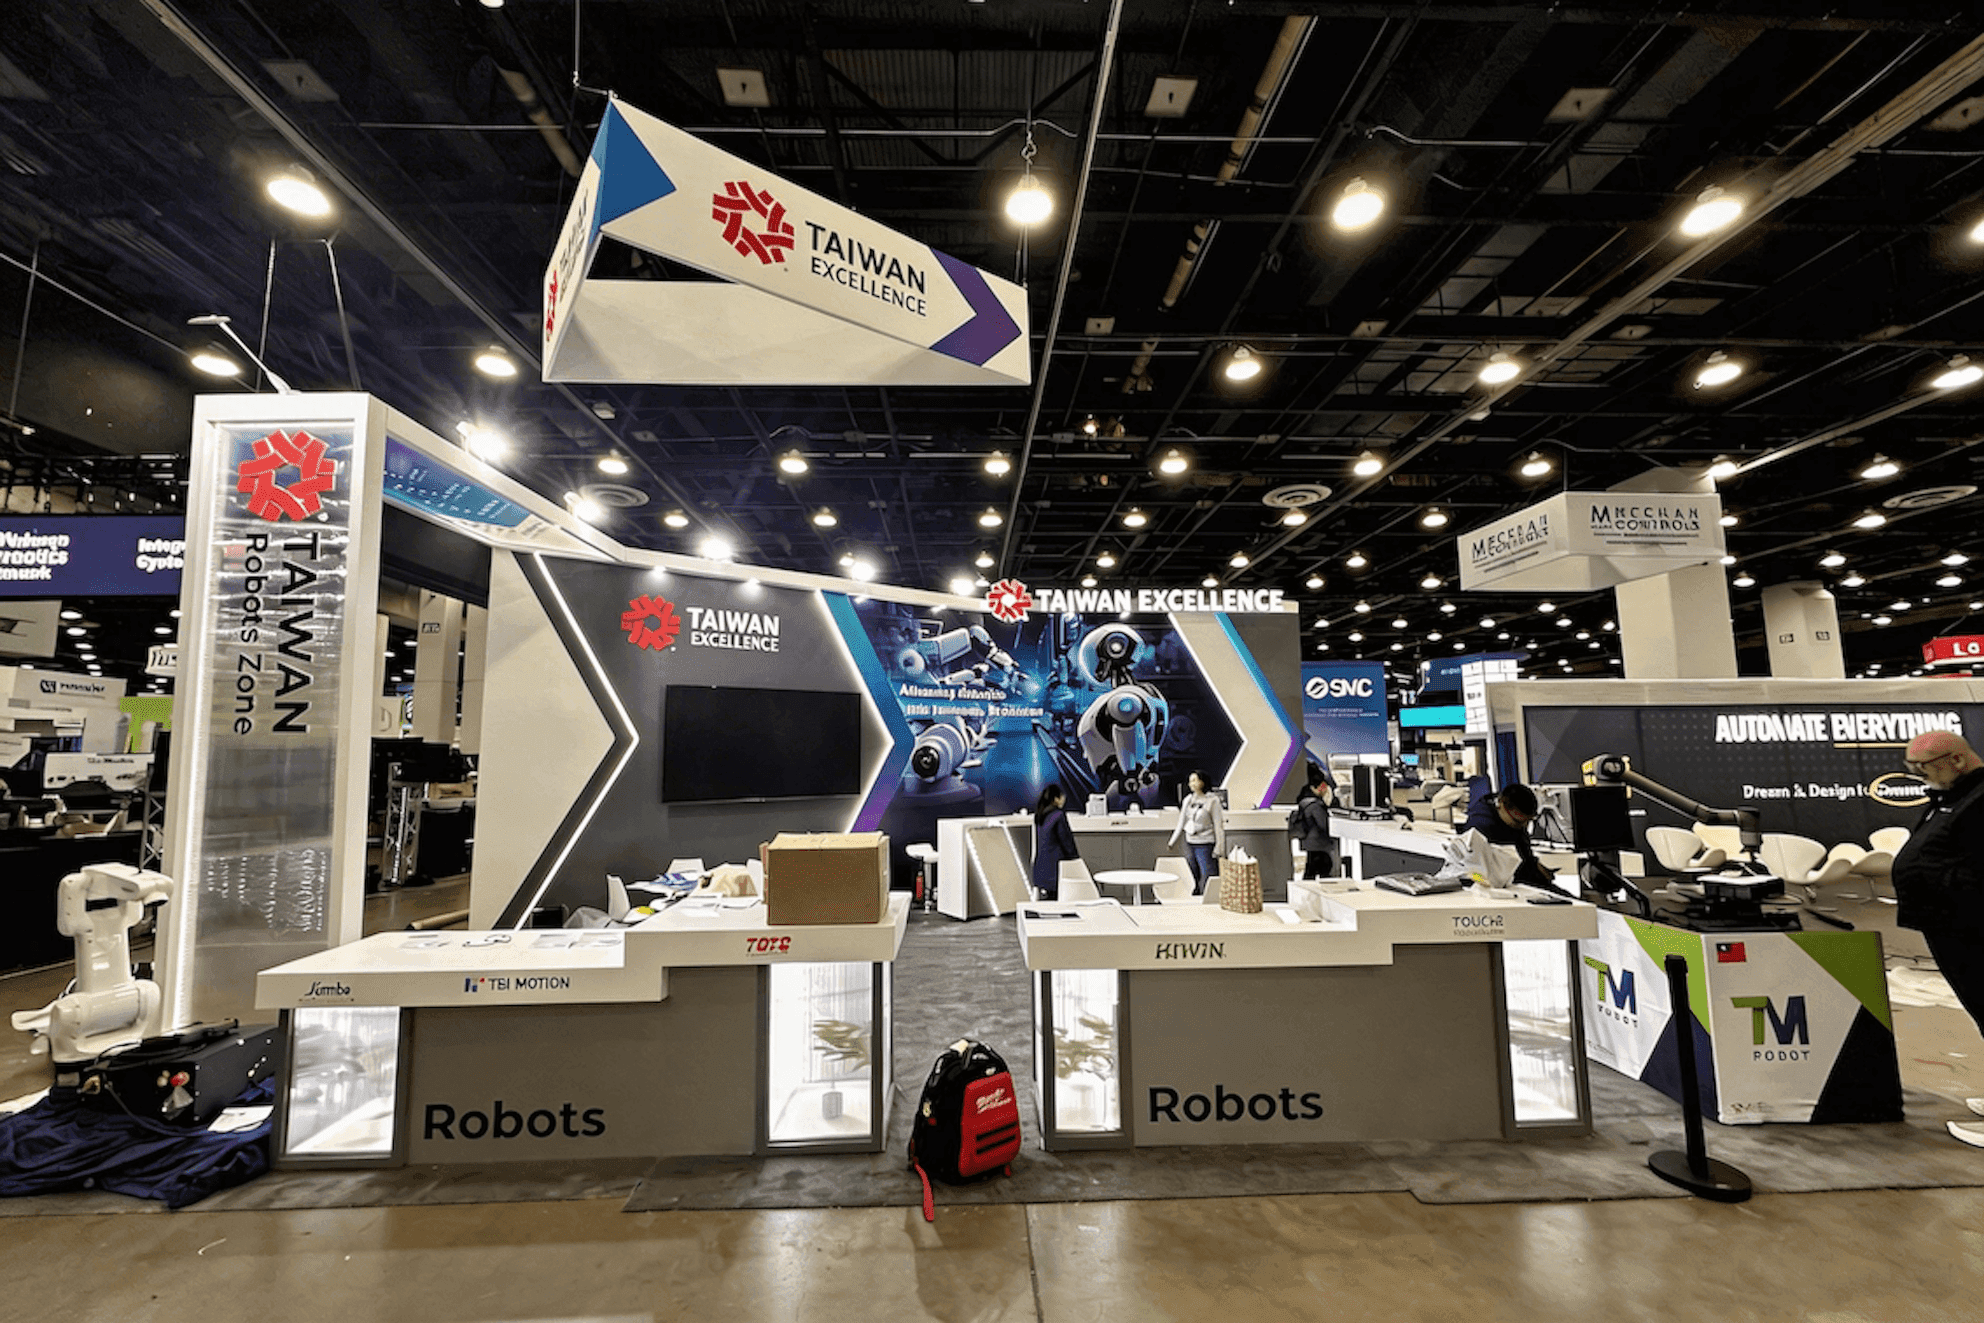
Vehicle Footprint Beyond the Parked Dimensions
The vehicle’s parked outline is only part of the space it needs. During a demo, doors may open, the hood may lift, and battery or service panels may need full access. Technicians also need room to work without blocking the aisle or standing in front of the product.
Before finalizing the footprint, confirm:
Vehicle body dimensions
Open doors and hood
Battery and service-panel access
Technician clearance
Buyer sightlines
Aisle clearance
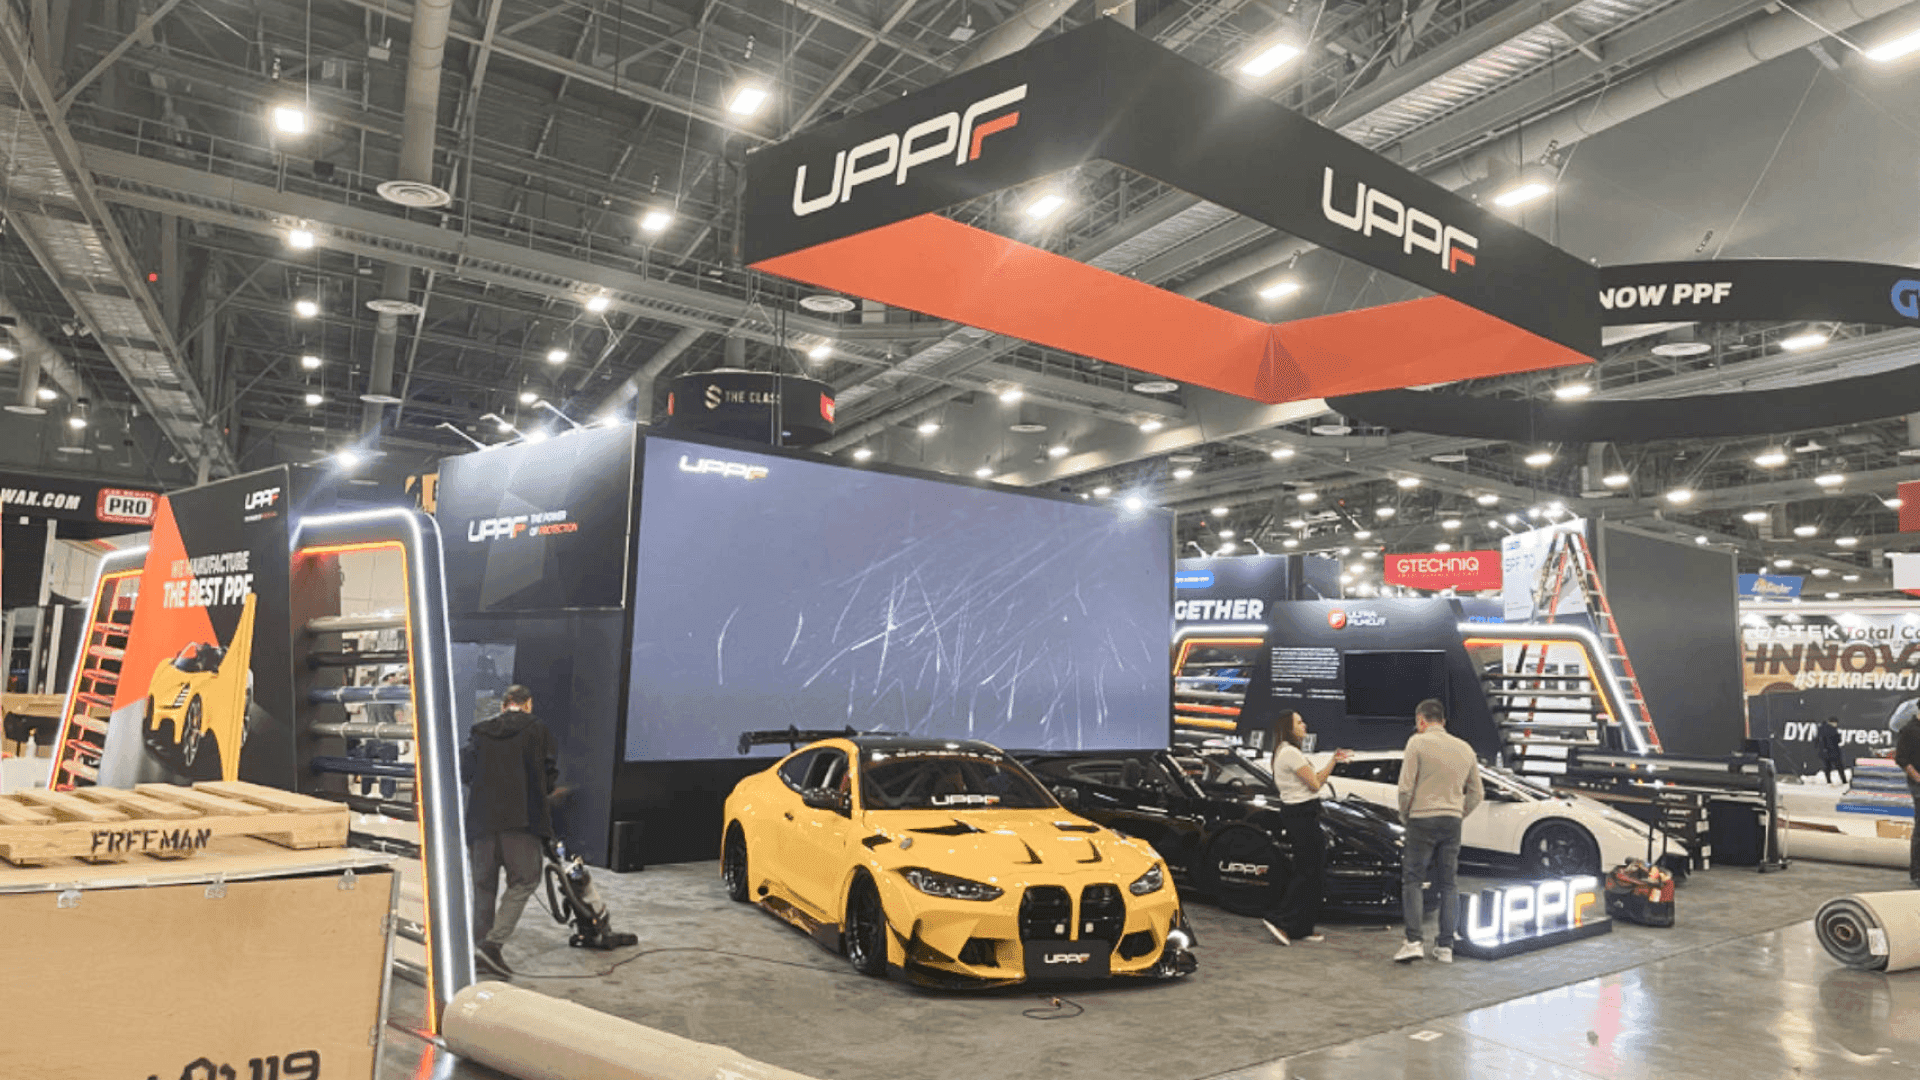
The working footprint includes more than the parked vehicle. Doors, service panels, technician access, buyer sightlines, and aisle clearance all affect the final layout.
Buyer Viewing and Technician Access
Buyers should be able to see the product, the staff explanation, and the part being demonstrated without stepping into the technician area.
Keep the viewing position outside the work zone, leave room for staff to move and handle tools, and keep the aisle clear. The boundary does not need to feel closed, but visitors should immediately understand where to stand and when staff assistance is required.
Components Grouped by Vehicle System
Batteries and chargers belong together as one power system, while motors and controllers connect to performance and control. Suspension parts, wheels, and accessories are easier to understand when they sit near the area of the vehicle they affect.
Use a few physical samples and short labels to explain fit, compatibility, and purpose. The vehicle, diagrams, and staff explanation can then show how the parts work together without turning the display into a wall of specifications.
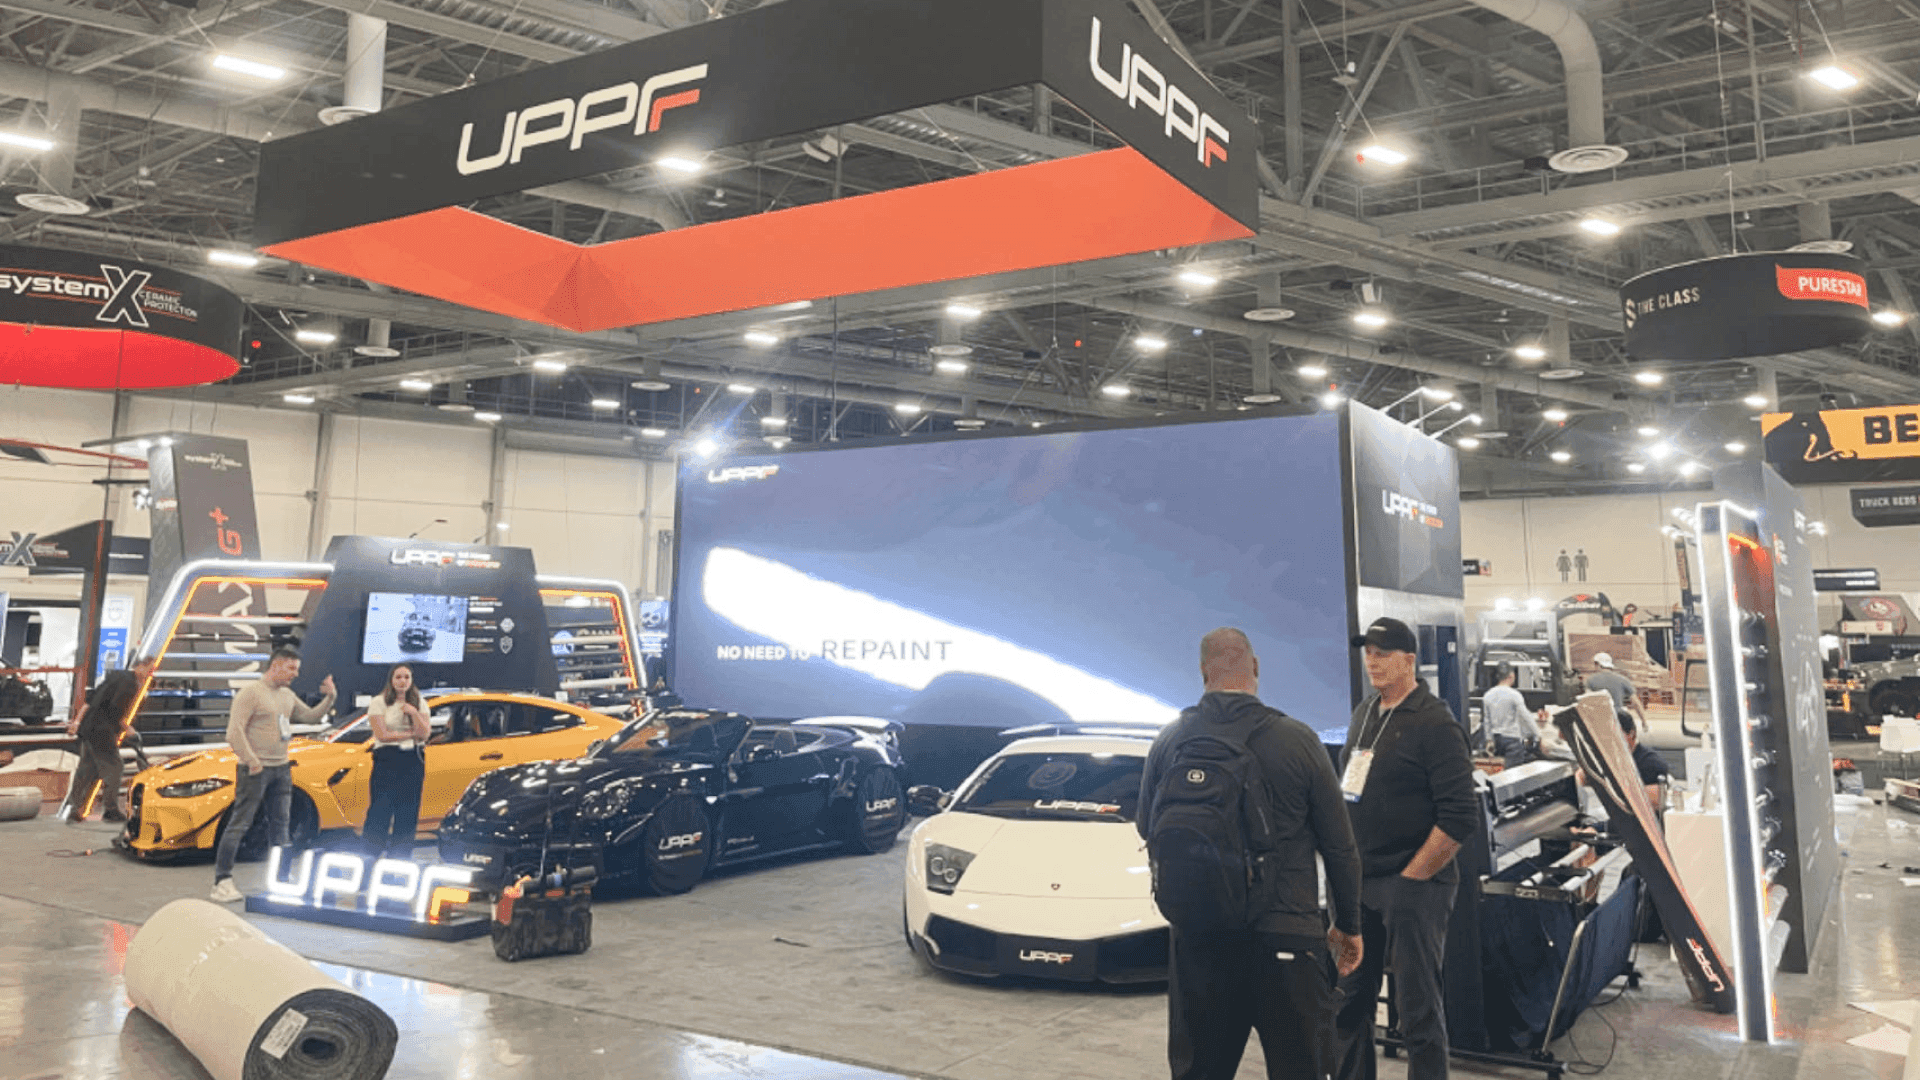
Placing components near the part of the vehicle they support helps buyers understand fit, compatibility, purpose, and how the system works together.
Static Viewing, Hands-On Use, and Staff-Only Work
A product that is only being viewed can stay open to the aisle. Once visitors are invited to touch or operate it, the booth needs a clearer boundary and more staff control.
Staff-led demos need a simple waiting point, while tools, powered equipment, and technician work stay farther inside the space. Leave room to reset samples and prepare the next demonstration without stopping visitor flow. Buyers should be able to tell what they may handle and when staff support is required.
Test-Drive Handoff Without Blocking the Entrance
If test-drive participation is approved by the organizer, the handoff should sit close to the assigned route without turning the booth entrance into a queue.
Visitors need a clear place to wait, check in, and meet the staff member handling the vehicle. Keep that activity away from the main product demo and aisle traffic. The return point should also be easy to find so participants can re-enter the booth without crossing the next group.
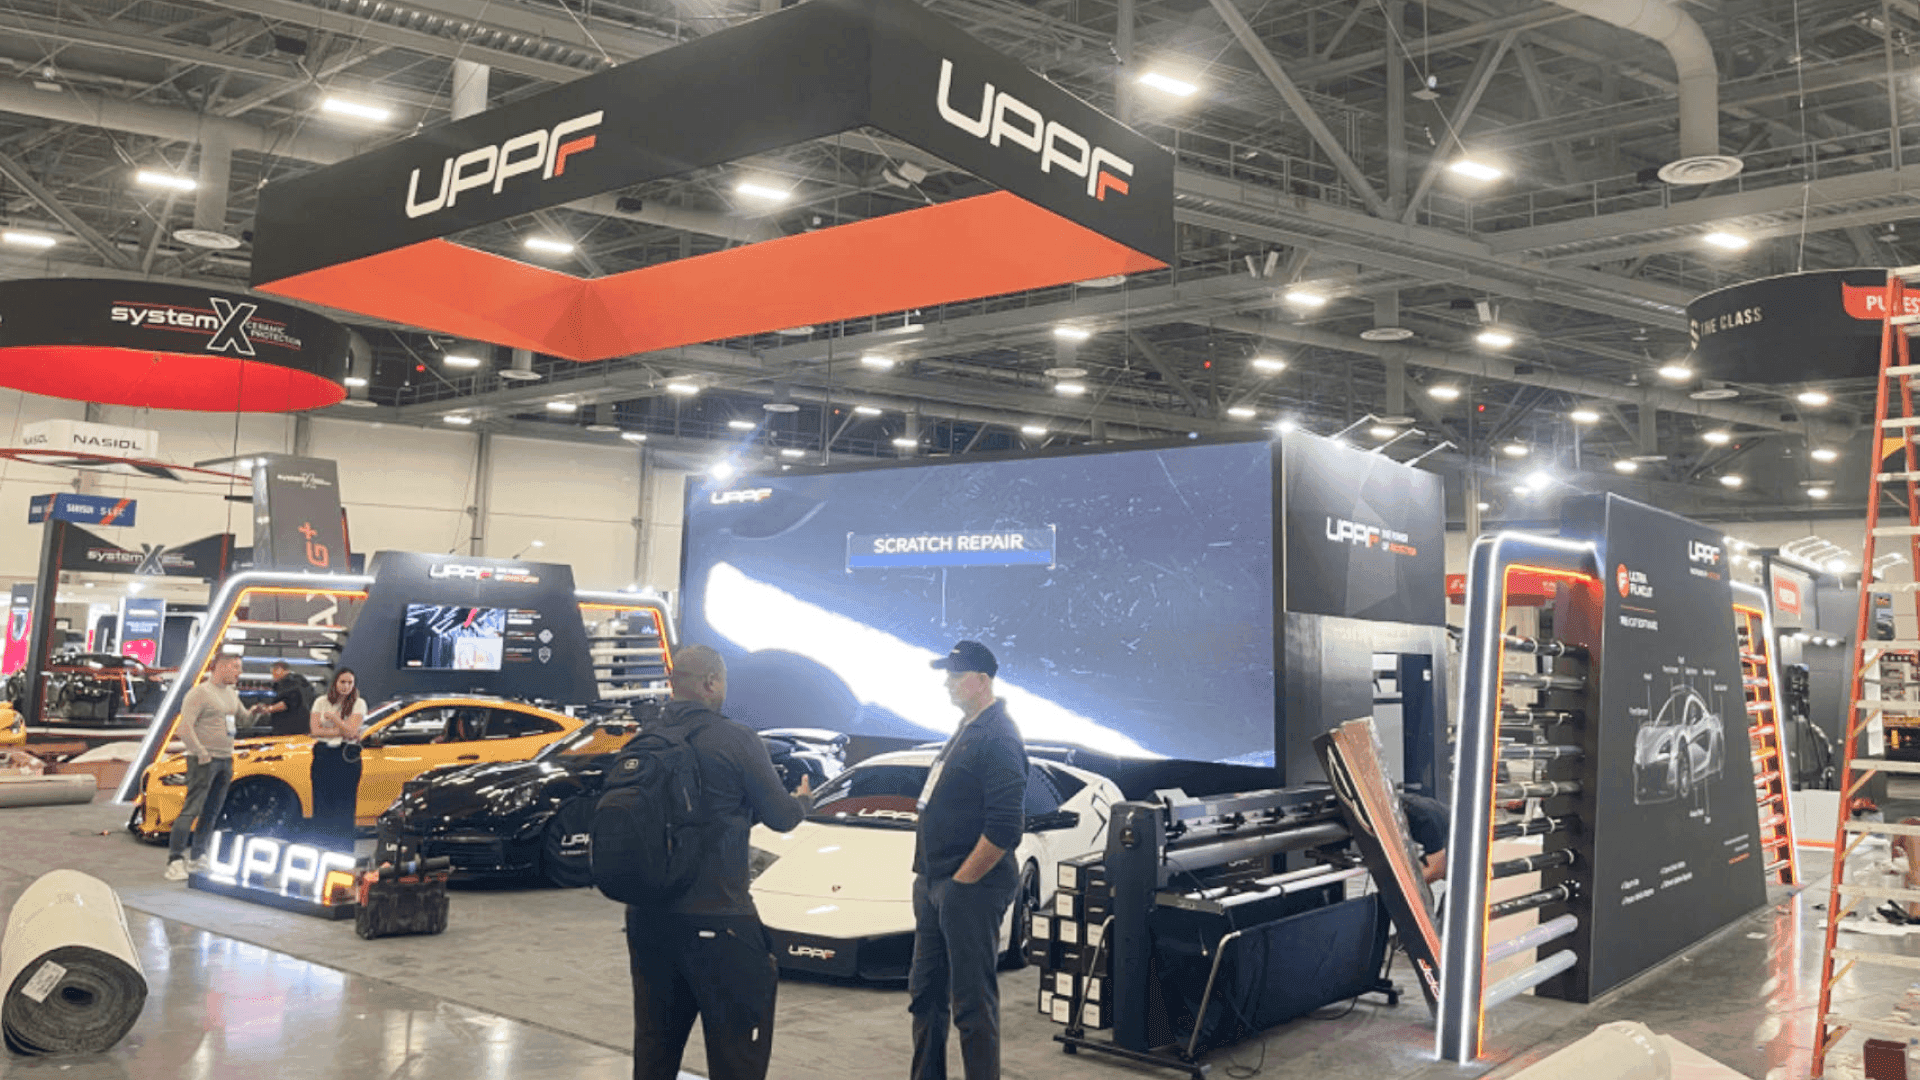
A 20x30 custom footprint provides more separation for vehicle access, buyer viewing, technician work, charging, storage, and demo reset than a compact 20x20 layout.
Charging Points, Electrical Load, and Cable Routes
Charging points and cable routes need to be settled before the vehicle and displays are fixed in place. During trade show booth design and engineering, match the electrical load to the equipment, keep connections within staff reach, and protect cables that run near the floor.
Confirm:
Charger location
Electrical load
Cable route
Floor protection
Staff access
Backup equipment
Keep cables away from buyer traffic, and have a backup ready for any device the main demonstration depends on.
20x20 vs. 20x30 Product Demo Layout
A 20x20 can handle one focused cart or LSV demo, but the vehicle, buyer viewing, technician space, components, charging, and storage all share the same footprint.
When those activities begin to crowd one another, a 20x30 booth plan gives the demonstration more breathing room and makes staff activity easier to follow.
Planning Area | 20x20 Layout | 20x30 Custom Layout |
|---|---|---|
Vehicle clearance | Clearance must be managed closely around one focused vehicle display | More room for doors, hoods, and service panels |
Buyer viewing | Visitors stay close to the main display | Viewing can sit farther from technician activity |
Technician work area | Shares space with visitor movement | Easier to keep staff work outside the buyer path |
Component displays | Limited to the strongest supporting products | More room to group parts by vehicle system |
Charging and power | Usually kept along one controlled edge | More options for service access and protected cable routes |
Technical explanation | Short explanations happen beside the demo | Staff can explain products away from active work |
Test-drive handoff | Waiting and handoff must remain compact | More room to separate waiting from the entrance |
Storage and reset | Limited room for tools and replacement samples | More space for reserve stock, charging, and demo reset |
A 20x30 footprint is a custom planning reference and should be confirmed with the organizer before the layout is finalized.
Once the demo layout is settled, the broader GolfCarting Expo & Dealer Summit booth planning still needs to cover staffing, the rest of the product range, and show-site preparation.
FAQ
How much clearance does a golf cart need in a booth?
Do not measure only the parked vehicle. Leave room for open doors, the hood, battery or service panels, technician access, and clear buyer sightlines. The final clearance depends on what staff need to open, inspect, or demonstrate.
Where should buyers stand during a technical demo?
Buyers should have a clear view without stepping into the technician area. Keep the viewing space inside the booth and clear of the main aisle, charging access, and service panels so people can stop and watch without interrupting the demonstration.
Where should a test-drive handoff begin?
If the organizer approves test drives, place the handoff near the assigned route or a controlled exit point. The exact location depends on booth orientation, queue space, and organizer instructions, but it should not block the entrance or main demo.