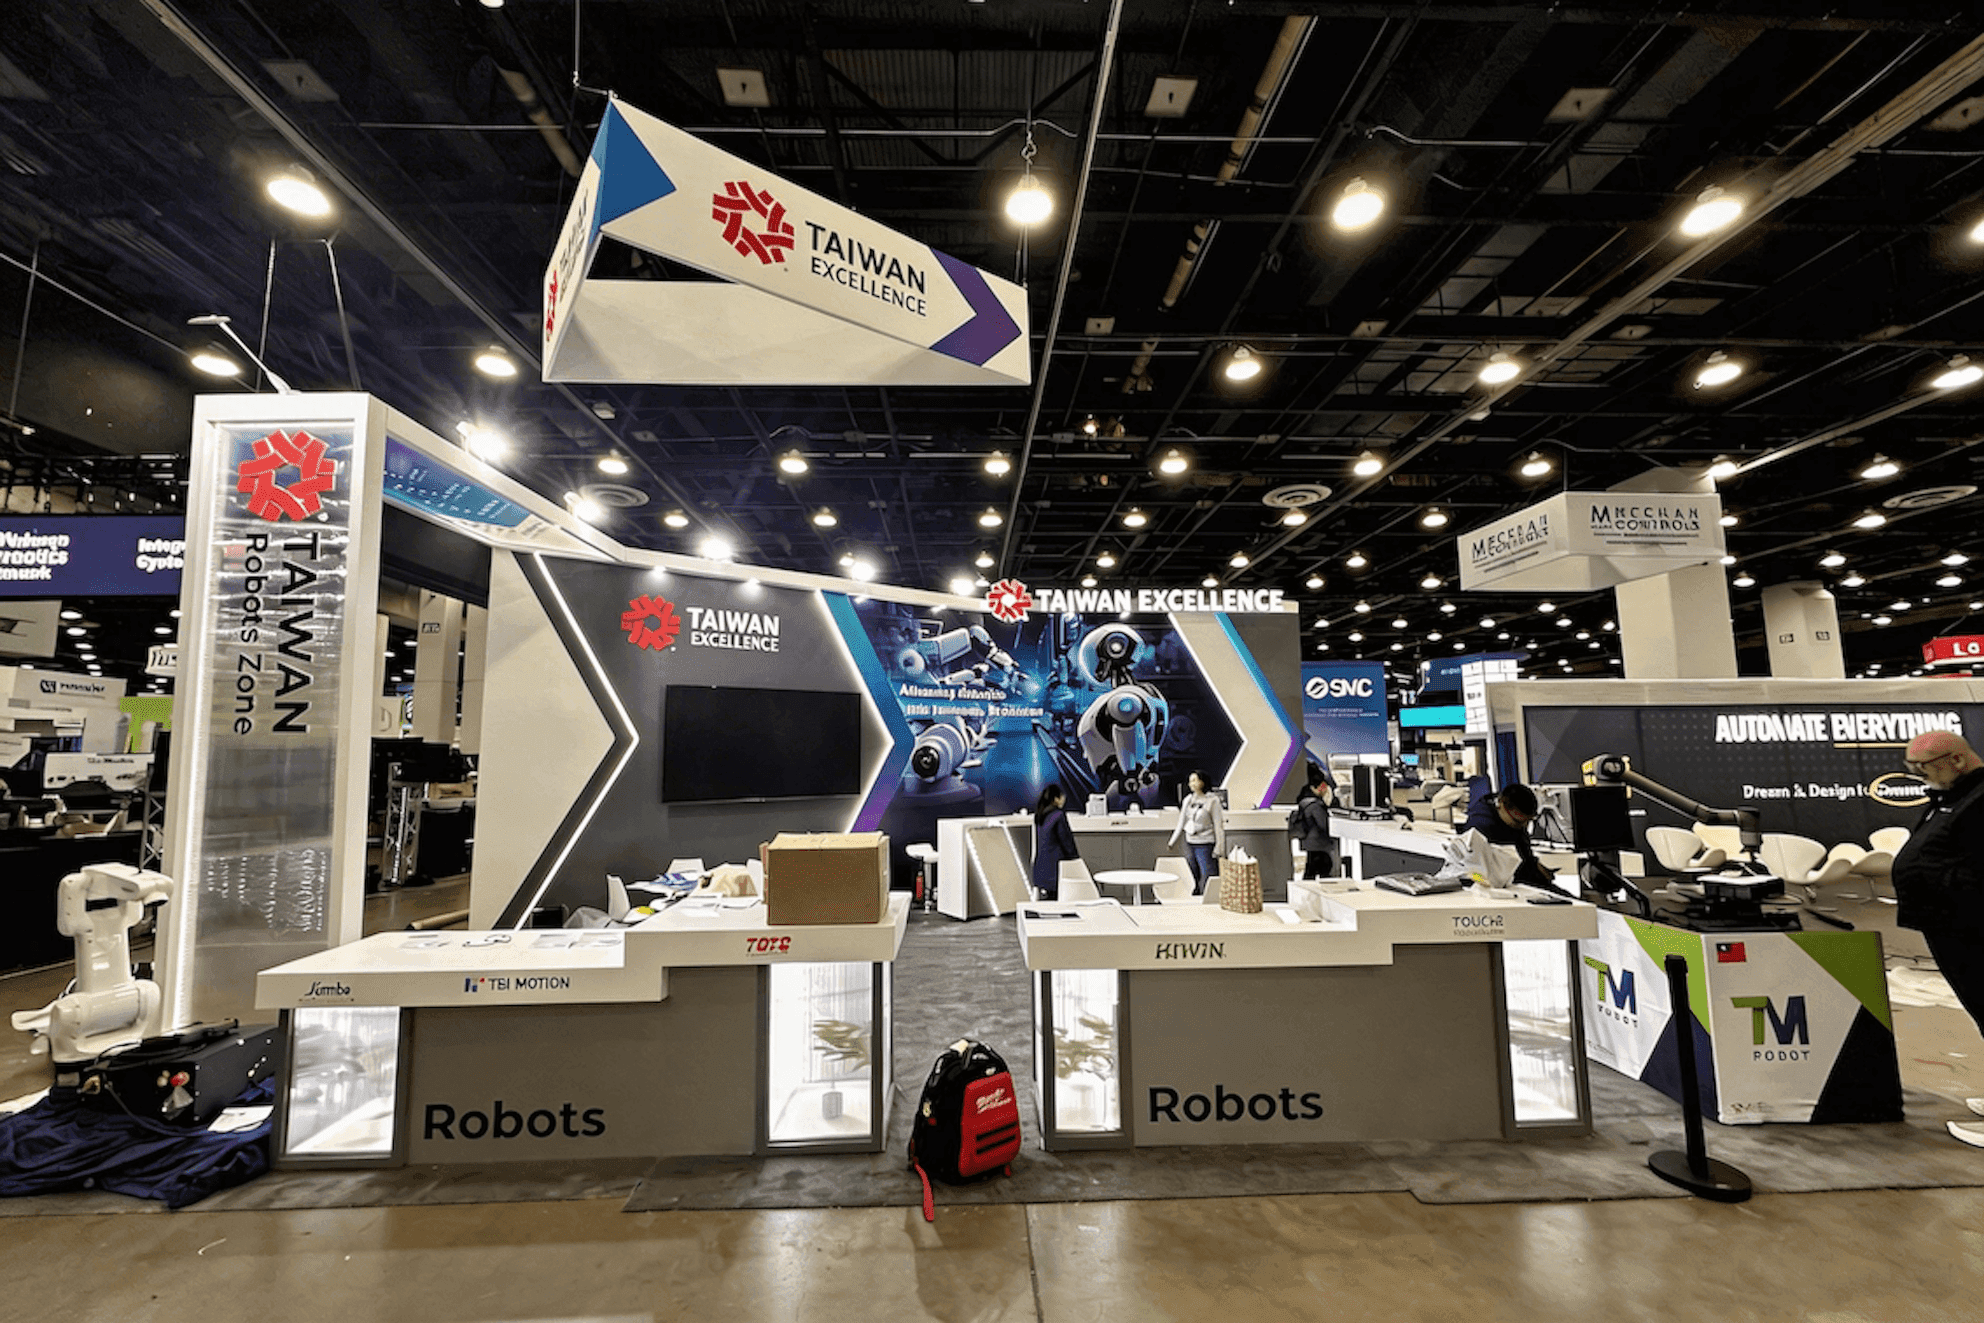
Start With the Type of Transit Product Being Shown
The booth should start with what the transit product actually is. A bus component, rail system, mobility platform, fleet operations tool, passenger information screen, safety product, or station infrastructure solution will each need a different way to be shown.
Physical products may need samples, models, or close viewing space. Software and system tools usually need screens that show workflow, data, or operator use. Infrastructure and mobility solutions often need a simple diagram to show how they fit into daily transit operations.
For cleaner fleet transition topics, see zero-emission transit booth planning. For software, passenger systems, or connected mobility tools, see transit technology booth planning.
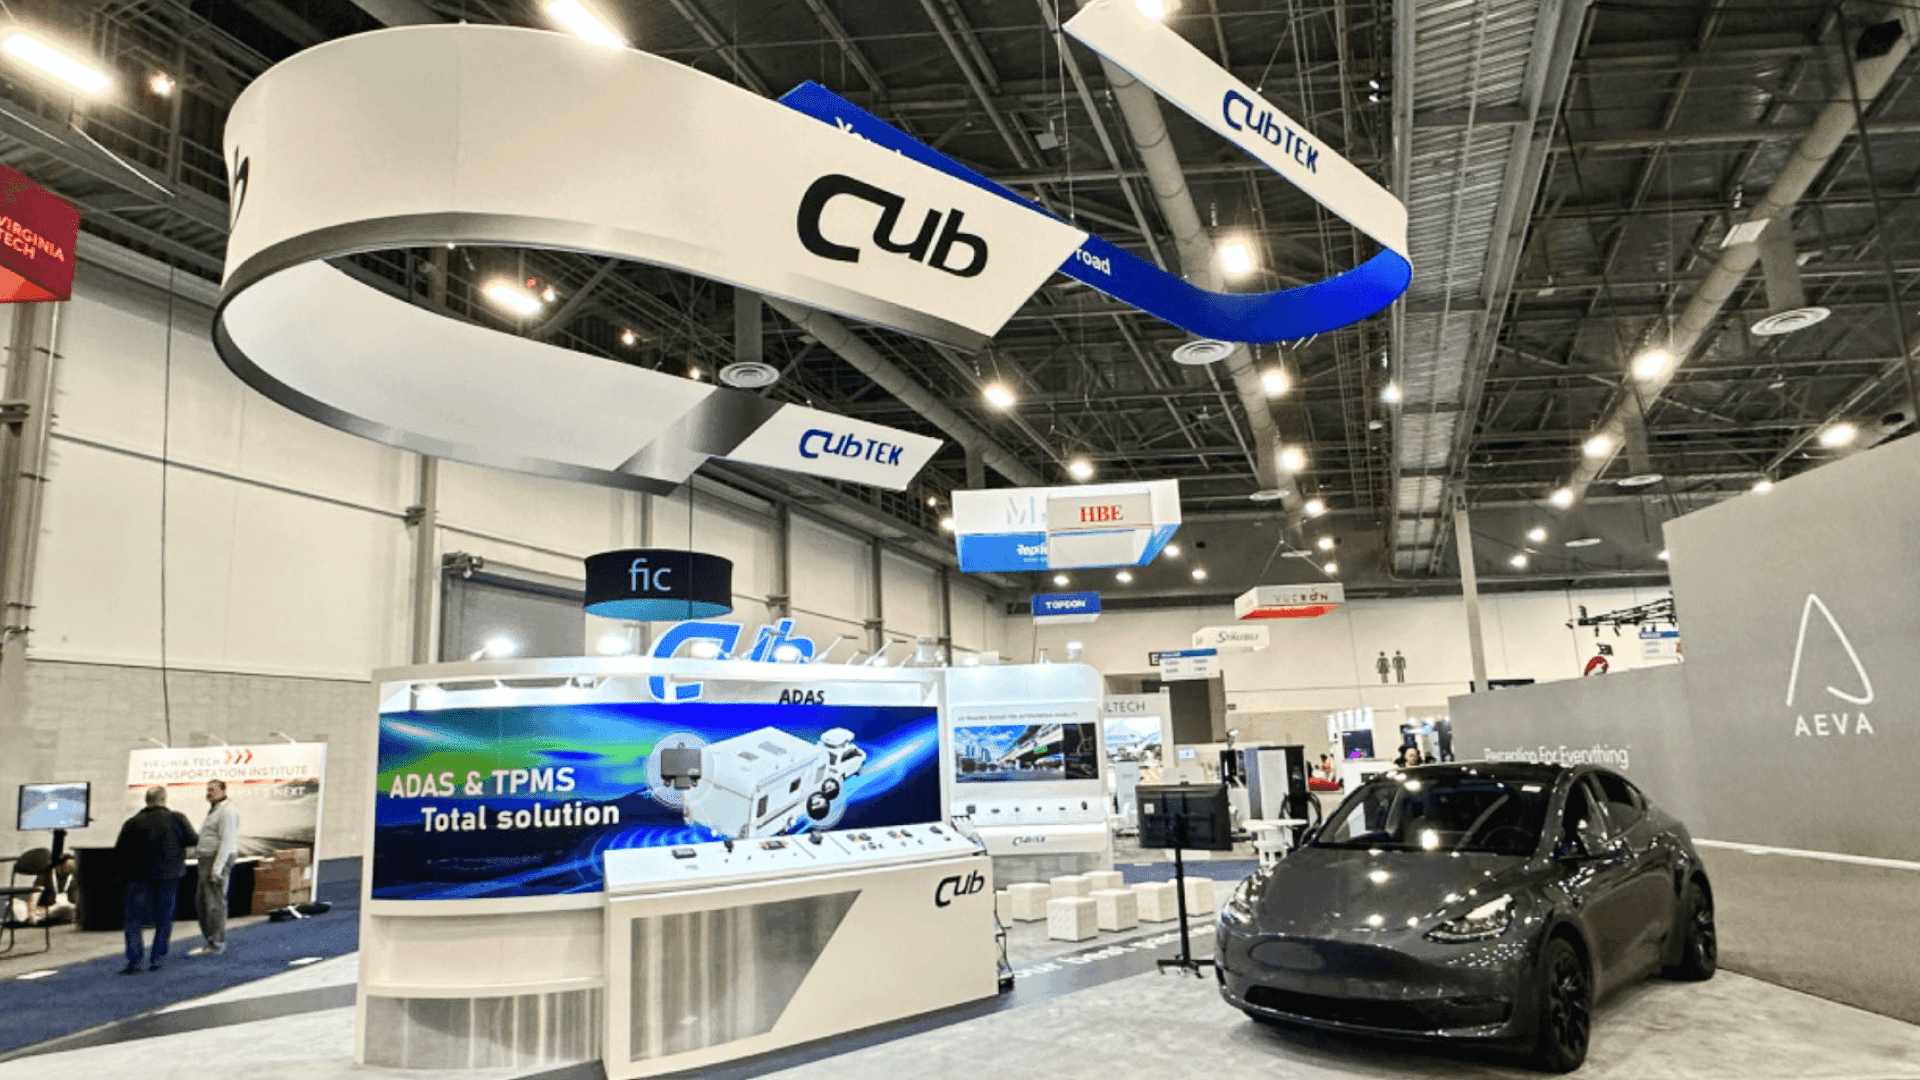
A public transportation booth should help visitors quickly understand the transit product category, whether it is a bus component, rail system, mobility solution, fleet tool, or passenger experience product.
Build a Demo Flow for Transit Decision-Makers
A public transportation booth should help decision-makers understand the product before the conversation gets too detailed. Transit agencies, operators, procurement teams, and fleet managers need a clear first read: what the product is, where it fits, and why it matters.
The flow can start with a sample, model, screen, or system graphic. From there, staff can move into questions about daily operations, reliability, passenger experience, maintenance, deployment, or procurement needs.
The booth does not need to show everything at once. It should give visitors a simple path from first look to a more useful discussion.
Match Booth Size to Product Complexity
Booth size should match how much the product needs to explain. A small component or one-screen demo may only need a compact setup. A transit system, infrastructure solution, or multi-step workflow usually needs more room for screens, samples, staff movement, and agency discussions.
Booth size | Better fit for | Planning notes |
|---|---|---|
10x10 | Small component, one message, simple screen demo | Works when the product story can be explained from one counter or screen |
10x20 | Transit software, compact system demo, brochure handoff | Gives visitors more room to view the demo without crowding the aisle |
20x20 | Bus or rail components, mobility systems, multiple screens, discussion area | Helps separate product display, screen content, staff movement, and conversations |
20x30 | Infrastructure systems, larger displays, multi-zone demos, scheduled meetings | Better for products that need workflow explanation or deeper agency conversations |
For many public transportation exhibitors, 20x20 booth planning gives enough room to separate product display, screen content, and decision-maker conversations without making the booth feel oversized.

A clear demo flow helps transit agencies, operators, fleet managers, and procurement teams move from product recognition to system explanation and deeper planning conversations.
Use Graphics to Explain Systems and Infrastructure
Graphics in a public transportation booth should make the system easier to read. A route diagram, fleet workflow, station infrastructure visual, passenger information flow, fare collection process, or safety message can help visitors understand where the product fits in daily operations.
This is important because many transit products are not obvious from a screen or component alone. Good graphics show who uses the solution, what problem it solves, and how it supports agencies, operators, or passengers.
For this type of booth, graphics and brand presentation should be planned with the demo flow, not added later as decoration.
McCormick Place Setup Notes
The booth still needs to work once it arrives at McCormick Place. Before shipping, exhibitors should confirm screen locations, power needs, sample or model placement, printed material storage, crate labels, and staff handoff notes.
This is especially important for transit components, mobility displays, system demos, or infrastructure visuals. If a screen is hard to read, a sample sits too far from the explanation, or demo reset steps are unclear, agencies and operators may miss the main product story.
Setup planning should keep the booth clear from move-in to opening day.

For APTA TRANSform & EXPO exhibitors in Chicago, booth setup should account for screen placement, product samples, printed materials, staff handoff, and McCormick Place move-in details.
Public Transportation Booth Planning Checklist
Before approval, the booth plan should make the transit product clear and easy to run on-site.
Define the main transit product category
Decide what needs a sample, model, screen demo, or workflow graphic
Keep the demo path clear for agencies, operators, and procurement teams
Choose booth size based on product complexity, staff movement, and meeting needs
Use graphics to explain systems, infrastructure, safety, or passenger value
Confirm McCormick Place setup details, including power, screens, samples, printed materials, crate labels, and staff handoff
FAQ
What should public transportation exhibitors plan for APTA TRANSform & EXPO?
Start with the transit product category, then plan how visitors will see the product, read the screen content, follow the demo, and continue the conversation at the booth.
What booth size works for public transportation exhibitors?
It depends on what needs to be shown. A small component or single screen may fit a 10x10 or 10x20 booth. Transit systems, mobility products, bus or rail components, and agency conversations often need a 20x20 or 20x30 layout.
How should transit technology or mobility products be displayed in a booth?
Use screens, samples, models, and simple system graphics together. The booth should help visitors understand what the product does, where it fits in transit operations, and what questions should come next.