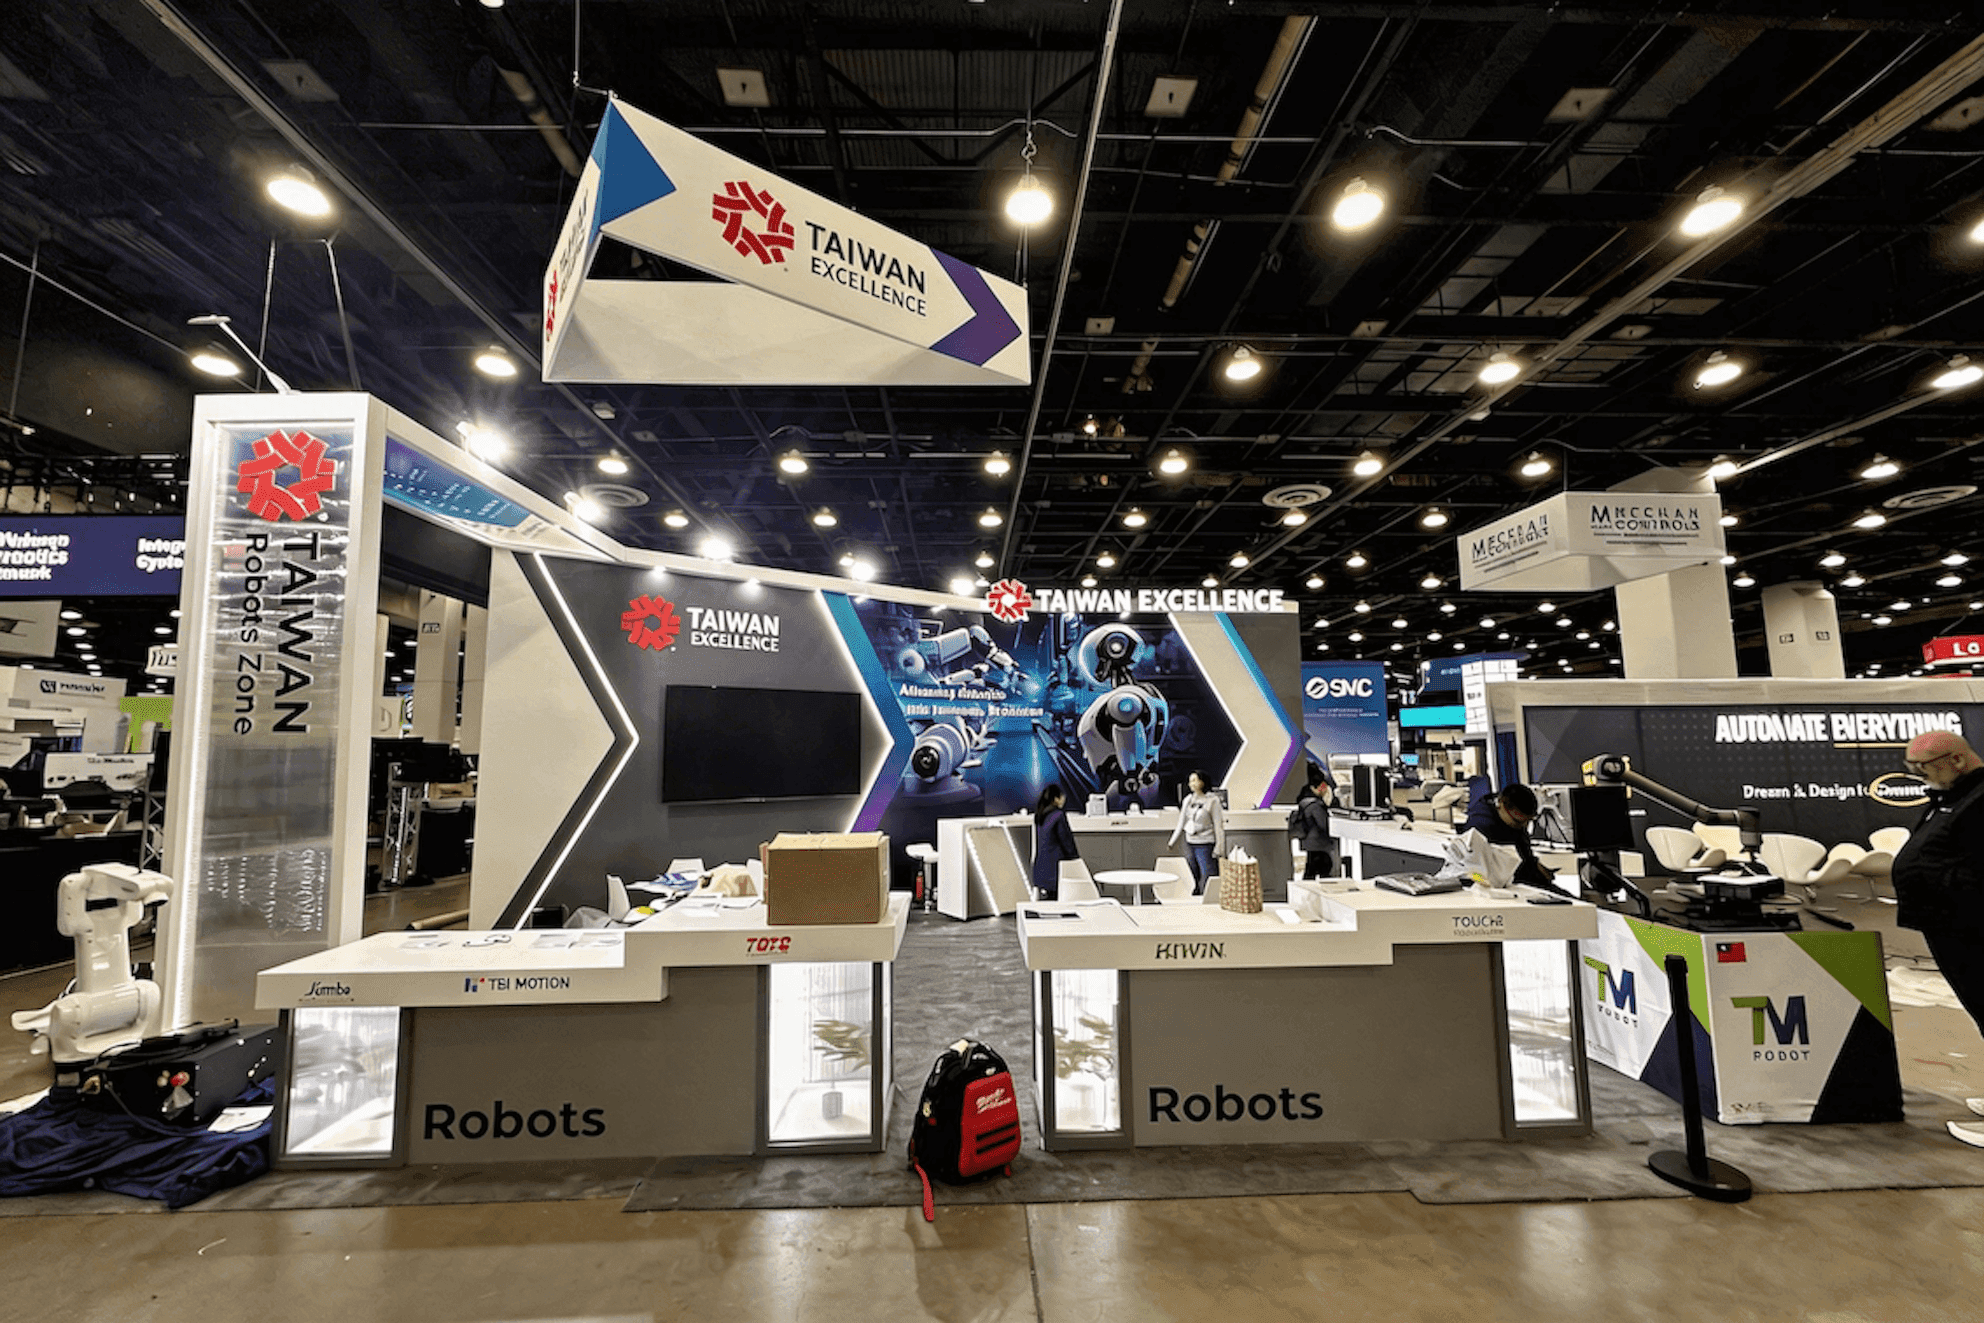
Show the Work Buyers Need to Evaluate
A service contractor booth should lead with the work buyers are most likely to assess, whether that is installation, construction, testing and commissioning, maintenance, repair, system upgrades, or field support. Each project should make the contractor’s responsibility, the work completed, and the final result easy to identify.
Strong installation contractor evidence may show equipment coordination, installation stages, testing, and handoff. Maintenance project examples should explain the original issue, the work performed, and the support provided afterward. Keeping the booth focused on one clear service story makes its commissioning and field-service capability easier to understand.

A short project sequence can show the original condition, key installation work, completed system, and commissioning result without displaying the full jobsite archive.
Use Photos That Show What the Contractor Actually Did
Installation project photos should make the contractor’s role clear. Buyers need to identify the equipment or system, the stage of work, the technical issue, and the result. A finished jobsite image alone says little unless the caption explains what the contractor installed, repaired, tested, or commissioned.
Wide views establish scale, while technical close-ups can show controls, connections, testing points, and installation details. Completed installation photos work best when paired with one or two process images and a brief note on contractor responsibility.
What Makes a Project Photo Useful on the Show Floor
One wide view, one or two technical close-ups, and a clear completed condition usually explain a project better than a long gallery. Repeated angles, generic building photos, and unlabeled jobsite images add little when buyers cannot identify the contractor’s work.
Strong Project Evidence
Shows the system, project stage, contractor responsibility, technical challenge, completed result, and any support that followed.
Generic Project Content
Shows an unidentified site, repeated angles, unclear responsibility, or a finished installation without explaining the contractor’s contribution.
Let the Project Sequence Show the Work
Project stage evidence should explain the contractor’s role without turning the booth into a full construction archive. Depending on the job, useful stages may include site review, equipment coordination, installation, testing and commissioning, system startup, technical training, or maintenance.
Keep only the parts of the installation sequence that add new information: the original condition, the work performed, how the system was verified, and what support followed. Three or four well-labeled stages are usually more useful than a complete maintenance workflow with little context.
Project Evidence Selection Guide
Evidence Type | Claim It Can Support | Best Booth Use |
|---|---|---|
Installation photos | Installation experience and field execution | A short public sequence with captions identifying contractor scope |
Before-and-after images | Upgrade, repair, or replacement results | Side-by-side images taken from comparable angles |
Commissioning summary | Testing, system startup, and handoff capability | A short result near the project story; detailed records in the meeting area |
Service coverage map | Regional field-service and response capability | A public graphic based on actual branches and technician coverage |
Qualifications | Safety, compliance, and technical credibility | Selected credentials on the wall; complete files near technical discussions |
Maintenance summary | Ongoing service and lifecycle support | Meeting-area reference or follow-up material with customer details removed |
Annotated project diagram | System coordination, project scope, and contractor responsibility | Beside installation photos or on a meeting-area screen |
Example: Fuel-System Upgrade Contractor
A fuel-system contractor may have photos of equipment removal, piping replacement, new hardware placement, testing, and final commissioning. For the booth, a clearer sequence would show the original condition, one important installation stage, the completed system, and a short commissioning summary.
Brief captions should identify the contractor’s responsibility and what changed. This turns fuel system upgrade photos into a clear piping installation project story without relying on repeated angles or complete project records.

A useful service territory map connects regional coverage claims to actual branches, field technicians, response areas, maintenance capacity, and parts support.
Use Before-and-After Images Only When They Prove the Change
Before-and-after installation photos are useful when both images show the same equipment or work area from a similar angle. They can provide clear repair capability evidence for an equipment replacement project, site correction, control-system improvement, or system upgrade.
Add a short caption that identifies the original condition, the contractor’s work, and the completed result. When the change is hidden inside the system, the images do not align, or the contractor’s role is unclear, process photos or a commissioning summary will usually explain the project more effectively.
Show Where the Service Team Can Actually Respond
A service territory map should show how support is delivered, not just where the company is willing to take work. Include branch locations, technician coverage, maintenance coverage, response areas, regional coordination, and the parts support network behind each service claim.
A useful technician coverage map connects each region to real staff, service capacity, or response procedures. Broad nationwide coverage is less convincing when the map shows only colored states without explaining who responds, where parts come from, or how maintenance is handled.
Example: Regional Maintenance Provider
A maintenance provider serves three states through two branches and several field teams. Its service territory map should identify branch locations, technician areas, scheduled maintenance zones, emergency-response boundaries, and parts dispatch points.
This gives buyers a clearer view of the company’s regional service coverage and whether it can support equipment after installation.

Public graphics should explain the contractor’s work quickly, while commissioning records, inspection reports, and detailed qualifications remain available near the meeting area.
Separate Public Proof from Technical Records
Service contractor booth graphics should explain the main service story within a few seconds. Project photography, selected work stages, verified service maps, relevant qualifications, and short technical results can stay in public view because visitors can understand them without opening a file.
Detailed commissioning records, inspection reports, technical certificates, maintenance records, and full project files work better near the meeting area. Staff can bring them into the conversation when a buyer asks about testing, compliance, maintenance history, or project scope.
Public Display
Project photography with clear captions
Selected installation or commissioning stages
Verified service coverage maps
Relevant qualifications
Short technical results
Meeting Documents
Commissioning records
Inspection reports
Detailed technical certificates
Maintenance records
Full project documentation
Filling the main wall with every certificate and report rarely improves credibility. It usually makes the project presentation graphics harder to scan. The same separation applies to trade show booth graphics and project presentation: public graphics establish the service story, while booth meeting documents provide supporting detail.
Use Hardware as Supporting Evidence
A controller, monitoring device, system component, hardware sample, or cutaway part can help explain a contractor’s work, but it should stay tied to a real installation, commissioning, maintenance, or repair example. The hardware needs to show where it was used, what the contractor handled, and how the system was tested or supported afterward.
If the equipment becomes a primary exhibit rather than supporting evidence, its mounting, access, and demonstration requirements belong in PEI Convention equipment display planning.
Edit the Evidence to Fit the Booth
A booth cannot carry the full project archive. Project graphics, screen content, service maps, meeting documents, hardware samples, document storage, and staff circulation all compete for the same footprint. Prioritize evidence that can be understood quickly in public areas, and keep detailed records close to the meeting space.
These trade-offs are especially clear in 20x20 trade show booth planning, where project displays, technical discussions, storage, and movement must share one compact layout. Remove anything that repeats the same claim, lacks context, or requires a long explanation.
Keep Evidence That Answers These Questions
What system or equipment was involved?
Which stage of work is shown?
What responsibility did the contractor hold?
What technical problem was addressed?
What changed after completion?
What support followed the project?
Remove Evidence That Adds Little Value
Generic site photos
Repeated image angles
Unlabeled screenshots
Unsupported service maps
Unrelated certificates
Unredacted customer or project records
Frequently Asked Questions
What makes project evidence credible in a trade show booth?
Credible project evidence identifies the system, project stage, contractor responsibility, and completed result. Clear captions, verified service data, comparable project images, and selected technical records give each service claim visible support.
Which installation photos work best in a trade show booth?
Use images that show the equipment, key installation details, testing, or the completed condition. Wide views can show project scale, while close-ups are better for controls, connections, and technical work.
What qualifications and project records should stay near the meeting area?
Detailed certifications, commissioning records, inspection reports, maintenance documents, and full project files are better kept near the meeting area, where staff can explain them during technical discussions.
Keep the Evidence Tied to the Contractor’s Work
A PEI service contractor booth does not need the full project archive. It needs a focused set of photos, service maps, qualifications, and technical records that lets buyers verify the contractor’s role, the work completed, and the support available after installation.