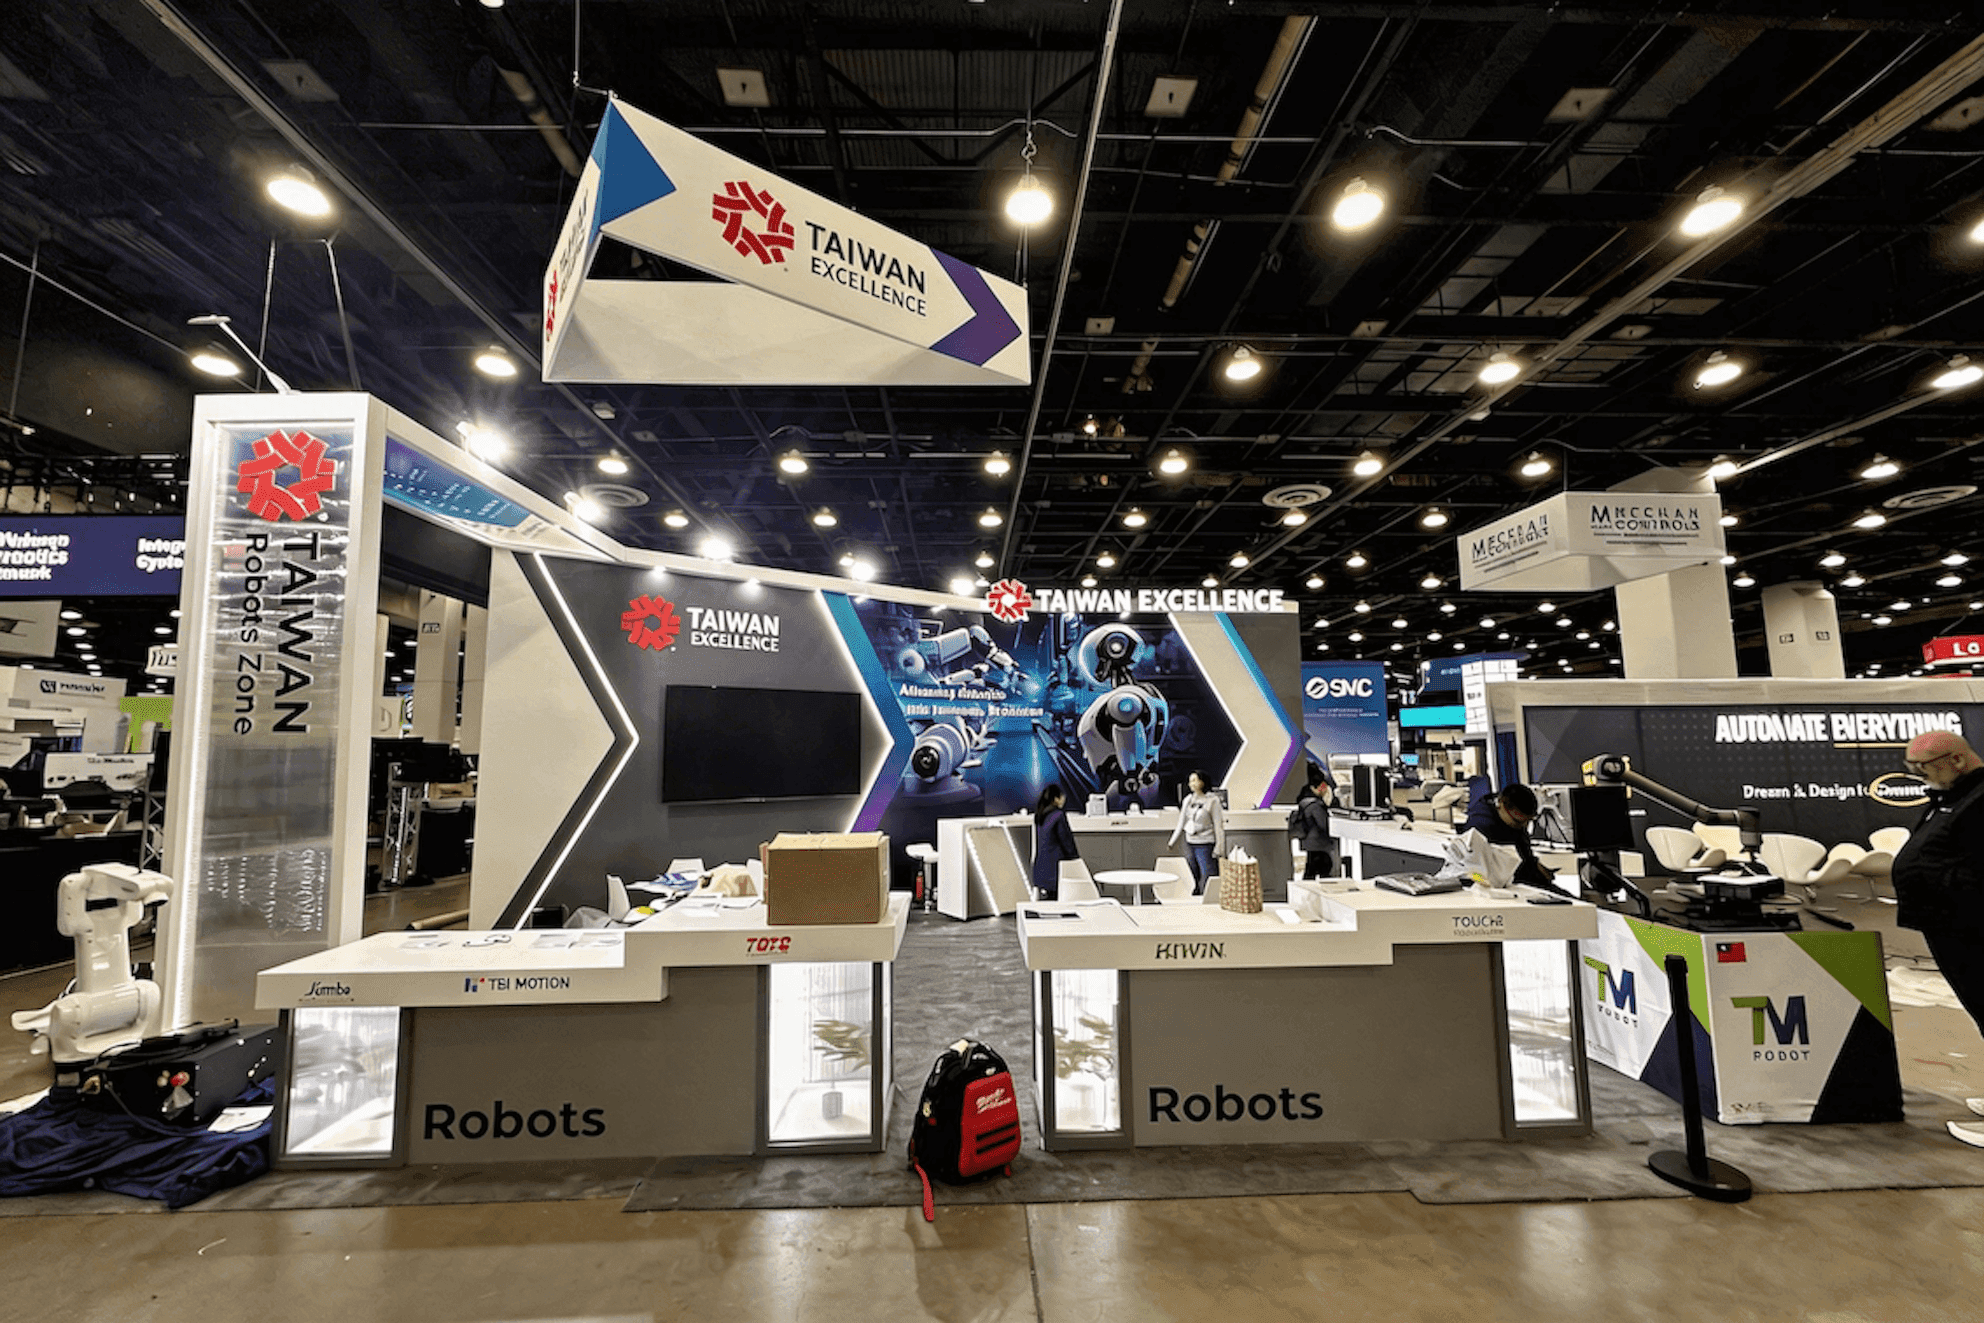
Before Custom Booth Fabrication Starts
A fabrication shop cannot build reliably from a rendering alone. Before materials are ordered or components are cut, the production team needs confirmed information about the booth, products, graphics, technology, and venue conditions.
That information usually includes:
Final booth dimensions, orientation, and open sides
Product dimensions, weights, mounting points, and service needs
Confirmed monitor models and screen sizes
Electrical, lighting, network, and cable-routing requirements
Storage capacity, shelving, doors, and access panels
Final graphic locations and artwork dimensions
Height, setback, rigging, and fire-safety requirements
Packing, freight, move-in, and installation constraints
Late changes rarely affect one component in isolation.
Changing a monitor after wall production begins may require a different opening, additional reinforcement, a revised bracket, another cable route, updated graphics, and more prebuild work. A product change can affect the display base, floor clearance, power location, service access, and packing sequence.
A 20×30 technology booth may look straightforward in a rendering while still containing several connected production decisions. Recessed screens, demo counters, overhead branding, storage, and meeting areas all need to be resolved before the project reaches the shop floor.
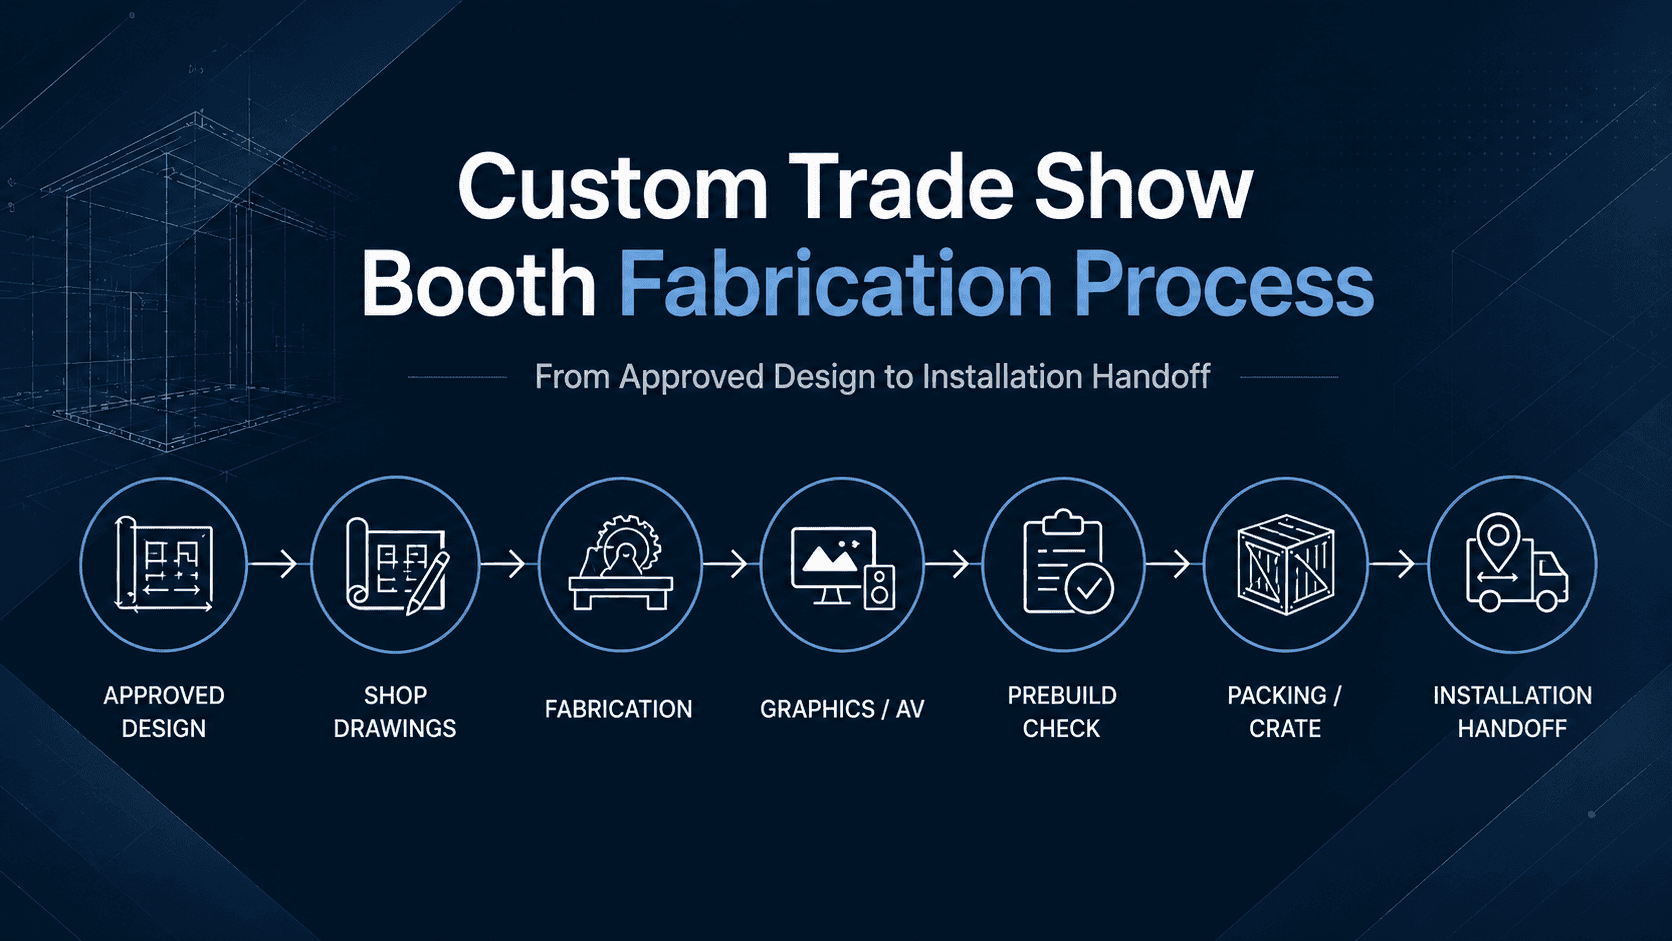
The custom trade show booth fabrication process moves from approved design and shop drawings through production, graphics and AV coordination, prebuild checks, packing, and installation handoff.
Turning an Approved Design Into Shop Drawings
A design rendering communicates layout, appearance, branding, and visitor experience. Shop drawings explain how the booth will actually be produced and assembled.
They may document:
Overall dimensions and elevations
Wall thicknesses and structural connections
Counter construction and removable panels
Door swings, hinges, shelves, and locks
Monitor openings and mounting reinforcement
Lightbox depths and finished graphic sizes
Product supports and mounting points
Power, data, ventilation, and cable-access locations
Component numbers and assembly relationships
This review often reveals issues that are difficult to see in a rendering.
A screen may appear correctly positioned but leave too little space for its mounting bracket. A storage room may fit the floor plan but create an awkward door swing. A product display may look accessible while covering an electrical connection or service panel.
This is where trade show booth design and engineering becomes production documentation. Layout decisions are converted into dimensions, materials, connections, openings, and installation details that the fabrication team can work from.
Building the Structure, Graphics, and AV as One System
Once the shop drawings and specifications are approved, physical production can begin.
Custom exhibit fabrication may involve millwork, metal fabrication, aluminum framing, CNC cutting, laminate application, painted finishes, acrylic details, hardware fitting, graphic production, and AV support preparation. The exact mix depends on the booth design and whether the project uses fully custom construction, reusable exhibit components, or a combination of both.
Walls, towers, counters, stages, meeting rooms, storage areas, and product-display bases need to withstand more than normal visitor use. They will also be packed, loaded, transported, unloaded, installed, dismantled, and possibly reused.
Finishes produced on separate components still need to align after assembly. Laminates, paint, acrylic, metal, fabric, seams, edges, doors, and removable panels will all be seen together under show-floor lighting.
Graphics should be produced against final fabrication dimensions rather than early rendering dimensions. This is especially important for:
SEG fabric graphics
Backlit fabric panels
Vinyl around doors and monitor openings
Counter graphics
Dimensional lettering
Graphics divided by structural seams
An artwork file can be technically correct and still fail if its finished size, visible area, seam position, or mounting method does not match the fabricated surface.
AV and lighting also need to be treated as part of the physical structure. Monitor brackets, cable paths, ventilation, media-player access, lighting positions, and removable service panels should be fitted before the booth is packed.
Different exhibits create different production risks. A technology demo booth places more pressure on screen openings, cable routes, lighting, graphics, and equipment access. An equipment display may require reinforced bases, loading clearance, utility access, removable panels, and a planned product-positioning sequence.
The overall fabrication process may be similar, but the parts that need the closest review are not.
What a Booth Prebuild Needs to Prove
A prebuild is not simply a test of whether the main walls can stand. It should prove that the components fit, operate, and can be installed in a logical order.
Depending on the booth size and complexity, the prebuild may cover the full exhibit or only the highest-risk structures and interfaces.
The review should verify:
Structural fit, alignment, and stability
Wall, tower, counter, and room connections
Doors, locks, shelves, and access panels
Graphic size, orientation, seams, and tension
Monitor brackets, openings, and service access
Lighting positions and cable exits
Product-display dimensions and supports
Hardware quantities and fastener types
Component numbering and assembly order
Protection required for delicate surfaces
The production team should also create a punch list for anything that needs correction. Updated drawings, reference photos, verified hardware, and final component labels should reflect the corrected build rather than the earlier version.
Effective booth fabrication and prebuild checks leave the installation crew with more than finished structures. The handoff should show what was tested, what changed, where each component belongs, and how the booth was assembled in the shop.
Problems found during prebuild are easier to correct because the tools, materials, drawings, and production team are still available. The same issue at the venue may require more labor, replacement freight, or a compromise in the finished appearance.
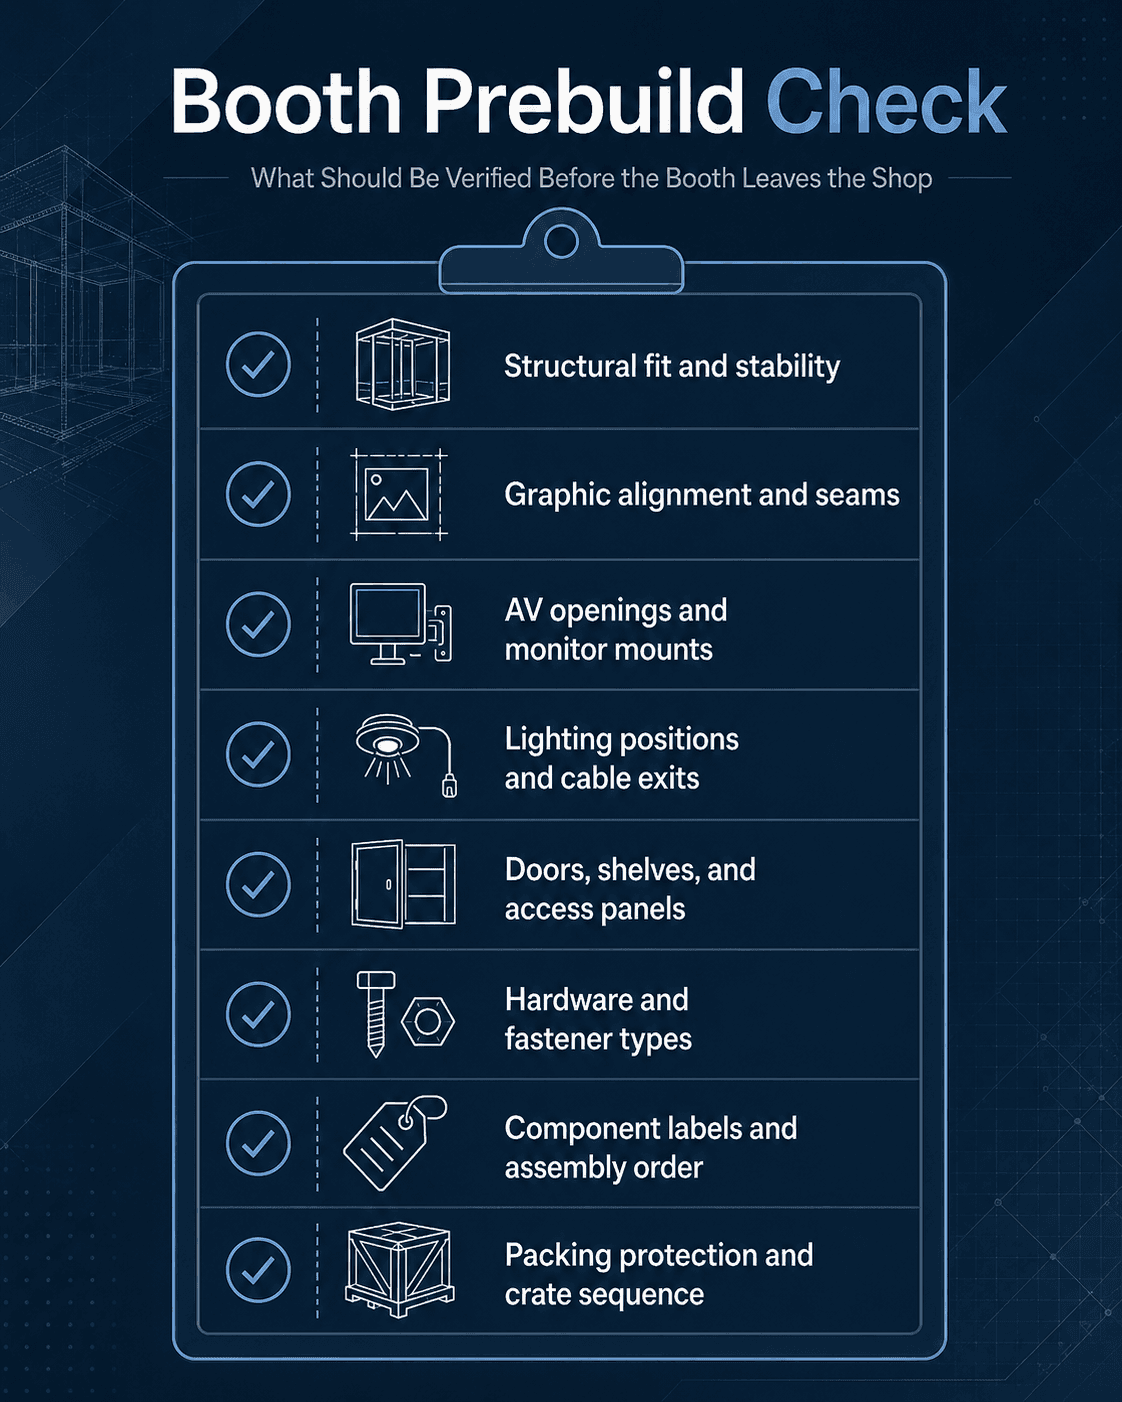
A booth prebuild should verify structural fit, graphic alignment, AV and lighting access, hardware, component labels, assembly order, and packing protection before the exhibit leaves the shop.
Labeling, Packing, and Show-Site Handoff
Fabrication is not complete when the booth looks finished. It is complete when the installation team can identify, unload, assemble, and repack the components without unnecessary searching.
Each major part should connect clearly to:
Its position in the booth
The drawing or elevation where it appears
The hardware required for installation
The crate or case in which it is packed
The stage of installation when it is needed
Hardware kits should be grouped by structure or installation zone rather than mixed into one container. Similar-looking graphics need clear location labels. High-finish surfaces should be separated and protected against vibration, abrasion, and shifting during freight movement.
Packing order matters too.
A structural component needed at the beginning of installation should not be buried beneath graphics or finishing pieces used at the end. Numbered parts, hardware lists, assembly drawings, prebuild photos, and a clear crate manifest give the crew a more usable installation package.
For Las Vegas projects, booth fabrication and show-site execution also needs to account for venue access, floor utilities, rigging dependencies, labor coordination, and the sequence in which the booth can be installed. The shop handoff should reflect the conditions the crew will actually face rather than treating fabrication and venue execution as separate projects.
Once the installation sequence and crate organization are confirmed, logistics and pre-show coordination can align freight timing, delivery instructions, shipping documents, and move-in requirements before the shipment reaches the venue.
Fabrication Problems That Usually Appear at the Venue
Many show-site problems begin before production or packing.
Production starts before key details are confirmed
Missing screen models, product weights, artwork dimensions, storage requirements, or utility locations can affect several fabricated components at once.
Graphics are approved against the rendering
Graphics need to match the finished structure, visible area, openings, seams, and mounting system—not the dimensions shown in an early visual concept.
AV is treated as equipment added later
Monitor supports, ventilation, power access, cable paths, and media-player locations need to be integrated into the booth before production is complete.
Appearance is checked, but operation is not
Doors, locks, shelves, screens, lighting, product mounts, and service panels need to function. A component can look correct in a photo and still create problems during installation or show use.
Labels and hardware are too generic
Unclear numbering and mixed fasteners slow installation and make missing pieces harder to identify.
Packing ignores the installation sequence
A well-built booth can still lose time when the components needed first are packed underneath items that will not be installed until later.
Frequently Asked Questions
Can reusable exhibit components be part of a custom fabrication project?
Yes. Custom trade show booth fabrication does not require every component to be built from scratch. Reusable framing or modular exhibit systems can be combined with custom counters, graphics, display bases, storage, finishes, AV supports, and engineered connections. The production team still needs to confirm that the reusable and custom elements fit, pack, and install as one system.
How long does custom booth fabrication take?
The schedule depends on booth size, structural complexity, material availability, graphic approvals, AV integration, product-display requirements, and the amount of prebuild testing required. A reliable production schedule works backward from freight and installation deadlines while leaving enough time for shop-drawing approval, fabrication, corrections, documentation, and packing.
What should be checked during a booth prebuild?
A prebuild should verify structural fit, graphic alignment, doors, counters, AV mounts, lighting positions, product-display dimensions, hardware, service access, labels, assembly order, and packing requirements. A full prebuild is not necessary for every booth, but unfamiliar, custom, or high-risk components should be tested before shipping.