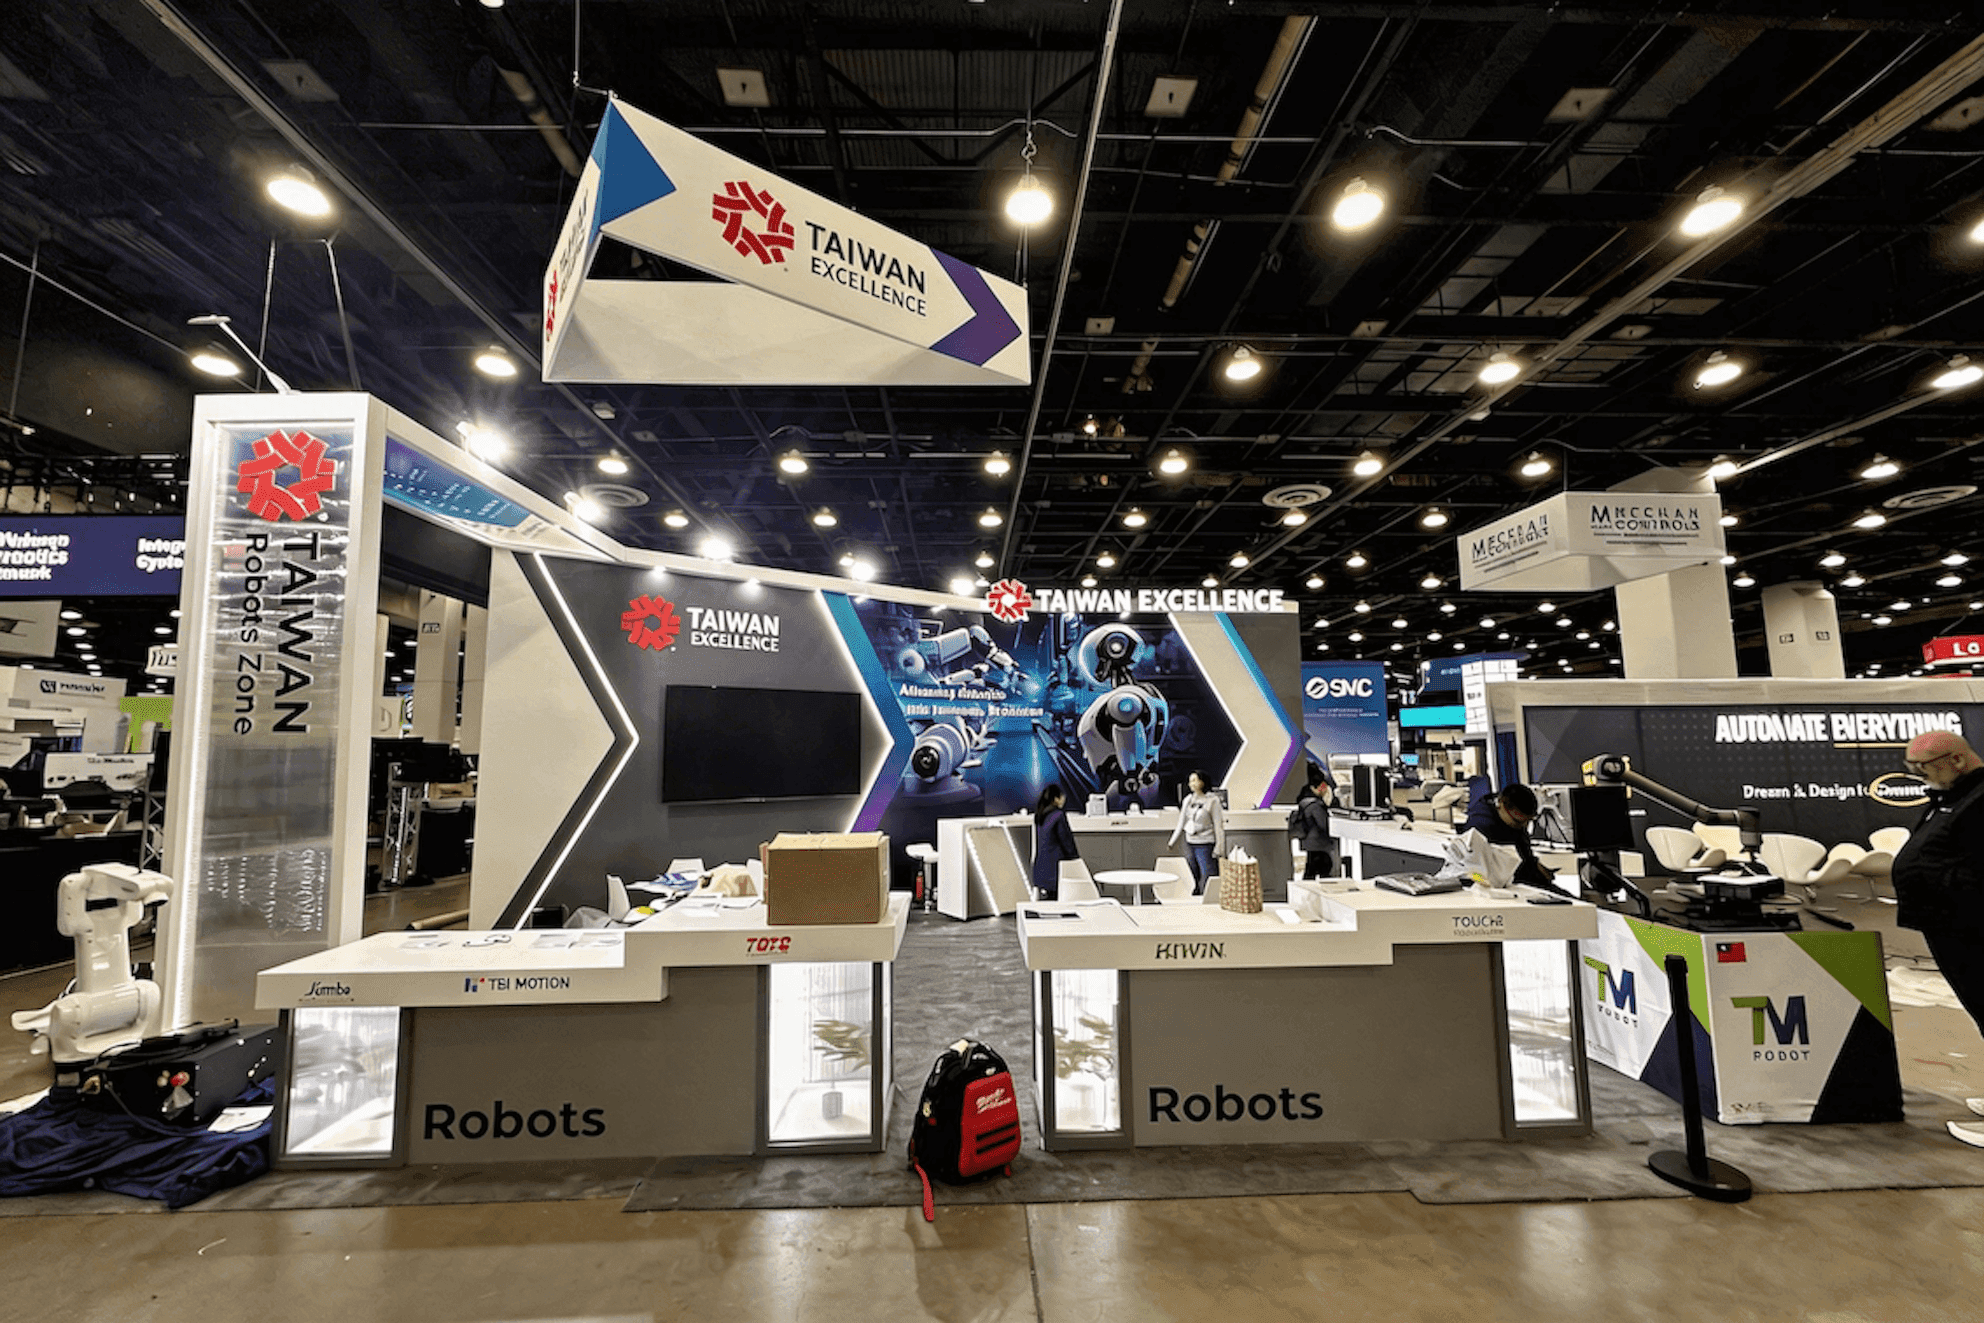
Understand What the Package Can Already Display
Treat the included fixtures as working display capacity, not simply as a furniture list. A garment rack provides hanging space; shelves and pedestals create product-facing surfaces; a table or counter may already provide enough room for a quick product review, line-sheet discussion, or short buyer conversation.
The important question is what those fixtures allow buyers and booth staff to do. If priority merchandise is visible, products are easy to reach, and staff still have enough working room, that part of the exhibit may already be solved. Footprint, storage, buyer flow, and other show-floor decisions can then be handled within the broader MAGIC booth planning process rather than redesigned from scratch.
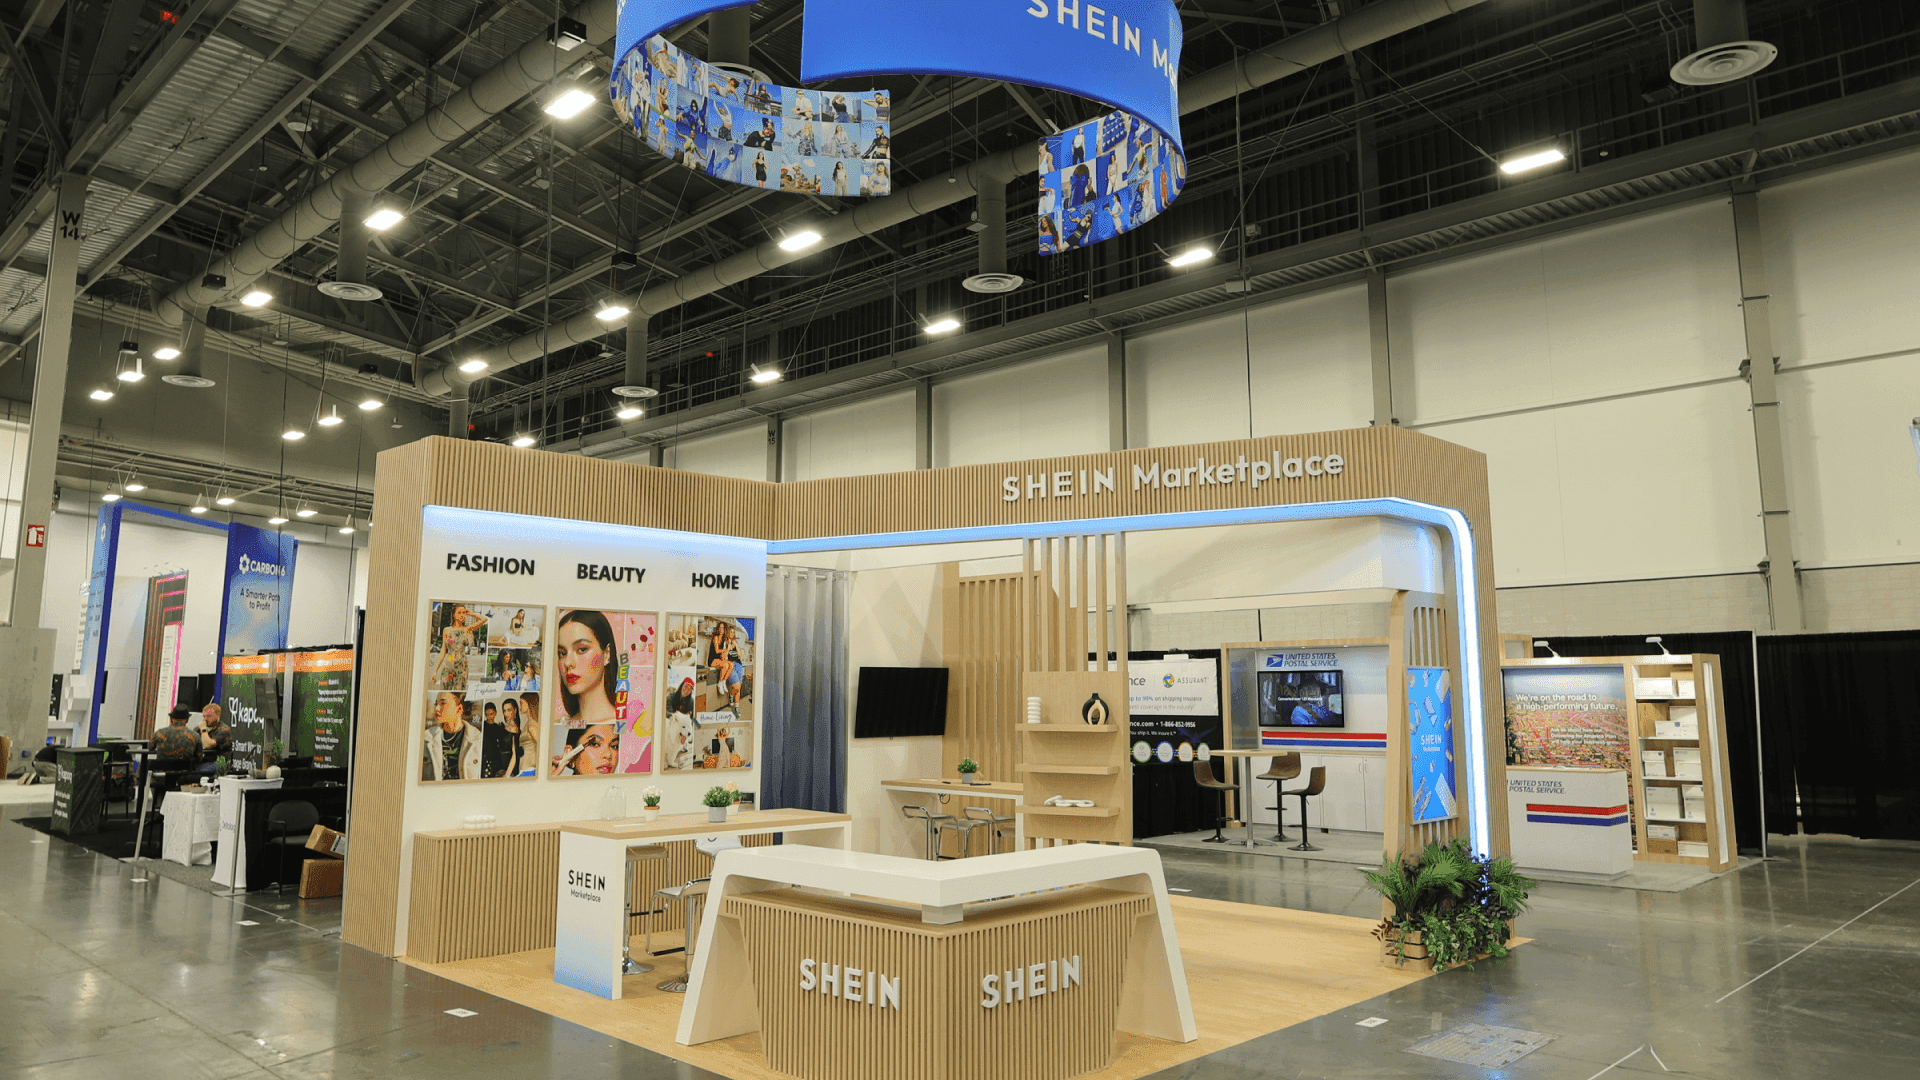
Using the included rack capacity for priority styles keeps the collection easier to browse while secondary variants remain accessible in backstock.
What Should Be Displayed—and What Should Stay in Backstock?
Buyer-facing fixture space should go first to merchandise that helps buyers understand the assortment quickly. Priority products, representative styles or categories, and samples likely to start a buying conversation deserve the clearest positions.
Secondary colorways, size extensions, duplicate samples, and backup inventory do not all need permanent display space. Keeping them in backstock gives the main assortment more room while allowing staff to retrieve additional options when a buyer wants to go deeper. The aim is not to fit every SKU onto the show floor; it is to make the visible assortment easy to read and keep supporting options close enough to continue the conversation.
Match Priority Merchandise to the Included Fixtures
Once the display priorities are clear, match them to the fixtures already available. A simple four-step check keeps the process practical:
Choose the priority merchandise. Start with the products, styles, or categories buyers most need to see.
Assign an included fixture. Match each priority item to the rack, shelf, pedestal, table, or counter that can support it.
Check buyer access. Make sure products can still be browsed, handled, or compared without crowding the display.
Identify the remaining gap. Anything important that still has no practical position becomes the next problem to solve.
Apparel Collections
For apparel exhibitors, compare the collection you actually want buyers to browse with the hanging capacity already available. More garments do not automatically justify more racks if the added density makes the collection harder to shop or pushes buyer review and backstock into the same area. Once those functions begin competing for space, the issue has moved beyond fixture count and into broader MAGIC apparel booth planning.
Home, Gift & Beauty Assortments
For Home, Gift & Beauty brands, look at whether the available shelves, pedestals, tables, or counters keep priority products visible and easy to inspect. Filling every surface may increase the number of products on display while making the assortment harder to understand. If fixture limits begin affecting category clarity, product comparison, and storage at the same time, the issue has become a broader MAGIC Home, Gift & Beauty booth planning problem rather than a need for another shelf.
When Is One More Display Element Enough?
A standard setup can still work well when only one function is missing. An apparel collection may need a little more hanging capacity, a product-heavy assortment may need one more display surface, or an otherwise workable booth may simply need concealed storage for cartons and backup samples.
The test is whether one targeted addition solves the problem without creating another. If the fixtures already work and the weakness is product identification, messaging, or brand visibility, the missing layer may be booth graphics, not more structure.
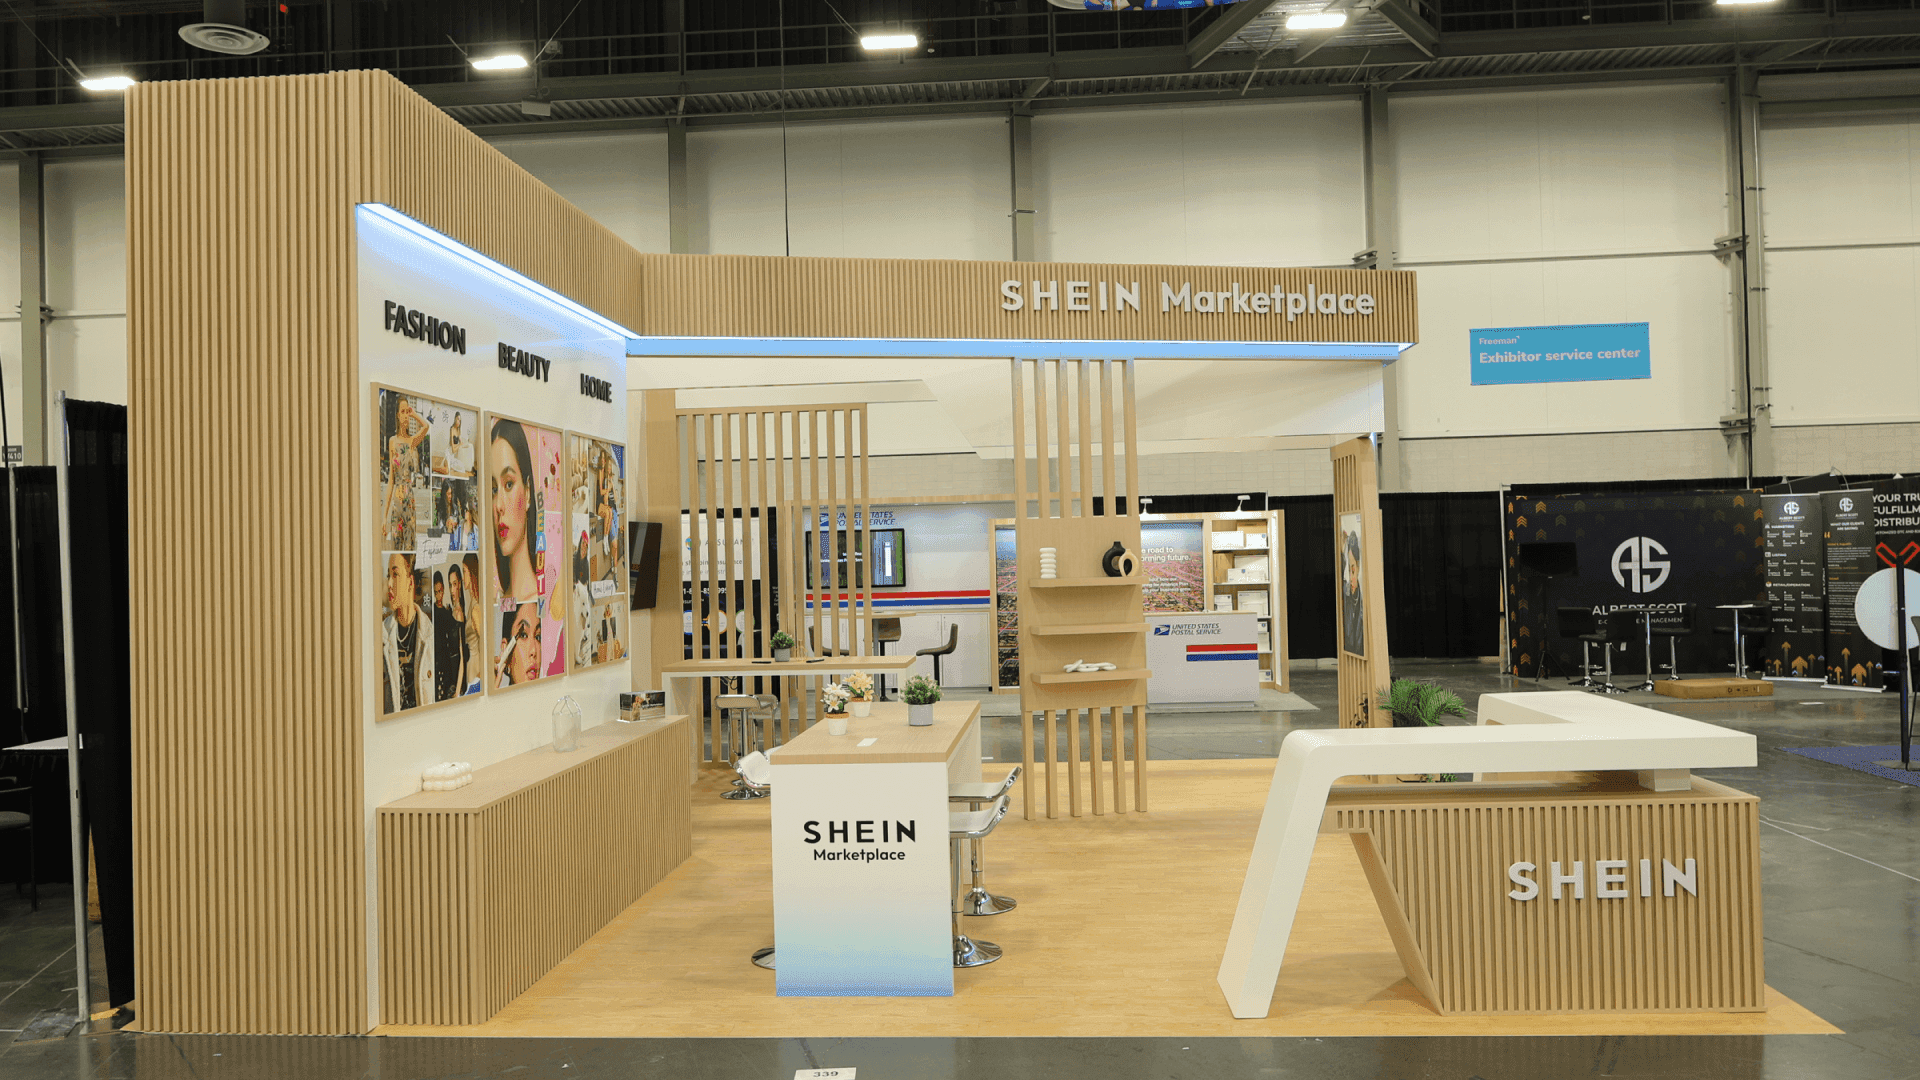
Priority products should use the most visible display surfaces, while additional variants and backup inventory stay off the main selling area until buyers need them.
Quick Package Decision
Situation | Best Next Step |
|---|---|
Included fixtures already support the priority merchandise | Keep the current setup |
The full assortment will not fit at once | Move secondary variants and backup inventory to backstock |
One specific display or storage function is missing | Add only that element |
Fixtures work but product messaging or brand visibility is weak | Improve graphics rather than adding more structure |
Fixing one limitation creates another | Reconsider the package as the starting system |
When Has the Package Stopped Being a Useful Starting Point?
The package becomes less useful when solving one limitation starts creating another. More racks may provide enough hanging capacity but leave buyers less room to browse; added shelving may hold more products while narrowing circulation; additional storage may clean up the selling area but consume too much of the footprint.
A specialized fixture can create the same problem if the rest of the booth has to work around it. Once display, storage, buyer access, and brand presentation can no longer be improved independently, a Las Vegas booth rental may provide a cleaner starting point than continuing to add individual pieces to a setup that no longer fits the selling plan.
FAQ
What fixtures are included in a MAGIC booth package?
The included fixtures can vary by category and show configuration. Confirm the package assigned to your exhibit before planning around exact rack, shelf, pedestal, table, or counter quantities. For merchandise planning, the more useful question is how much practical display capacity those fixtures create.
Should I bring additional racks or shelves to MAGIC?
Only if the included fixtures cannot present the priority merchandise clearly or give buyers practical access to it. If the main problem is that the full assortment will not fit at once, moving secondary products to backstock may be more effective than adding more furniture.
What should I do if the MAGIC booth package cannot hold the full assortment?
Keep priority products, representative styles, and buyer-facing samples on display, then move secondary variants and backup inventory to backstock. If one additional fixture solves the remaining problem, supplement the existing setup. Reconsider the starting system only when several core booth functions are being constrained together.