
A Cyber Training Scenario Visitors Can Follow
A cyber range may connect several roles, systems, and data sources, but visitors should not have to decode the technology before they understand the exercise. Start with a short scenario briefing that explains the operating environment, who is involved, what starts the mission, and what outcome the team is working toward.
Situation — the environment, system, or operational problem being simulated
Participants — the teams, users, or connected systems involved
Trigger — the event or action that starts the exercise
Expected result — the response, decision, or outcome being evaluated
Once the mission scenario is clear, network diagrams, interface details, product features, and technical acronyms have a useful context. This keeps the training objective visible as the scenario-based cyber training exercise develops.
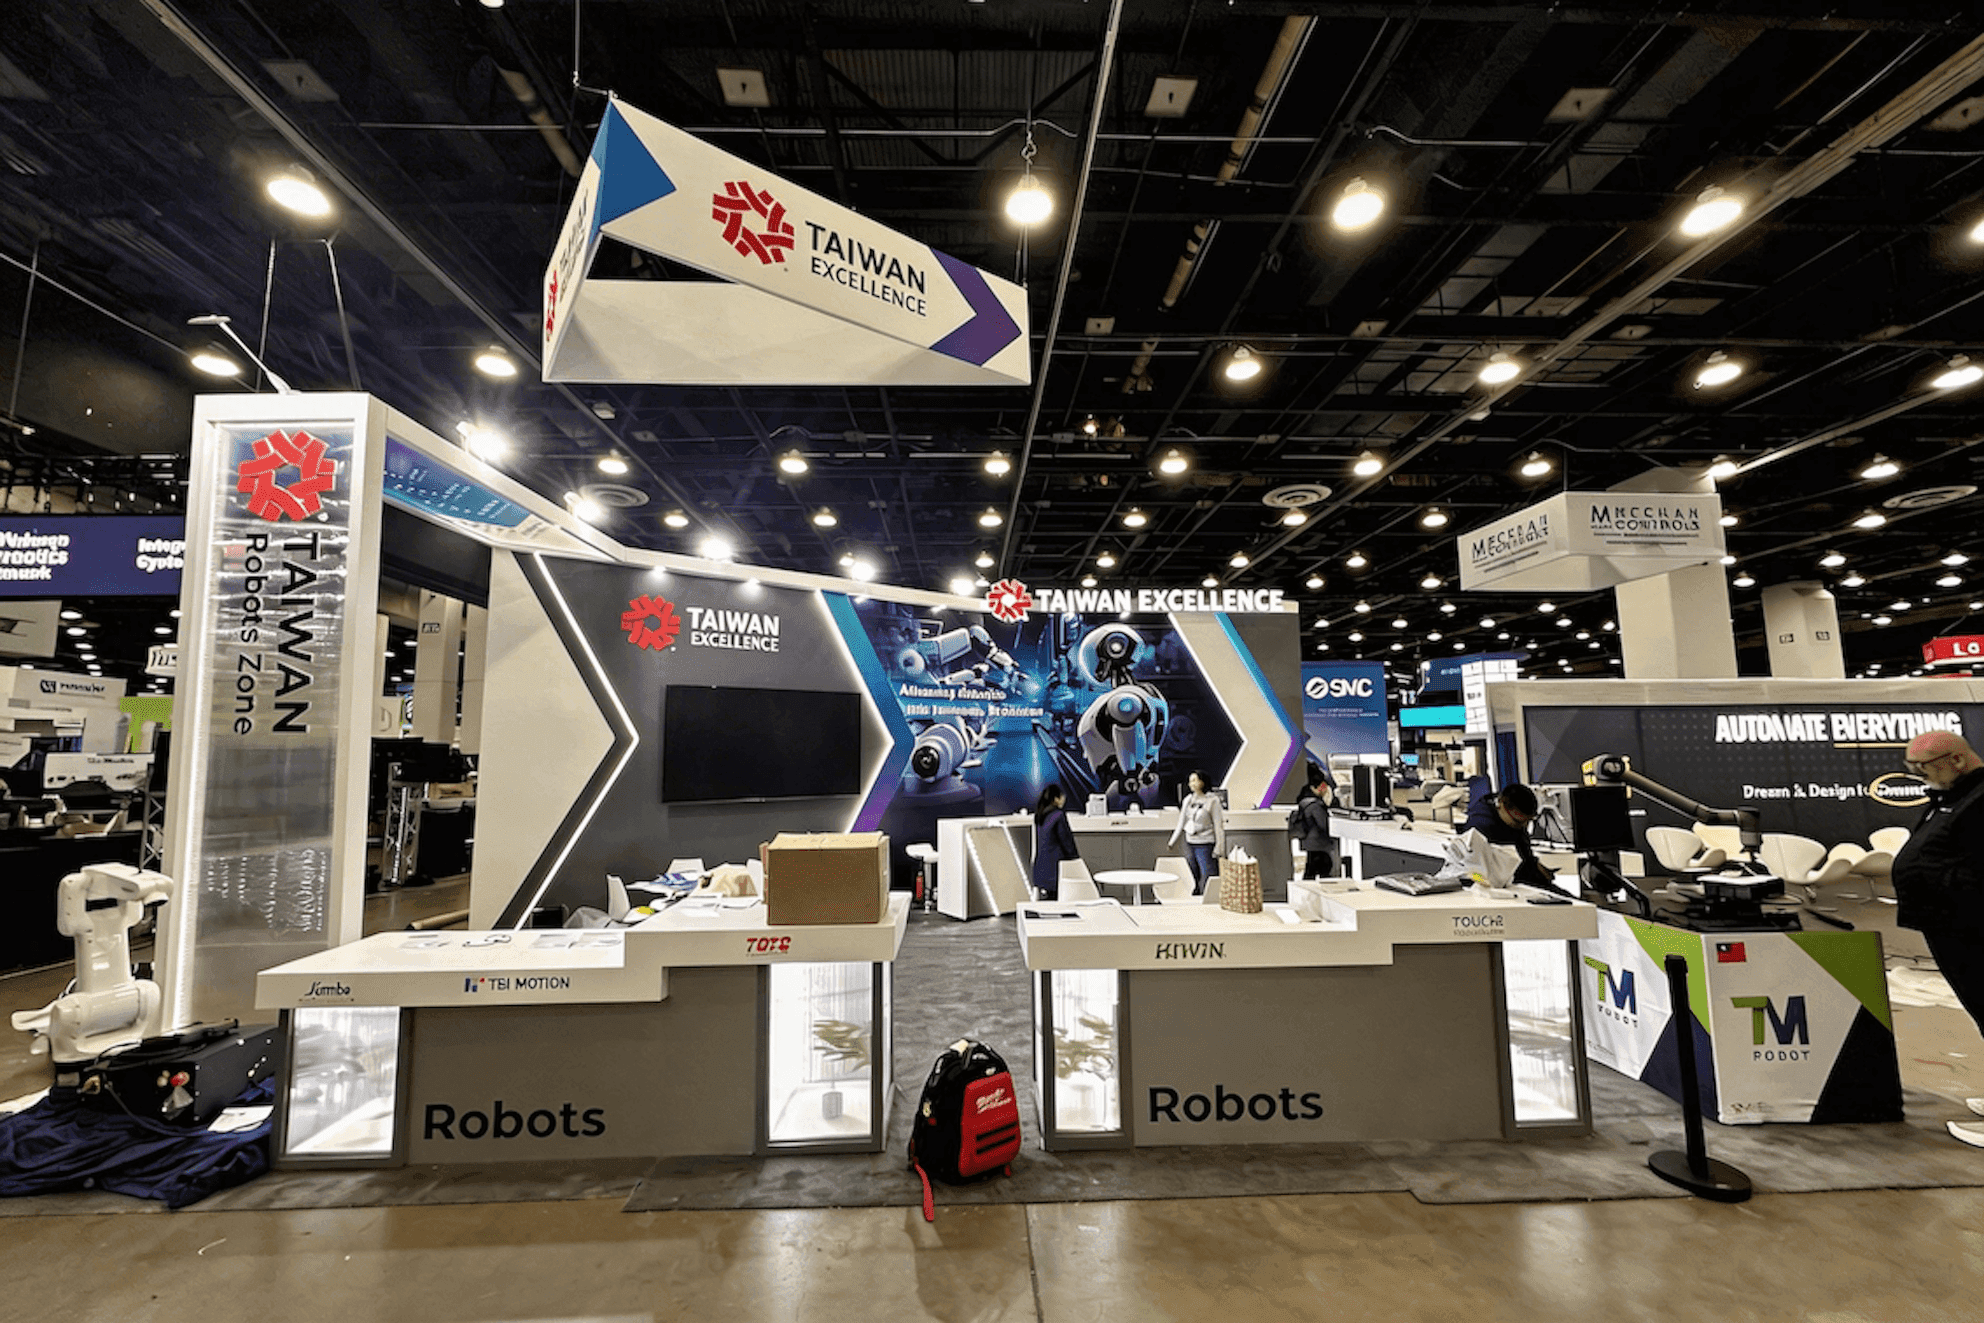
Role-based stations support one shared cyber exercise, with each participant contributing to the same scenario and training outcome.
Roles and Stations Within One Cyber Exercise
A multi-user cyber training demo is easier to follow when every workstation contributes to the same scenario. More screens only add value when visitors can see who is acting, what changed, and how one role affects the next.
Station | Typical Function | Contribution to the Shared Exercise |
|---|---|---|
Threat-emulation or attacker station | Starts the threat or scenario event | Establishes what triggered the exercise |
Defender station | Detects, investigates, and responds | Shows how the response changes the scenario |
Instructor or control station | Starts, pauses, or modifies the exercise | Controls timing, injects, and scenario state |
Analyst or review station | Examines evidence, decisions, and outcomes | Explains what supports the final result |
System operator or administrator | Maintains accounts, connectivity, and range state | Keeps the connected workstations stable and resettable |
Not every cyber range needs five separate physical stations. Some roles can share a workstation, and threat activity may be simulated or prepared in advance. Clear station labels and a shared timeline usually add more clarity than another technical interface.
A common cyber range workstation layout problem is that each screen tells a different product story. Visitors can see activity but cannot tell how the connected workstations relate to one another. A multi-station setup also needs enough separation between active workstations, the public dashboard, technical access, and follow-up discussions.
A 20x30 booth layout provides a useful space-planning reference when these functions need to share one footprint.
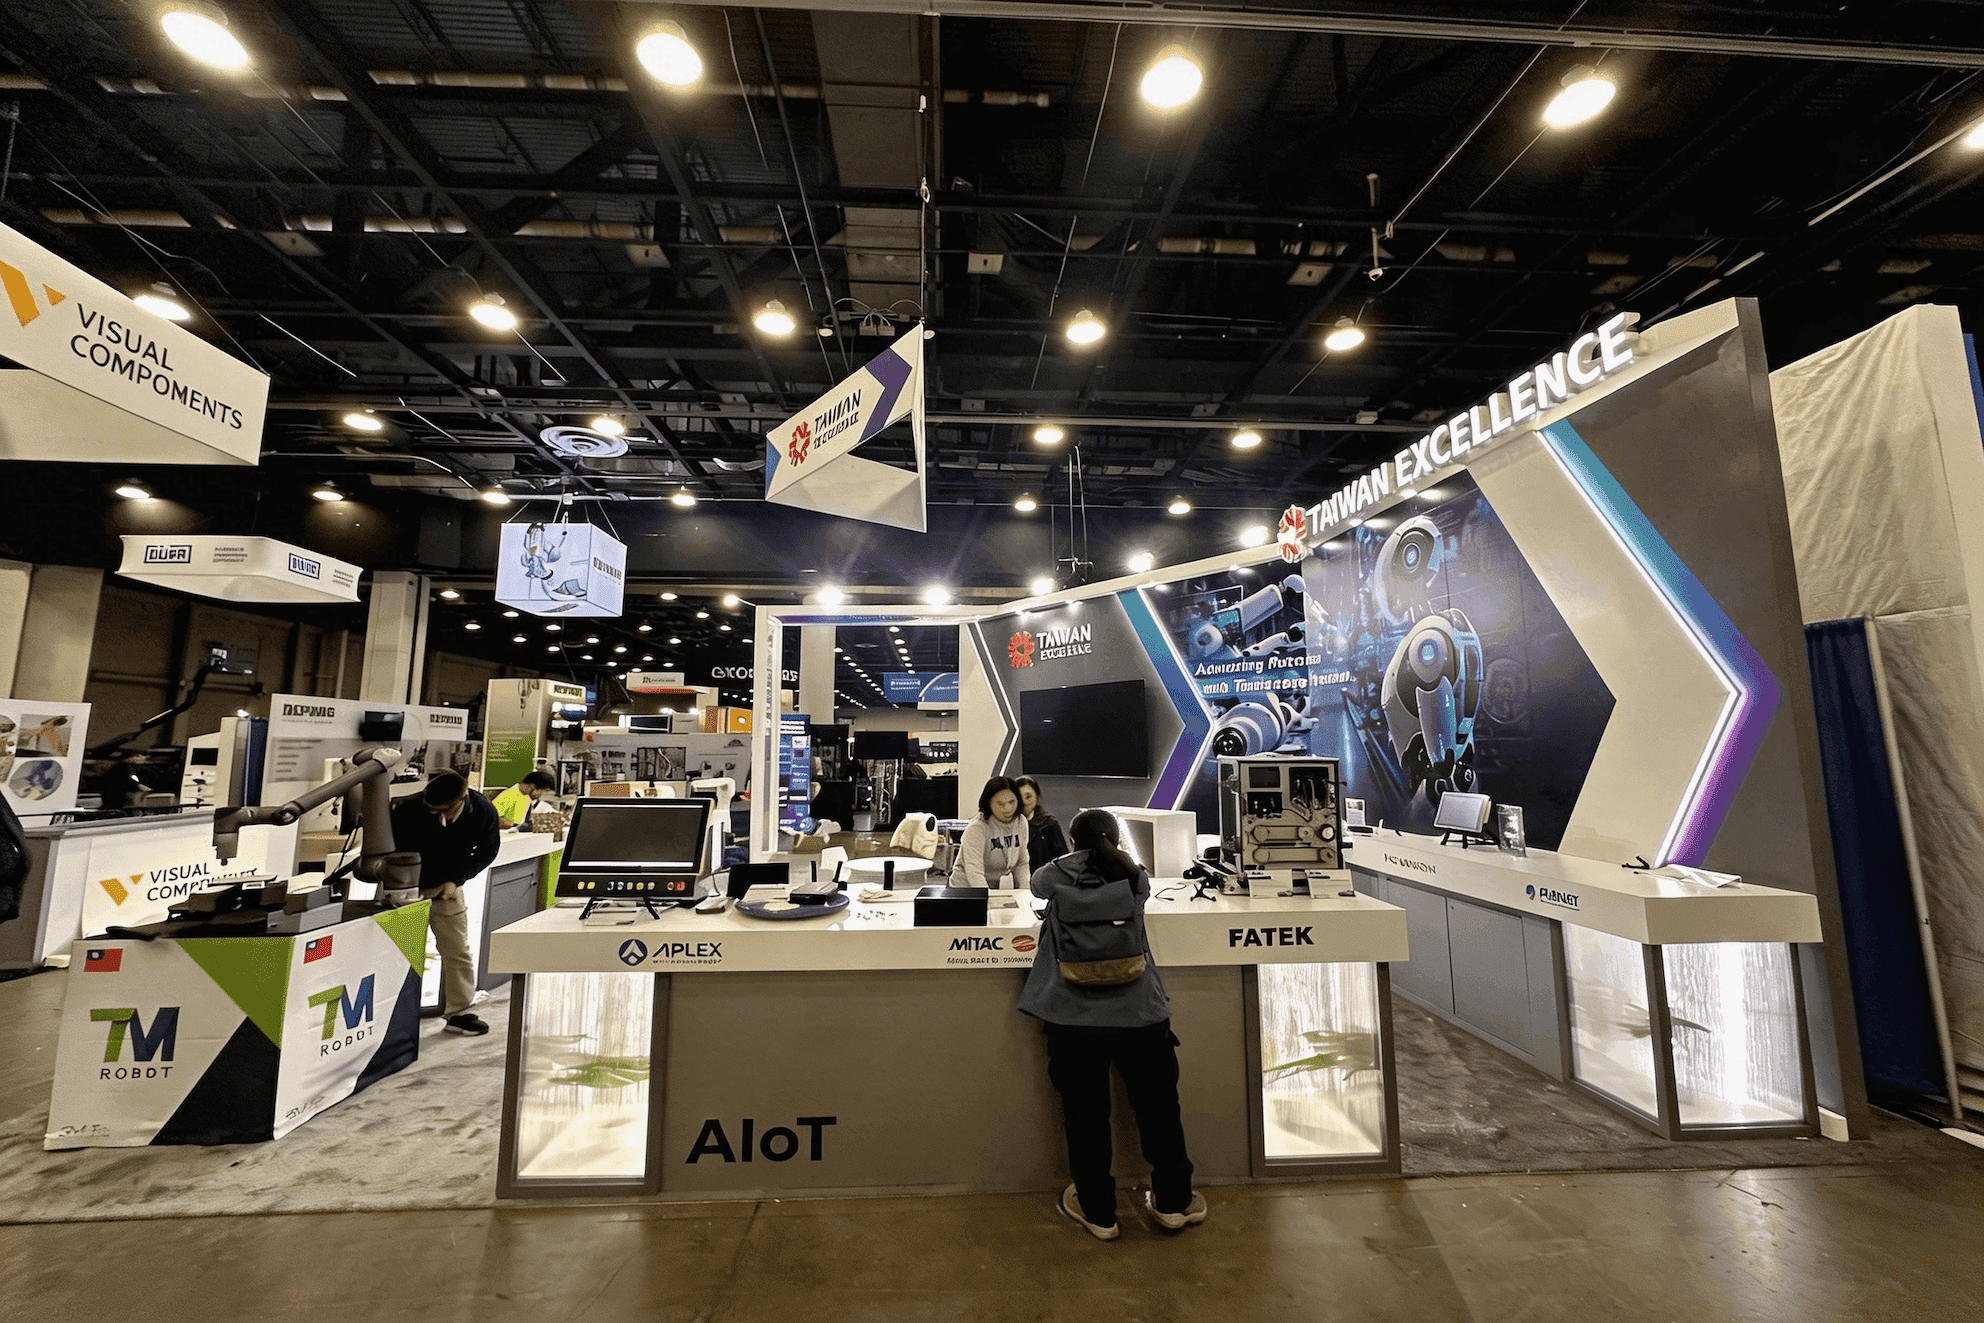
The public-facing dashboard gives nearby visitors a simplified view of the scenario without reproducing every technical interface.
From Briefing to Reset: The Cyber Range Demo Flow
A live cyber exercise is easier to follow when each visitor group sees the same core sequence. The briefing establishes the context, role assignment places each participant at the correct workstation, and the observer dashboard keeps people outside the exercise oriented as the scenario develops.
Set the scenario
Give the group the short briefing defined earlier, then confirm which roles are active.Confirm the active roles
Make sure each participant is at the correct workstation and understands where the exercise begins.Run one shared exercise
Each connected workstation contributes an action to the same mission or training objective.Keep the dashboard aligned
Show the current stage, major actions, status changes, and decision points as they happen.Review what changed
Explain which actions mattered, how the system responded, and what evidence supports the result.Move into technical questions
Continue with integration, deployment, data, training use, or program requirements.Move into the reset process
Close the active exercise and return the system to its tested starting state before the next group enters.
After the Exercise: Review and Technical Discussion
The review should clarify what changed, which decision mattered, and what evidence supports the outcome. Visitors with deeper questions can then move away from the active workstations to discuss integration, deployment, data requirements, training applications, or program scope while the next exercise begins.
What the Observer Dashboard Needs to Make Clear
A cyber observer dashboard has a different job from the participant screens. It helps people outside the exercise follow the scenario without asking them to read every technical interface.
At a glance, visitors should be able to identify:
The current scenario stage
Active roles
Major actions or events
Changes in system status
Important decision points
The exercise result
Whether the system is moving into review or reset
Each screen layer serves a different purpose:
Screen Layer | Main Purpose |
|---|---|
Participant interface | Supports detailed actions for an assigned role |
Instructor or control interface | Manages timing, injects, and scenario state |
Public-facing observer dashboard | Shows progress, key actions, and results in a simplified form |
Static scenario graphic | Introduces the mission, roles, and expected outcome |
During prebuild, review the scenario status display from the aisle and waiting area, not only from the control station. The dashboard needs to stay synchronized with the connected workstations, make important changes easy to notice, and remain readable at a normal viewing distance.
Staff, equipment, or booth structures should not block the public-facing dashboard. Sensitive data and unnecessary technical details also need to be removed before the live demonstration.
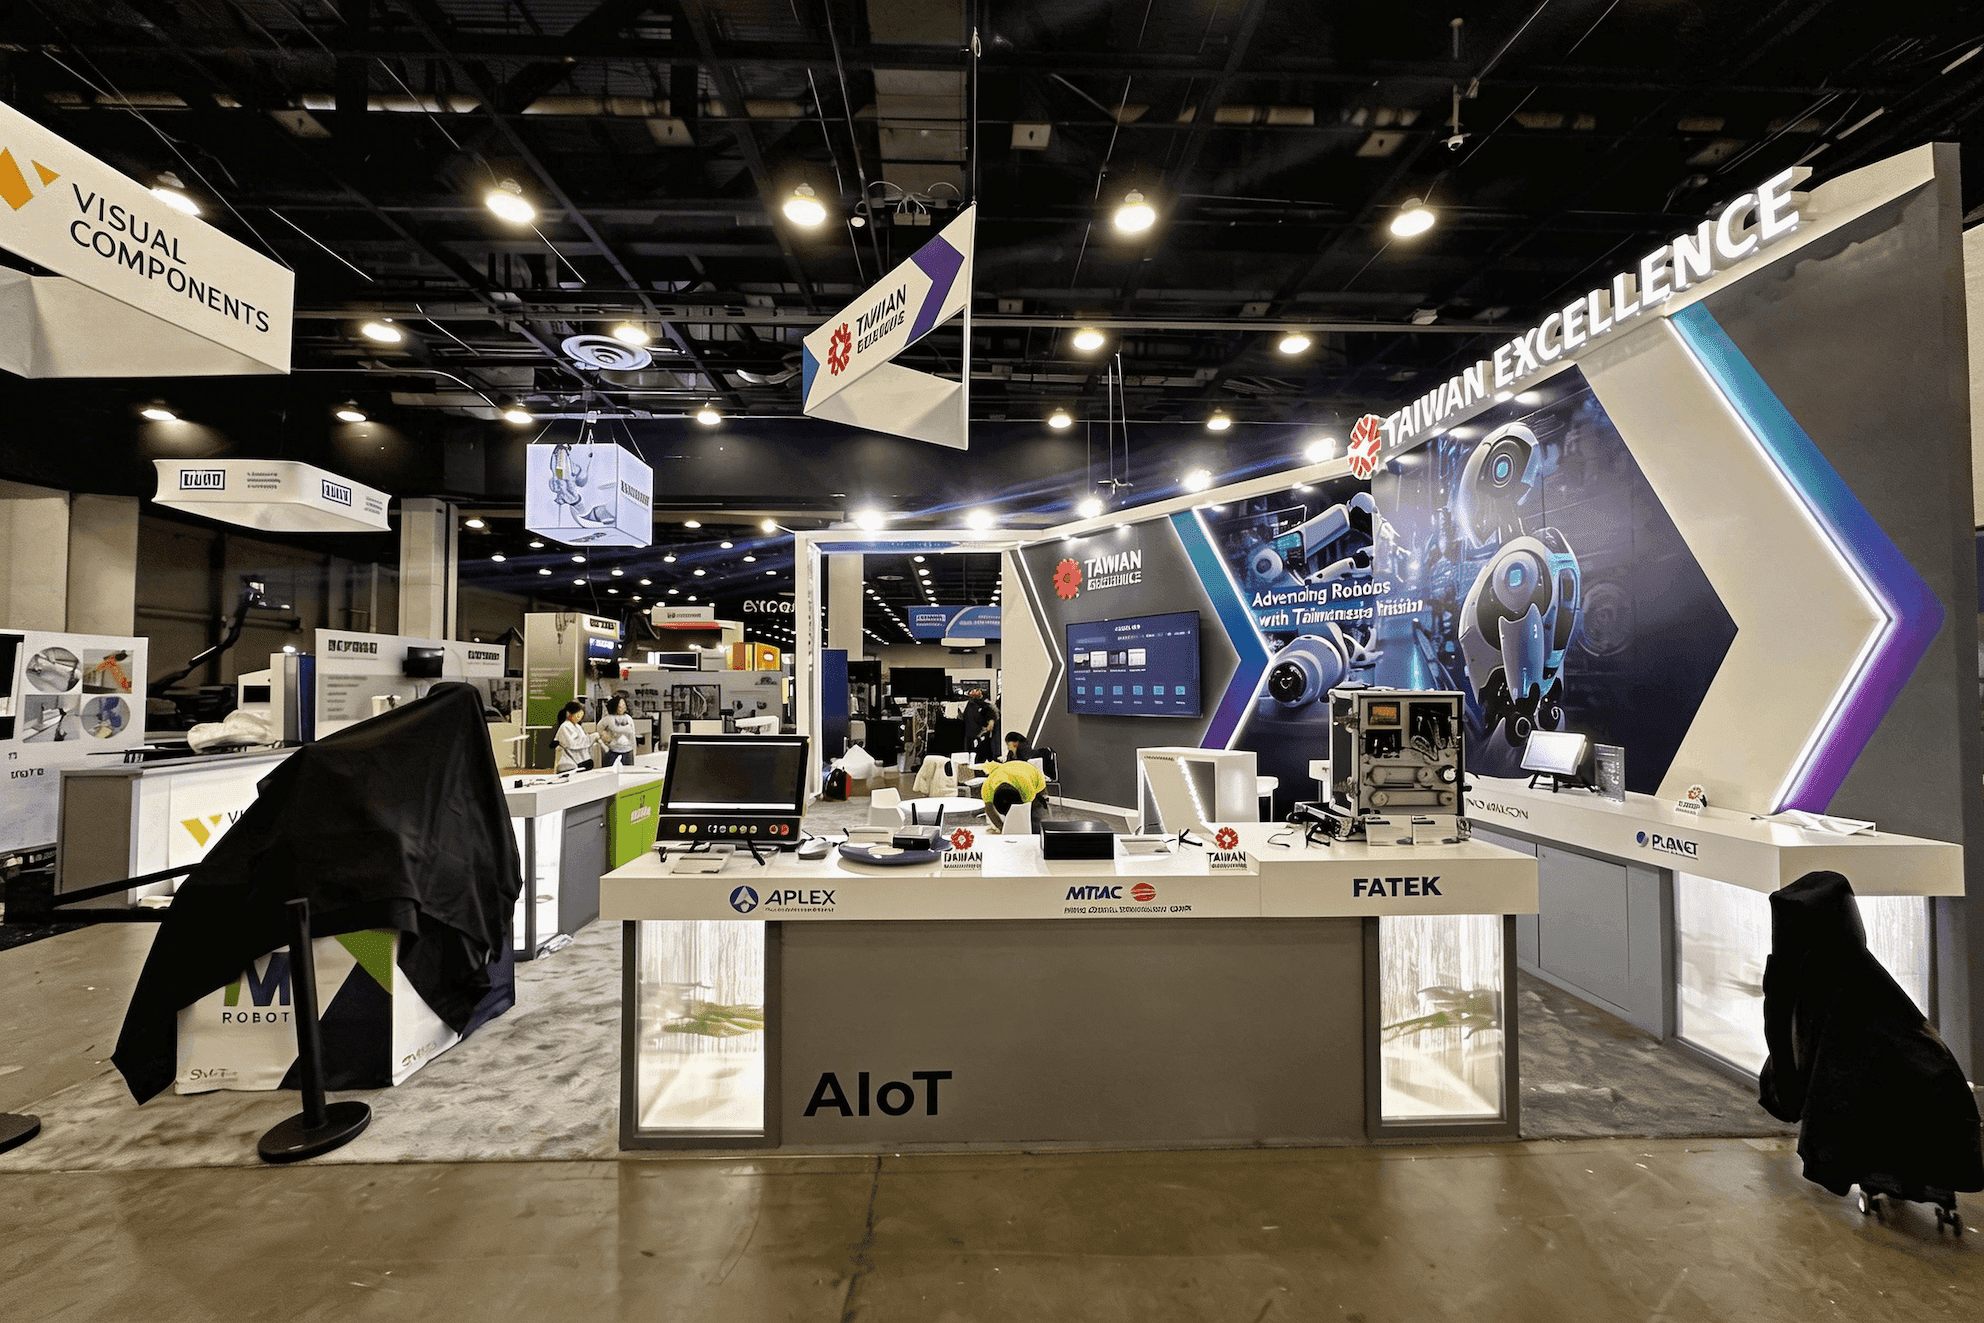
Prebuild testing confirms workstation labels, screen sources, cable routes, connectivity, fallback content, and the reset process before shipping.
What Must Run Live—and What Can Stay Local
A live cyber demo does not need every part of the exercise to depend on an external connection. Keep participant actions live where they add value, while the scenario briefing, role map, local scenario data, and fallback content remain available on-site.
Demo Element | Primary Format | Backup Format |
|---|---|---|
Participant actions | Live interaction | Recorded sequence or guided playback |
Scenario data | Prepared or live dataset | Local snapshot of essential data |
Observer dashboard | Synchronized live view | Recorded dashboard playback or static status summary |
Scenario briefing and role map | Locally stored content | Static graphic or printed reference |
Remote integration | Live when stable and necessary | Local simulation or guided explanation |
Exercise outcome | Live result when available | Prepared result summary or annotated screenshots |
Prepared cyber data is often more reliable than pulling every part of the exercise from a remote environment. The dashboard can remain synchronized with the live stations, while an observer dashboard backup or recorded cyber scenario preserves the main actions, status changes, and outcome if the connection fails.
An offline cyber demo does not need to recreate the complete range. It only needs to preserve the logic of the exercise: what happened, which roles acted, how the system responded, and why the result matters.
Label and Test the System Before It Ships
A multi-station cyber demo is difficult to rebuild on-site when monitors, computers, cables, power supplies, and adapters arrive as unrelated parts. During prebuild, workstation labeling should identify each component by role, final booth position, connection, and installation order—not only by product name.
The labeling plan should include:
Workstation role and booth position
Monitor source and signal path
Power and network requirements
Cable destination at both ends
Equipment rack or control hardware location
Installation and startup sequence
Observer dashboard routing and reset state
Spare cables and adapters in a separate labeled kit
Technical testing should use the same monitor routing, cable paths, and equipment packing sequence planned for the show floor. This helps prevent screens from connecting to the wrong source, cables from ending at the wrong station, or the observer dashboard from being tested separately from the live exercise.
Screen positions, cable routes, power access, and service clearances are also part of multi-station exhibit design engineering. The prebuild labels should match the final production drawings used during technical booth installation.
Reset the Cyber Range Before the Next Group Arrives
Resetting a cyber range takes more than returning one interface to its home screen. The scenario state, data, accounts, participant roles, workstation views, and observer dashboard all need to return to the same starting point before the next session begins.
Close the active exercise
End open sessions and confirm that no workstation is still sending data or commands.Restore the scenario state
Reload the dataset, timeline, and prepared events used in the exercise.Reset accounts and roles
Return logins, permissions, and participant roles to their assigned starting positions.Return the screens to briefing mode
Restore each workstation view and complete the dashboard reset so the previous result is no longer visible.Check the connected system
Confirm station connectivity, dashboard synchronization, equipment status, and technical support access before the next group enters.
During prebuild, time the complete cyber demo reset process rather than checking each station separately. Record which steps are manual or automated, how long data reloads take, whether any account reset depends on an external service, and when next-session preparation can safely begin.
Cyber Range Demo Readiness Checklist
Before the booth ships, run the cyber range demo from the initial briefing through the final reset and confirm:
The scenario, trigger, active roles, and expected result are easy to explain
Every workstation contributes to the same exercise
The observer dashboard shows the current stage, key actions, and outcome
Live connectivity and station synchronization have been tested
Local scenario data and recorded fallback content are ready
Workstations, monitors, cables, power supplies, and network connections are labeled
Accounts, permissions, roles, data, and screens return to the correct starting state
The full cyber demo reset time has been measured
Technical discussions remain clear of active stations and visitor traffic
Frequently Asked Questions
Does a cyber range demo require wired internet?
A wired connection is usually the safer choice when several workstations depend on cloud services, remote systems, or synchronized data. A locally hosted cyber range may run without external internet, but local scenario data, recorded dashboard views, and a fallback explanation should still be ready in case the connection becomes unstable.
What should a cyber observer dashboard show?
The most useful cyber observer dashboard shows the current scenario stage, active roles, major actions, important status changes, decision points, and the final result. It should help nearby visitors follow the exercise without asking them to read every technical interface used by the participants.
How many stations are needed for a multi-user cyber demo?
Start with the roles the scenario actually needs. A compact multi-user cyber demo may combine threat emulation, defense, and instructor control across two or three workstations. Larger exercises may add analyst or system-operator positions, but each extra station should contribute a visible action or decision to the shared scenario.






