The common mistake
A lot of SEMA booths start with the right instinct and end with the wrong balance.
The team knows the vehicle will pull attention, so the vehicle gets the center. Then the parts, accessories, and category displays get added around it wherever space is left.
That is usually where the booth starts getting weaker.
The vehicle still looks strong.
The products are still present.
But the booth stops reading clearly.
Instead of one connected story, the space starts feeling like a vehicle surrounded by obstacles.
What product shelving is supposed to do
Product shelving is not there just to hold inventory.
At SEMA, shelving should do three things:
explain what the vehicle is proving
connect the display to actual product categories
give visitors a next step after the first visual stop
If the shelving only fills space, the booth gets noisier.
If the shelving supports the vehicle story, the booth gets easier to understand.
That difference matters a lot on an automotive show floor.
The vehicle should stay the hero
In a vehicle booth, the vehicle usually wins the first glance.
That part happens naturally.
What does not happen naturally is product clarity.
A lifted truck, custom car, or off-road build can attract people very quickly, but it does not always tell them what the exhibitor is actually selling. The booth needs the surrounding display to answer that question.
That is why product shelving should reinforce the vehicle, not compete with it.
If a visitor sees the vehicle first and then immediately understands the related products beside it, the booth is working.
If the shelving interrupts the best vehicle view, blocks key sightlines, or makes the center feel crowded, the booth starts losing that advantage.
The best shelving usually sits beside the vehicle, not in front of it
This is where many SEMA layouts go wrong.
Shelving often gets pushed too far forward because teams want the product visible from the aisle. That sounds logical, but once the shelving moves too close to the front edge, it begins stealing the role that belongs to the vehicle.
A better approach is usually:
vehicle first
shelving second
conversation third
The product wall or shelving zone should sit where it is easy to reach after the vehicle catches attention, not where it cuts across the first visual stop.
That usually means side placement works better than front placement.
Clean circulation matters more than more product faces
Many booths try to show too much at once.
More shelves.
More SKUs.
More side displays.
More category panels.
That often reduces the value of all of them.
At SEMA, people do not experience a booth like a catalog.
They experience it through movement.
If the circulation path is clean, visitors can:
stop at the vehicle
move toward the product wall
get closer to the category they care about
continue the conversation without crowding the center
If that path is blocked, the booth may still look full, but it becomes harder to use.
Product shelving should create category clarity
Good shelving does more than show product.
It helps visitors understand what kind of system or upgrade they are looking at.
That means the shelving should be grouped in a way that supports real automotive logic, such as:
suspension components
wheel and tire systems
lighting upgrades
overland accessories
recovery gear
electronics or performance parts
When these groups are clear, the booth becomes easier to read.
When everything is mixed together near the vehicle just to maximize exposure, the display feels more crowded and less useful.
A 30x40 booth usually gives this layout enough room to work
This is one reason a 30x40 trade show booth works so well for SEMA vehicle displays.
That footprint often gives enough room to separate:
the main vehicle view
the product shelving zone
the circulation path
the conversation area
In a tighter booth, shelving and vehicle space are usually forced into the same zone. In a better 30x40, the shelving can support the booth story without collapsing the visual center.
That is where the booth starts feeling intentional instead of overfilled.
Shelving height matters too
This gets overlooked all the time.
Even when shelving is in the right place, it can still hurt the booth if it is too tall or too visually heavy.
Large shelving units can:
cut off vehicle sightlines
block photography angles
make the booth edge feel closed
create a heavy wall effect too close to the center
In most vehicle booths, shelving works better when it feels structured but not dominant.
The visitor should still feel the vehicle as the main reference point.
Graphics should help the shelving explain itself
This is where graphics and brand presentation matter.
Product shelving without clear visual support often turns into visual clutter. Visitors see “more stuff,” but not necessarily a clearer message.
The graphics around the shelving should help answer:
what category is this
how does it relate to the display vehicle
why should someone stop here after viewing the vehicle
That can be done with:
category headers
short product-family messaging
clear visual grouping
supportive imagery tied to the vehicle application
The graphics should make the shelving easier to read, not louder.
Builder logic matters because shelving changes booth behavior
Shelving is not just a merchandising decision.
It changes:
how people enter
where they stop
what they see next
how much room staff have to engage
how the vehicle is photographed and remembered
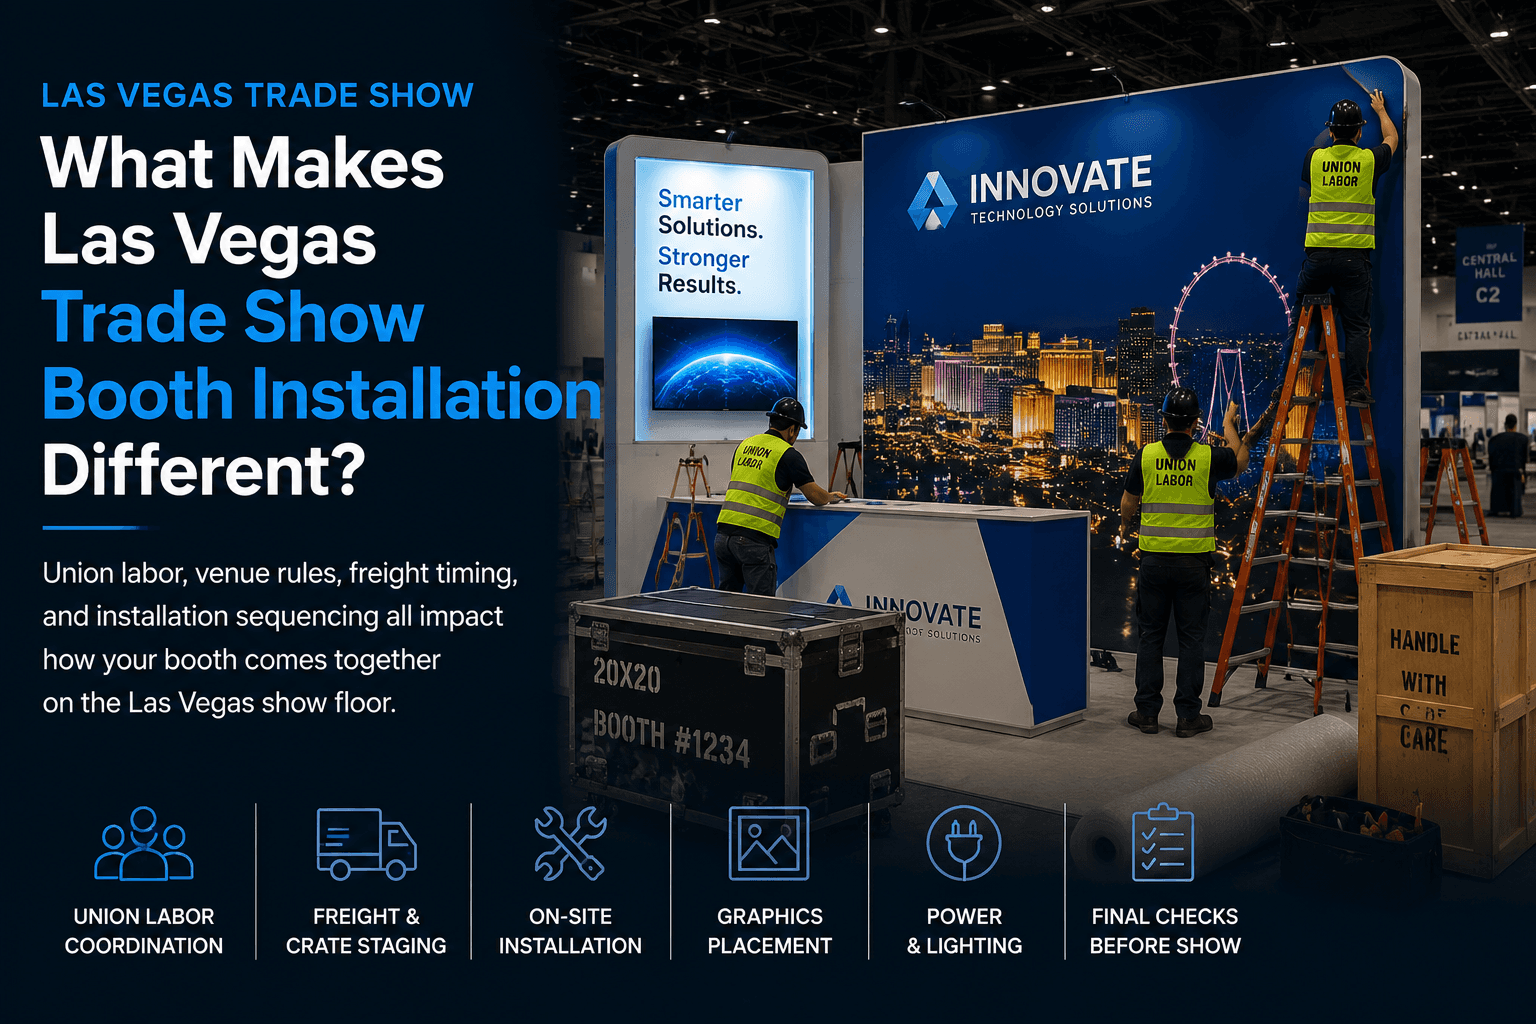
That is one reason exhibitors often benefit from working with a Las Vegas trade show booth builder that understands the booth as one connected system.
A shelving wall that looks fine in isolation can still weaken the booth if it disrupts circulation or makes the center feel compressed.
A better SEMA booth usually follows a simple sequence
The strongest vehicle booths usually follow this order:
1. Vehicle gets the first stop
The main display attracts the eye without interference.
2. Shelving gives category context
The surrounding products explain what the vehicle is proving.
3. Circulation keeps the booth usable
Visitors can move without blocking the center.
4. Conversations happen without collapsing the display
Sales activity supports the booth instead of crowding it.
That sequence is what keeps the booth useful, not just dramatic.
Final thought
At SEMA, product shelving should not fight the vehicle for attention.
It should make the vehicle more meaningful.
When the shelving sits in the right place, supports real category logic, and leaves the circulation clean, the booth becomes easier to read, easier to move through, and much more effective once people stop.
That is usually the difference between a vehicle booth that gets photographed and a vehicle booth that actually helps sell product.
Planning a vehicle booth for SEMA Show?
Start with SEMA booth planning, then shape the layout with a Las Vegas trade show booth builder approach that gives the vehicle room to lead while the product display supports the story.