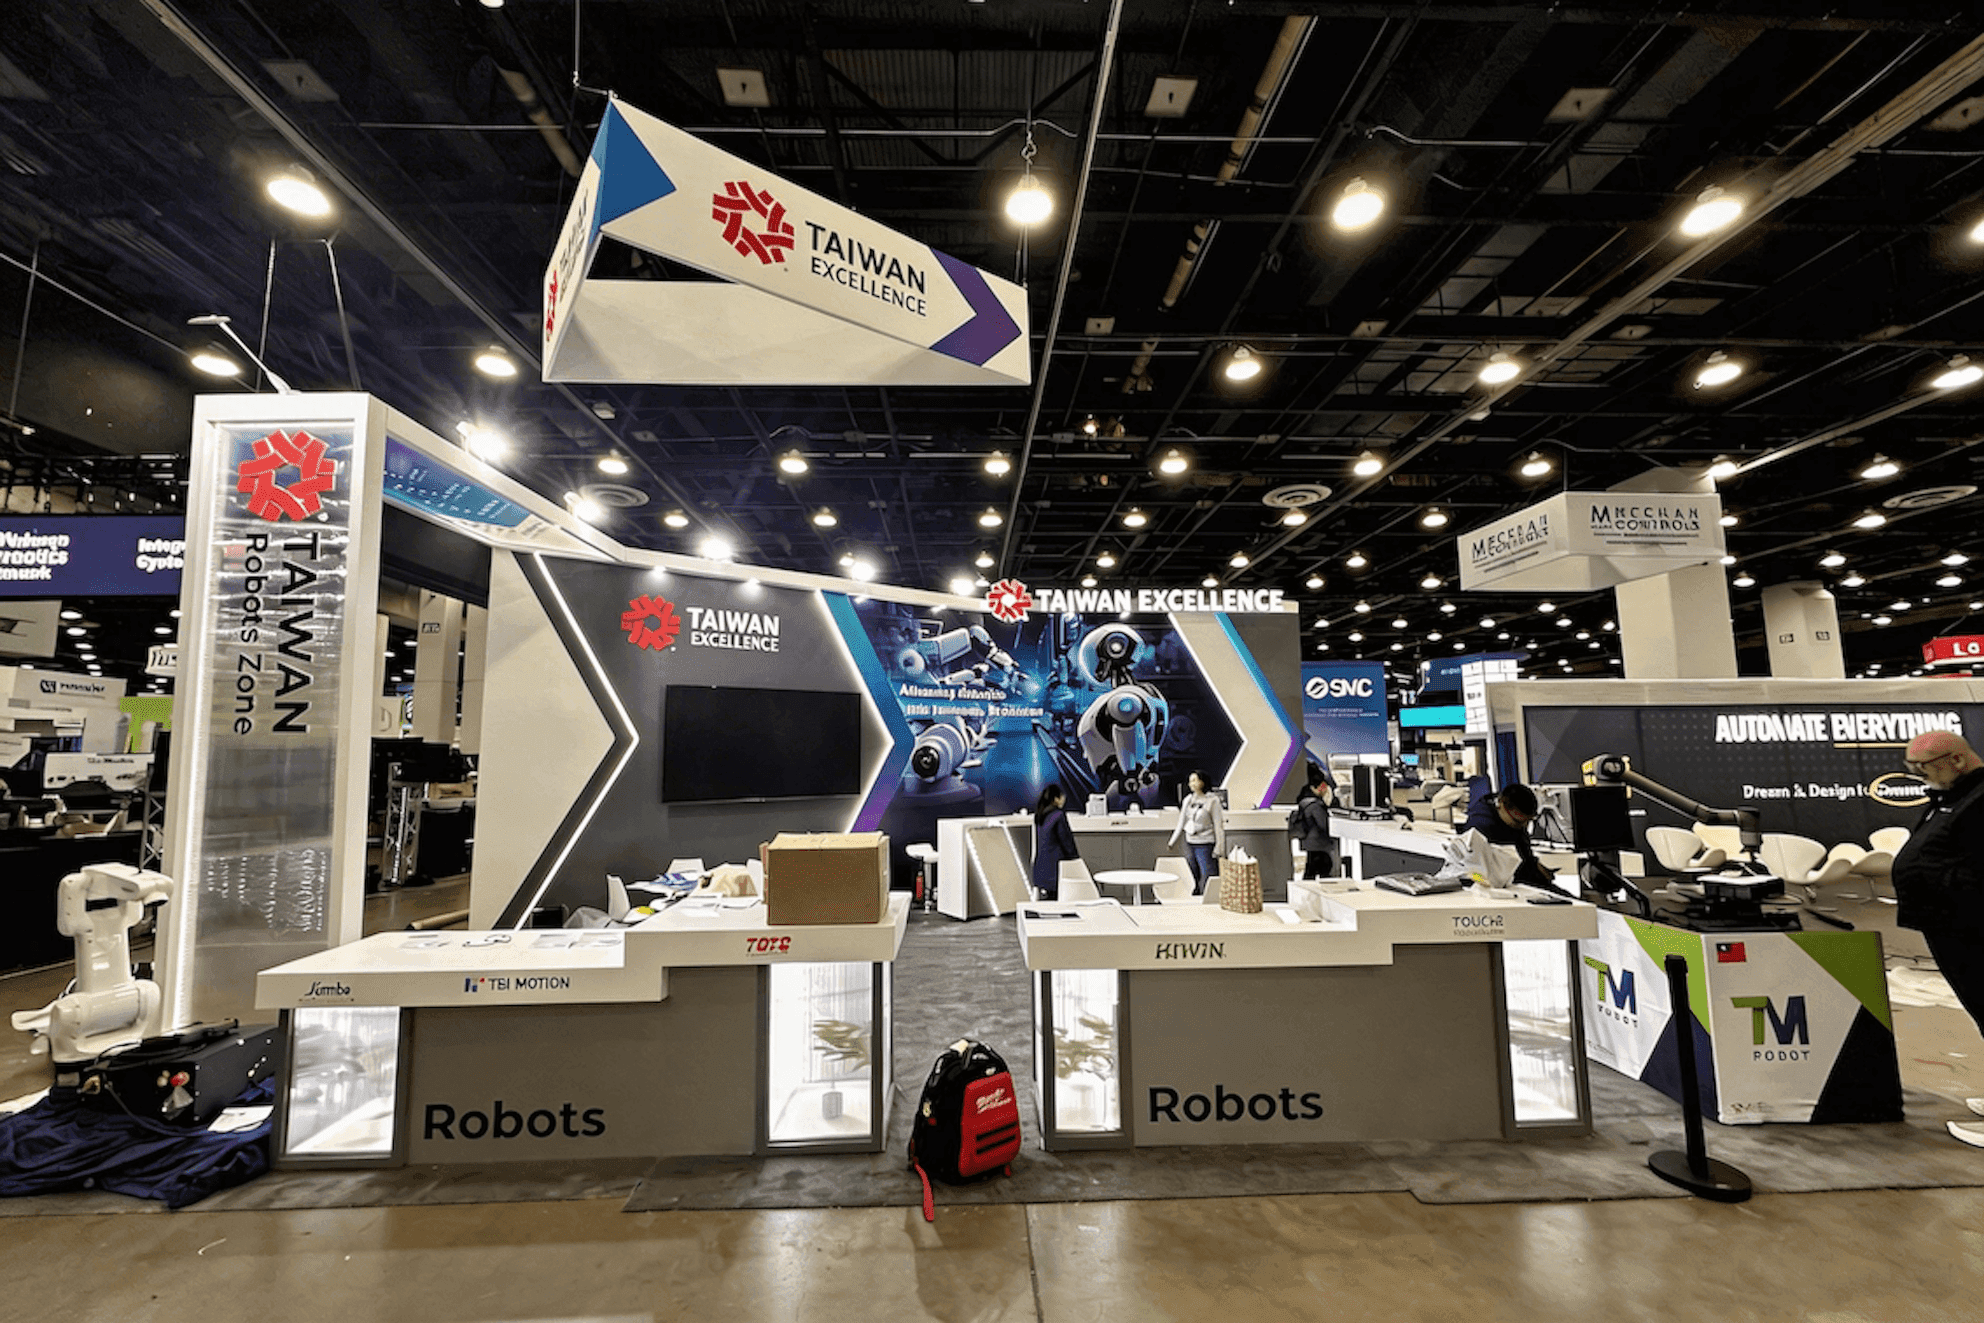
Start With the Testing or Validation Technology
An Automotive Testing Expo booth should begin with the technology being shown. ADAS validation, EV battery testing, powertrain development, simulation software, durability testing, and data acquisition tools all need different ways to be understood on the show floor.
Some products are easier to explain through equipment or component displays. Others need screens that show test results, sensor data, simulation models, or validation workflows. The booth should make the testing purpose clear before the conversation becomes too technical: what is being tested, what data matters, and how the technology supports vehicle development.
For more focused planning, see ADAS validation booth planning or EV battery and powertrain testing booth planning.
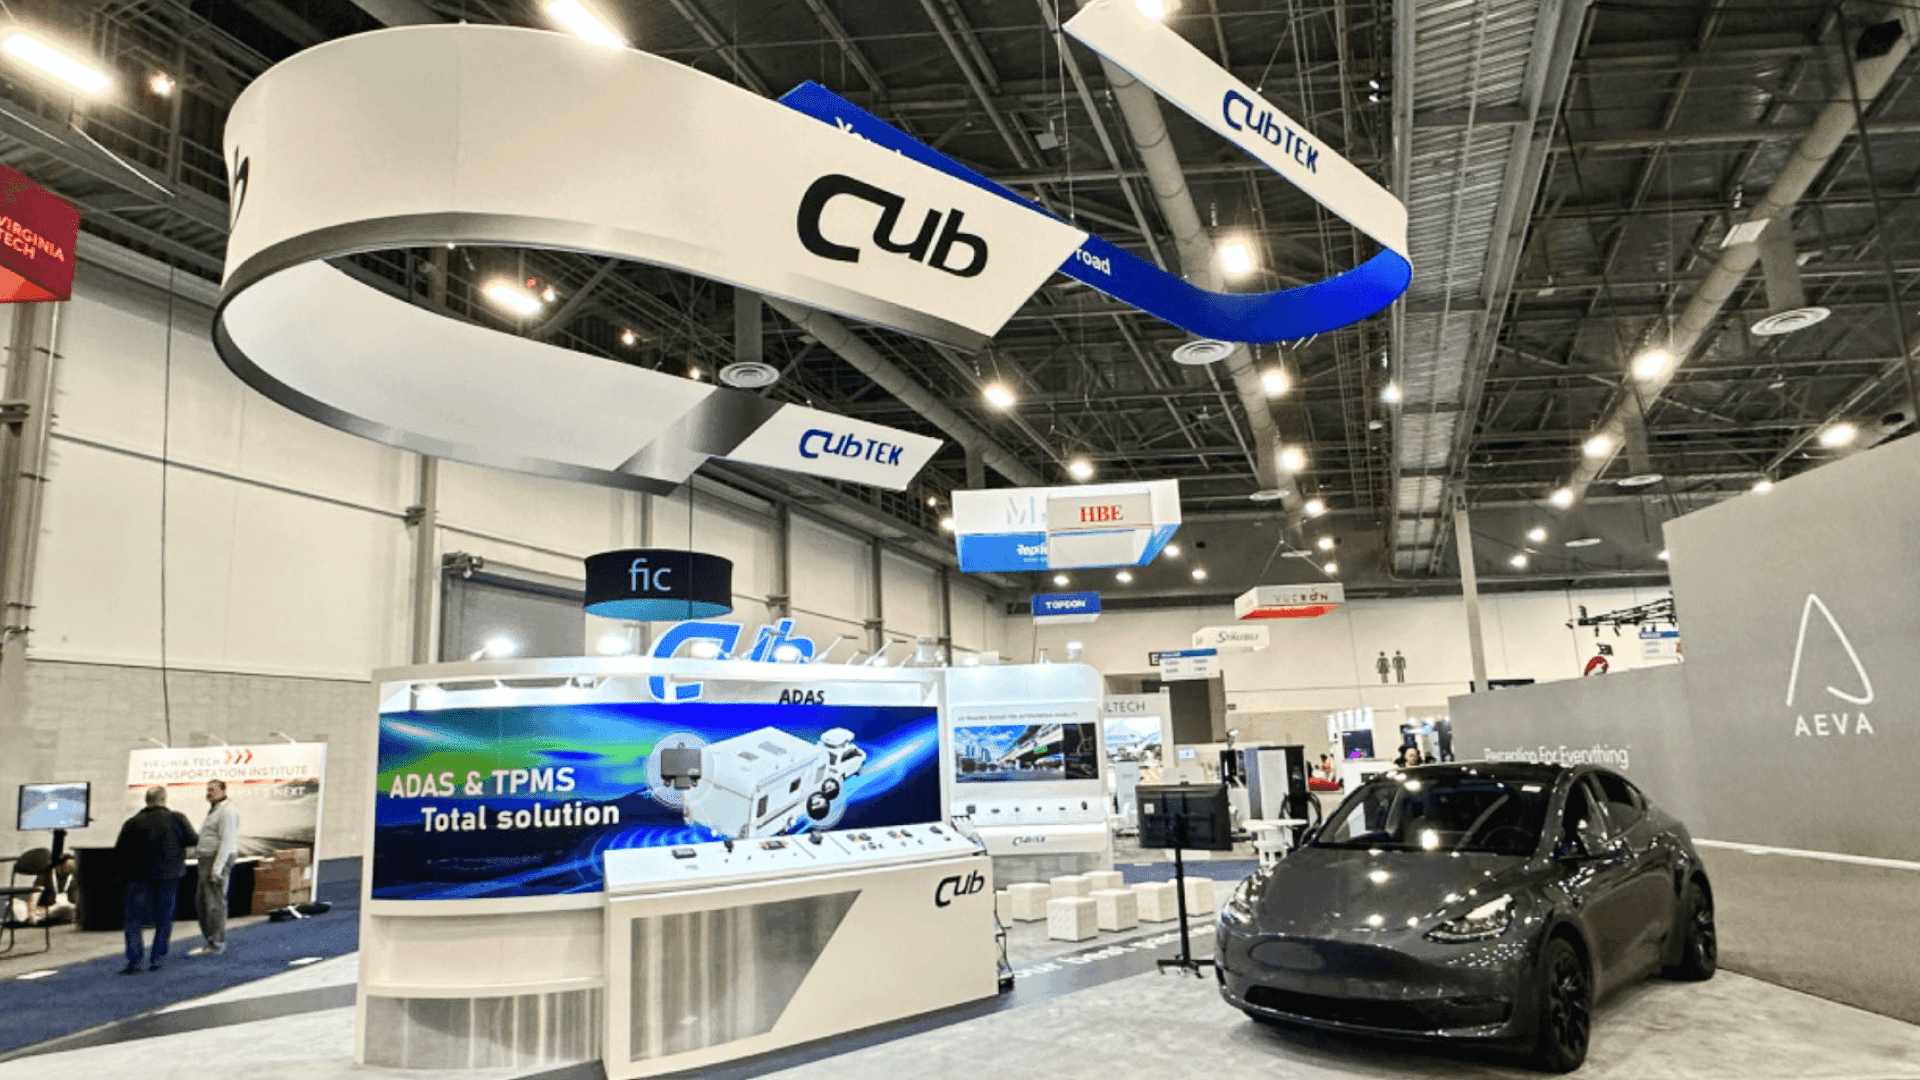
Testing equipment, components, and screen content should work together so engineers can quickly understand what is being measured, validated, or demonstrated.
Build a Demo Flow for Engineers
At Automotive Testing Expo, engineers need to understand the demo quickly. The booth should not make them guess whether they are looking at a test fixture, sensor setup, simulation screen, data output, or validation workflow.
A clear flow might start with the equipment or component, then move to the screen showing test results, measurement data, or simulation context. From there, staff can explain accuracy, repeatability, integration, test conditions, or how the technology fits into a vehicle development program.
The booth does not need to show every feature at once. It should give engineers a clear first read, then make the deeper technical conversation easy to continue.

ADAS validation booths need clear screen placement, sensor visuals, simulation content, and data output so visitors can follow the testing workflow without a long explanation.
Match Booth Size to Demo Complexity
Booth size should follow the demo. A single screen, small component, or simple testing message can work in a compact layout. But ADAS validation, EV battery testing, powertrain development, data acquisition, or multi-step simulation demos often need more space for screens, equipment, staff movement, and engineering discussion.
Booth size | Better fit for | Planning notes |
|---|---|---|
10x10 | One screen, small component, focused testing message | Best when the product story is simple and staff can explain it from one point |
10x20 | Testing equipment, simulation screen, brochure handoff, short technical discussion | Gives visitors more room to view the demo without blocking the aisle |
20x20 | ADAS validation, data acquisition demo, multiple screens, engineering conversation area | Helps separate the equipment, screen content, staff movement, and technical questions |
20x30 | EV battery testing, powertrain validation, larger equipment visuals, multi-zone demo | Works better when the booth needs deeper workflow explanation or scheduled meetings |
For many testing and validation exhibitors, a 20x20 booth planning approach gives enough room to separate the technical display, screen demo, and engineering conversation without making the booth feel oversized.

A 20x20 booth can give automotive testing exhibitors enough room to separate equipment display, simulation screens, staff movement, and engineering conversations.
Use Graphics to Explain Technical Value
Graphics in an automotive testing booth should help engineers read the demo faster. A workflow diagram, test sequence, data output label, or system map can make the equipment and screen content easier to understand before staff step in.
If the booth covers ADAS validation, EV battery testing, powertrain development, or simulation software, the graphics should answer a few simple questions: what is being tested, what data is shown, and how the result supports vehicle development.
This layer works best when graphics and brand presentation is planned with the demo stations, screens, equipment placement, and staff conversation flow from the start.
Novi Show-Site Setup Notes
The booth also has to work on the Novi show floor, not just in the design file. Before shipping, automotive testing exhibitors should confirm power needs, screen locations, demo equipment, sample components, printed materials, crate labels, and staff handoff notes.
This is especially important for booths with testing equipment, simulation screens, sensor displays, battery or powertrain components, or data acquisition demos. If a screen is placed in the wrong spot, a counter gets crowded, or demo reset steps are unclear, the technology becomes harder to explain once engineers start walking the floor.
Automotive Testing Booth Planning Checklist
Before approval, the booth plan should make the testing story clear and the on-site setup easy to control.
Define the main testing or validation technology first
Decide what needs equipment, components, screens, or simulation content
Keep the demo path clear from first look to technical discussion
Place screens where engineers can read data, results, or workflow context quickly
Choose booth size based on demo complexity, staff movement, and meeting needs
Confirm power, samples, demo equipment, crate labels, printed materials, and staff handoff before shipping
FAQ
What should automotive testing exhibitors plan before the booth is built?
They should start with the testing or validation technology, then plan how engineers will see the equipment, read the screen content, understand the data output, and continue the technical conversation.
How can testing equipment be shown clearly in a booth?
Place the equipment, components, screens, and data visuals around one clear story. Visitors should quickly understand what is being measured, tested, or validated without needing a long explanation first.
What booth size works for automotive testing and validation demos?
It depends on the demo. A small component or single screen may fit a 10x10 or 10x20 booth. ADAS validation, EV battery testing, powertrain demos, or multi-screen workflows usually need a 20x20 or 20x30 layout.