Start With the Anesthesia Product Category
A useful ASA booth starts with the product being shown, not with a fixed medical booth template.An anesthesia instrument, an airway management device, a patient monitoring system, and a perioperative software platform each need a different way to be explained on the show floor.
A device or airway product usually needs a simple display area where clinicians can compare form, use, and handling. Monitoring equipment often needs screen support to show data, alerts, or workflow context. Perioperative software is usually better explained through a short guided demo tied to operating room or care coordination workflow.
The booth should make the product category clear first. Once visitors understand what they are looking at, staff can move into a more useful clinical conversation. For equipment-focused displays, see anesthesia equipment and monitoring booth planning.
An ASA medical device booth should make anesthesia equipment, airway tools, monitoring screens, and clinical use cases easy to understand before staff begin a deeper explanation.
Plan Demo Space for Clinical Conversations
That first moment of recognition depends on how the demo area is arranged. The space should feel easy to enter, not like a closed consultation area, a clinician may stop first to look at the device, glance at a screen, ask how it fits into anesthesia workflow, take a brochure, and then move toward the counter for a deeper conversation.
Physical devices need enough open space for quick comparison and handling. Monitoring equipment or perioperative software needs a screen that is easy to read from the aisle, so visitors can understand the data, alerts, or workflow before staff explain the details.
The conversation counter works best after the product is already clear. It should support follow-up questions, not block the first interaction.
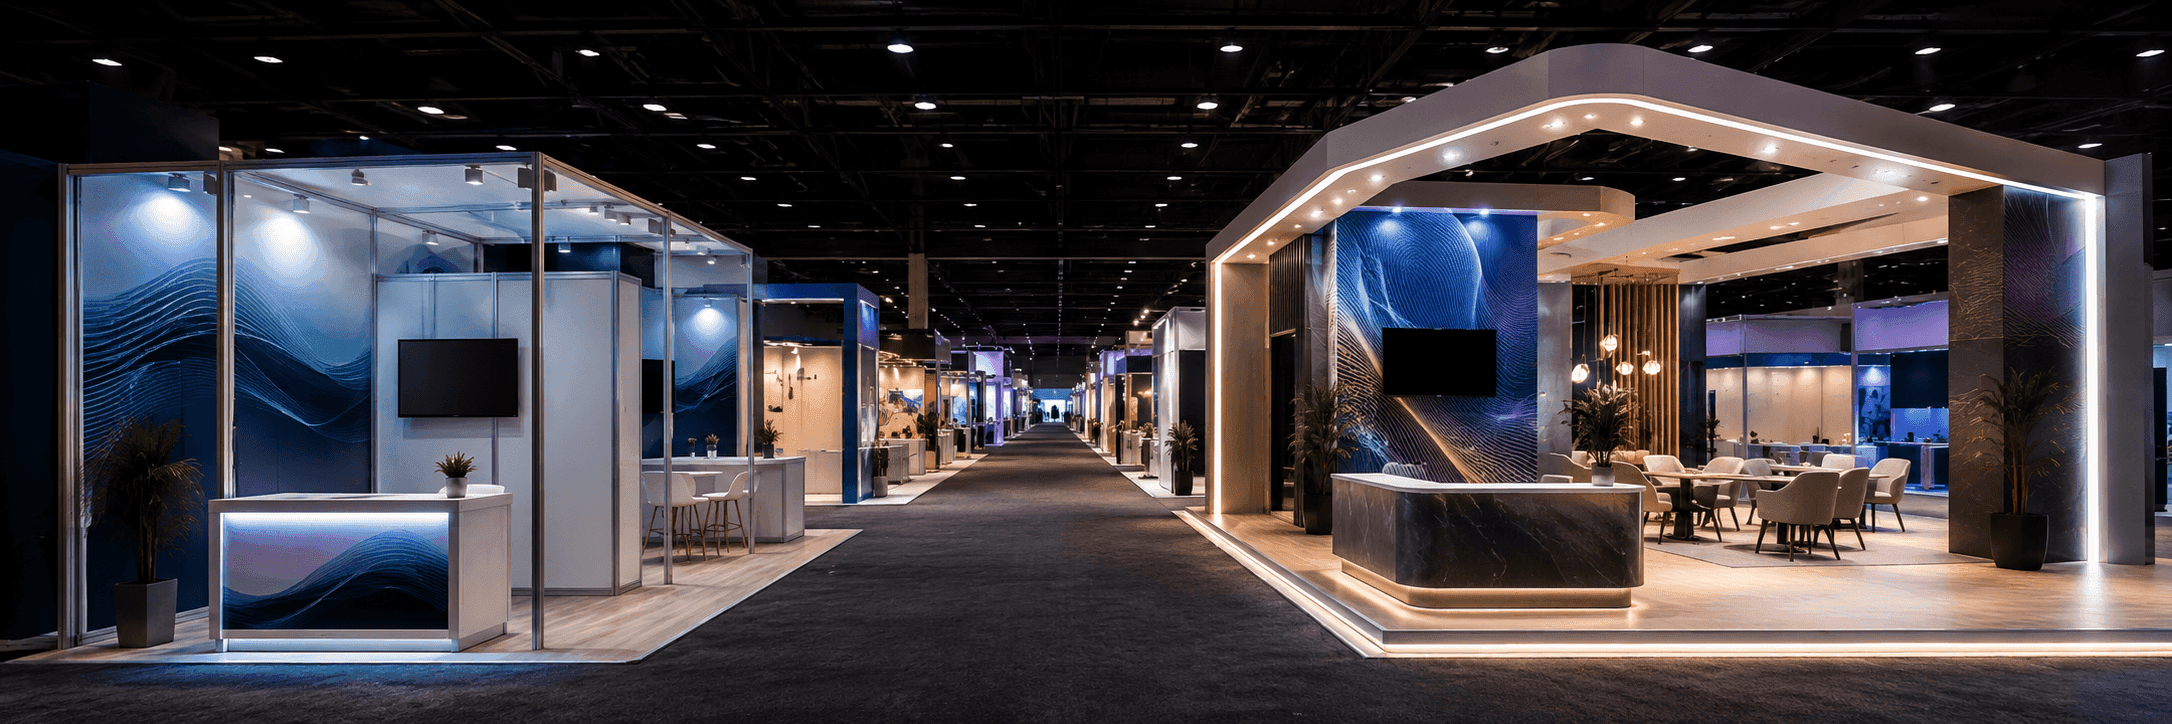
Match Booth Size to Product Complexity
The more complex the product story is, the more carefully booth size needs to be chosen. A simple device may only need a clean display counter, while monitoring equipment or perioperative software may need screens, staff movement, and a clearer conversation area.
Booth size | Better fit for | Planning notes |
|---|---|---|
10x10 | Focused device display, simple product message, one staff conversation point | Works best when the product can be explained with one counter, one screen, or a small sample display |
10x20 | Airway products, monitoring equipment, or compact demo setup | Gives more room for device comparison, screen viewing, brochure handoff, and short staff explanations |
20x20 | Multiple devices, monitoring screens, perioperative software demo, or deeper clinical conversations | Helps separate product display, screen demo, staff movement, and the conversation counter |
When the booth has more than one product touchpoint, a 20x20 booth planning usually gives the team more breathing room.. It gives anesthesia exhibitors room to show devices, support screen demos, and hold clinical conversations without making the aisle feel crowded.
A 20x20 booth gives anesthesia medical device exhibitors more room to separate equipment display, screen demos, physician conversations, and setup flow.
Use Graphics to Explain Safety, Workflow, and Clinical Value
At ASA, booth graphics should help clinicians understand the device before the staff explanation begins. The message should point to patient safety, workflow support, clinical value, or trust—not try to explain every technical detail on the wall.
A short product category line, a clear device label, or a simple workflow visual is often enough. If the booth includes screens or product samples, the graphics should connect those pieces instead of competing with them.
This layer works best when graphics and brand presentation is planned with the booth layout, demo area, and product display from the start.
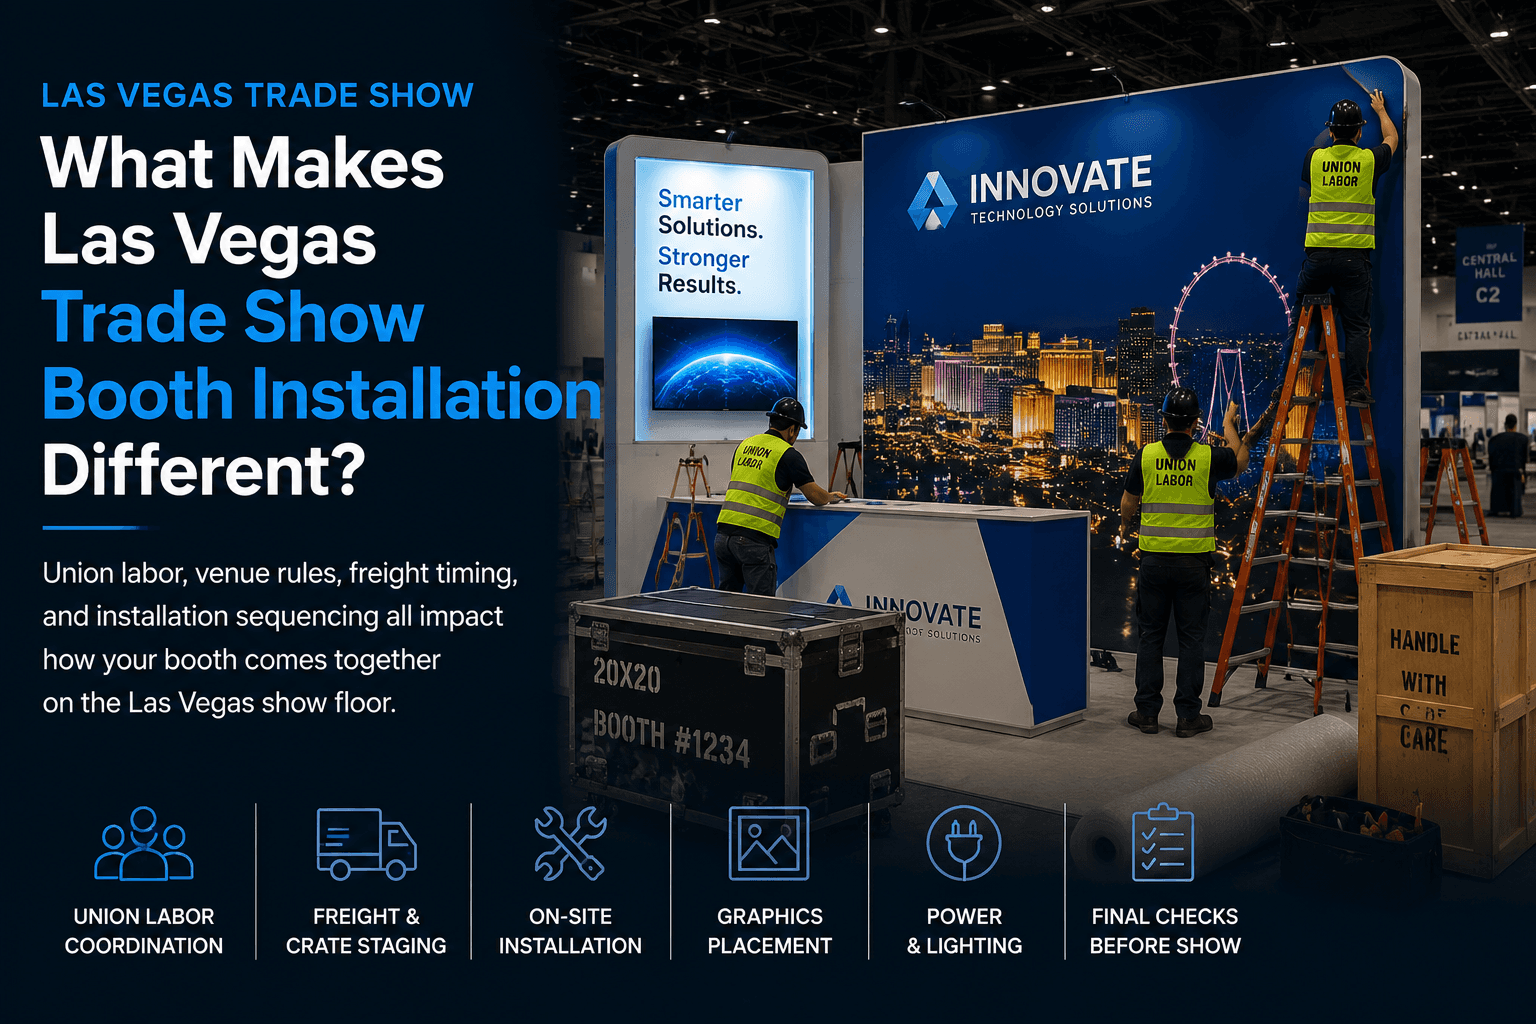
San Diego Convention Center Setup Notes
The plan also has to work once the booth reaches the San Diego Convention Center floor.. Before shipping, ASA exhibitors should have crate labels, power needs, screen locations, device samples, demo equipment, printed materials, and staff handoff notes already checked.
This matters most when the booth includes monitoring screens, airway products, anesthesia devices, or perioperative software demos. A screen in the wrong spot, a crowded counter, or unclear demo handoff can make a strong product harder to understand once the show opens.
ASA Booth Planning Checklist
Before approval, the booth plan should be easy to follow from product display to on-site setup.
Start with the anesthesia product category, not a generic medical booth layout
Make the demo path easy to follow from product display to clinical conversation
Choose booth size based on device complexity, screen needs, and staff movement
Keep graphics focused on safety, workflow, clinical value, and trust
Place screens where visitors can quickly understand data, alerts, or software demos
Check crate labels, power needs, samples, demo equipment, and staff handoff before setup
FAQ
What should anesthesia medical device exhibitors plan for an ASA booth?
Start with the product category, then shape the demo path, screen placement, conversation area, booth size, and show-site setup around that product story.
What booth size works for anesthesia medical device exhibitors?
A simple device display may fit a 10x10 booth. Monitoring equipment, multiple devices, or software demos usually need a 10x20 or 20x20 layout with more room for screens and clinical conversations.
How should anesthesia equipment or device demos be handled at ASA?
The demo should be easy to understand before a long explanation begins. Visitors should be able to see the device, understand the screen or label, ask a clinical question, and move into a staff conversation without crowding the booth.