Choose the Display Method Around the Equipment
A full ride unit, a component, a scale model, and a screen all explain the product differently. The best choice depends on what buyers need to inspect, what requires technical context, and what cannot be demonstrated safely or practically on the show floor.
Display Method | What Buyers Can Understand | Space Consideration |
|---|---|---|
Full equipment | Scale, access, and operating context | Open viewing space around the product |
Ride component | Function and connection to the larger system | Stable mounting and room for close inspection |
Scale model | Attraction layout, movement, and overall concept | Clear sightlines with screen or diagram support |
Screen demonstration | Operation, guest experience, and performance | A visible screen with space for staff explanation |
Several methods can share one booth, but each should answer a different question. Equipment, models, and screens become harder to follow when they repeat the same message.

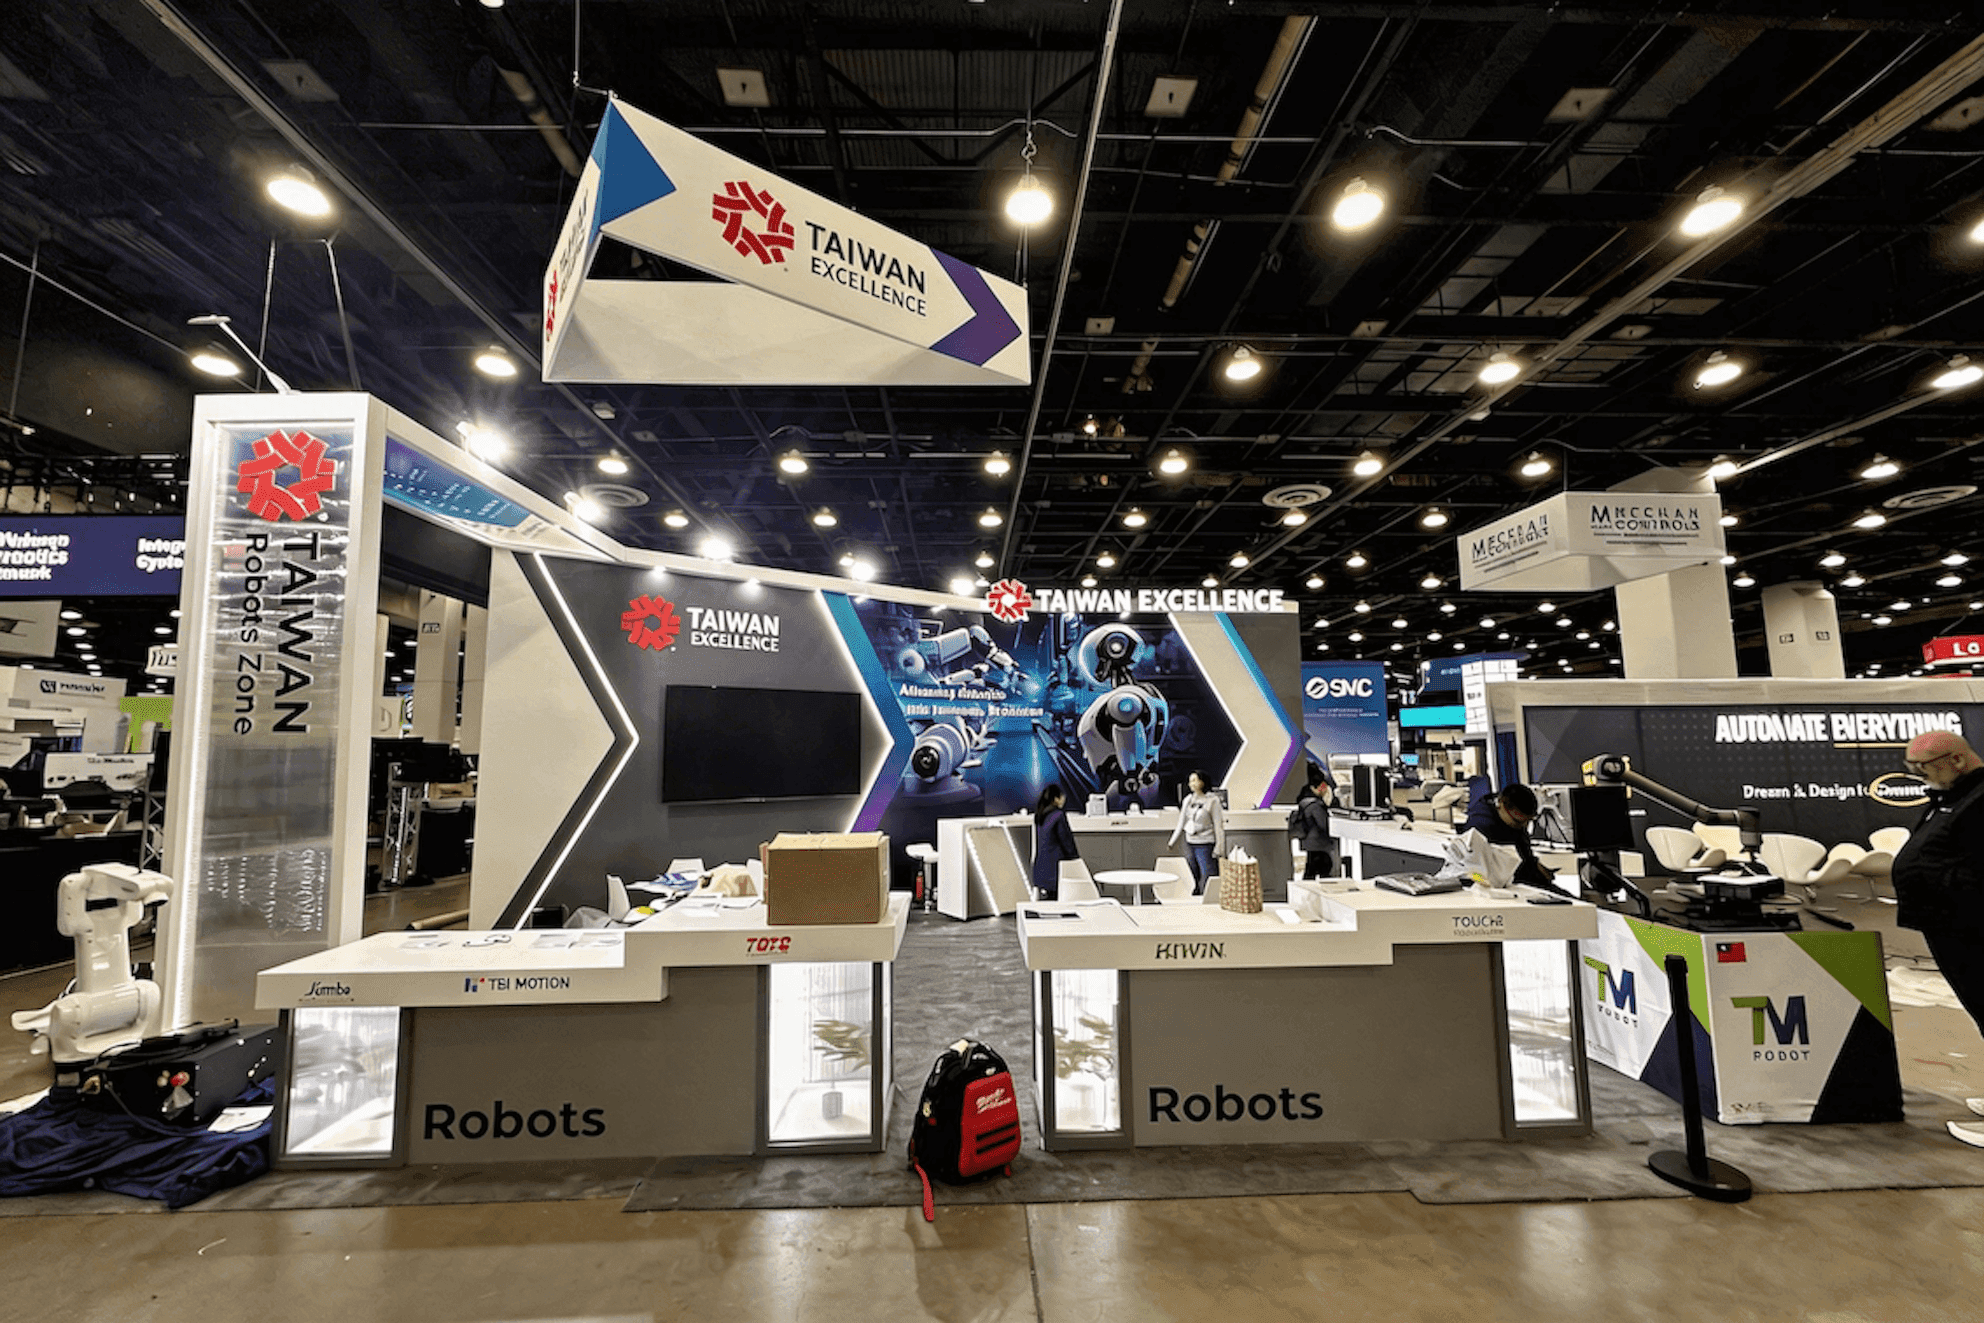
A large ride equipment display with open front and side viewing angles, clear staff positioning, and unobstructed sightlines.
Plan Viewing Clearance and Staff Position Together
Large ride equipment needs open viewing space before counters, chairs, or meeting furniture are added. Buyers should be able to see the front and side of the product, step closer to inspect key details, and still understand the equipment as a whole.
Staff can guide the discussion from the side without standing in the main sightline. Screens, tables, and lead-capture points should also stay clear of the primary viewing angle.
The visitor path should run beside the display rather than through the inspection area. When a model or screen supports the equipment, leave enough space for buyers to move between them without losing the connection.
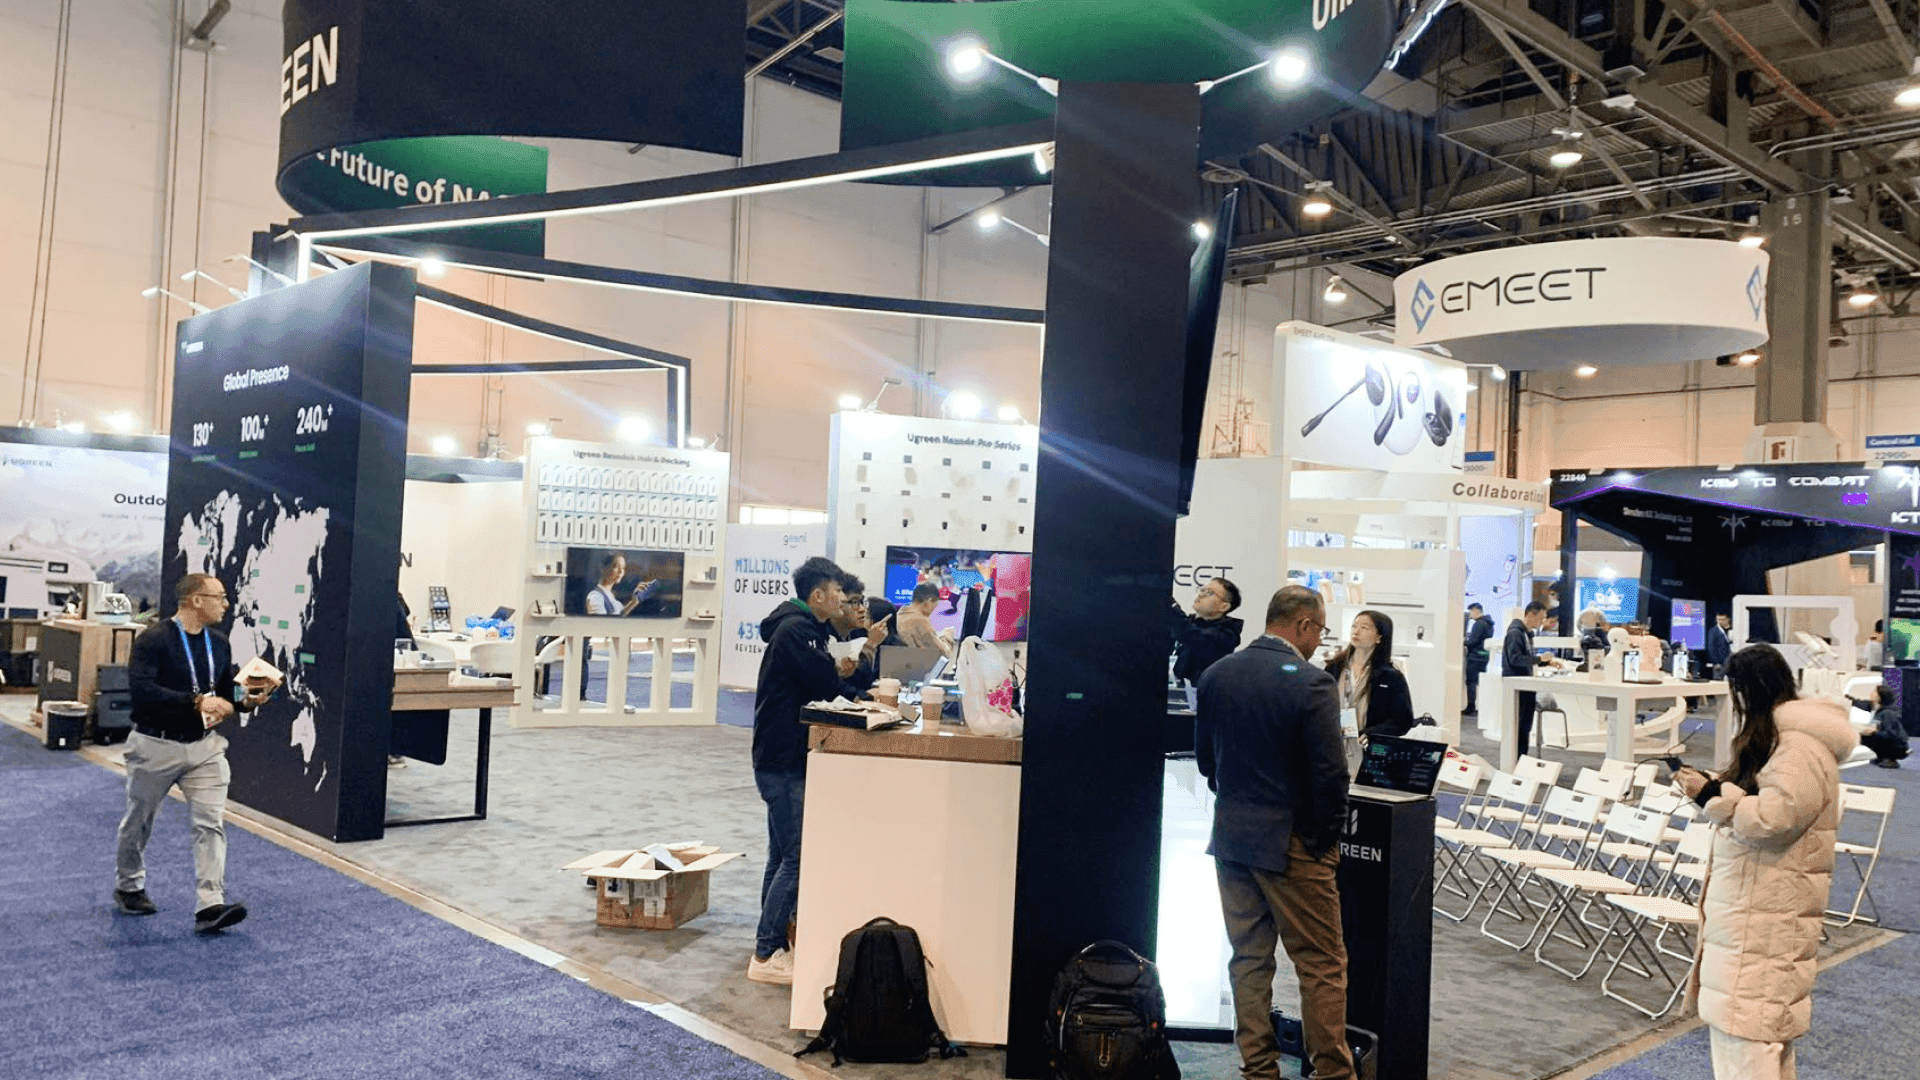
Ride components, a scale model, and screen content working together to explain the full attraction system.
How Components and Models Explain the Full Attraction
A ride component makes more sense when buyers can see where it fits in the full system, what it does, and how it affects the attraction. Short labels, diagrams, and technical graphics and screen content can explain that connection without surrounding the part with dense technical text.
A scale model can then show the wider layout, movement, and relationship between major elements. When the component, model, and screen appear together, each should explain a different part of the same system.
Move Buyers From Viewing to Technical Discussion
Let buyers look at the equipment before the conversation becomes technical. A short explanation can cover what the product does, where it fits, and the main reason it matters.
Questions about capacity, compatibility, installation, or project fit should move to the side of the display. This keeps the viewing area open while giving serious buyers room for a deeper discussion.
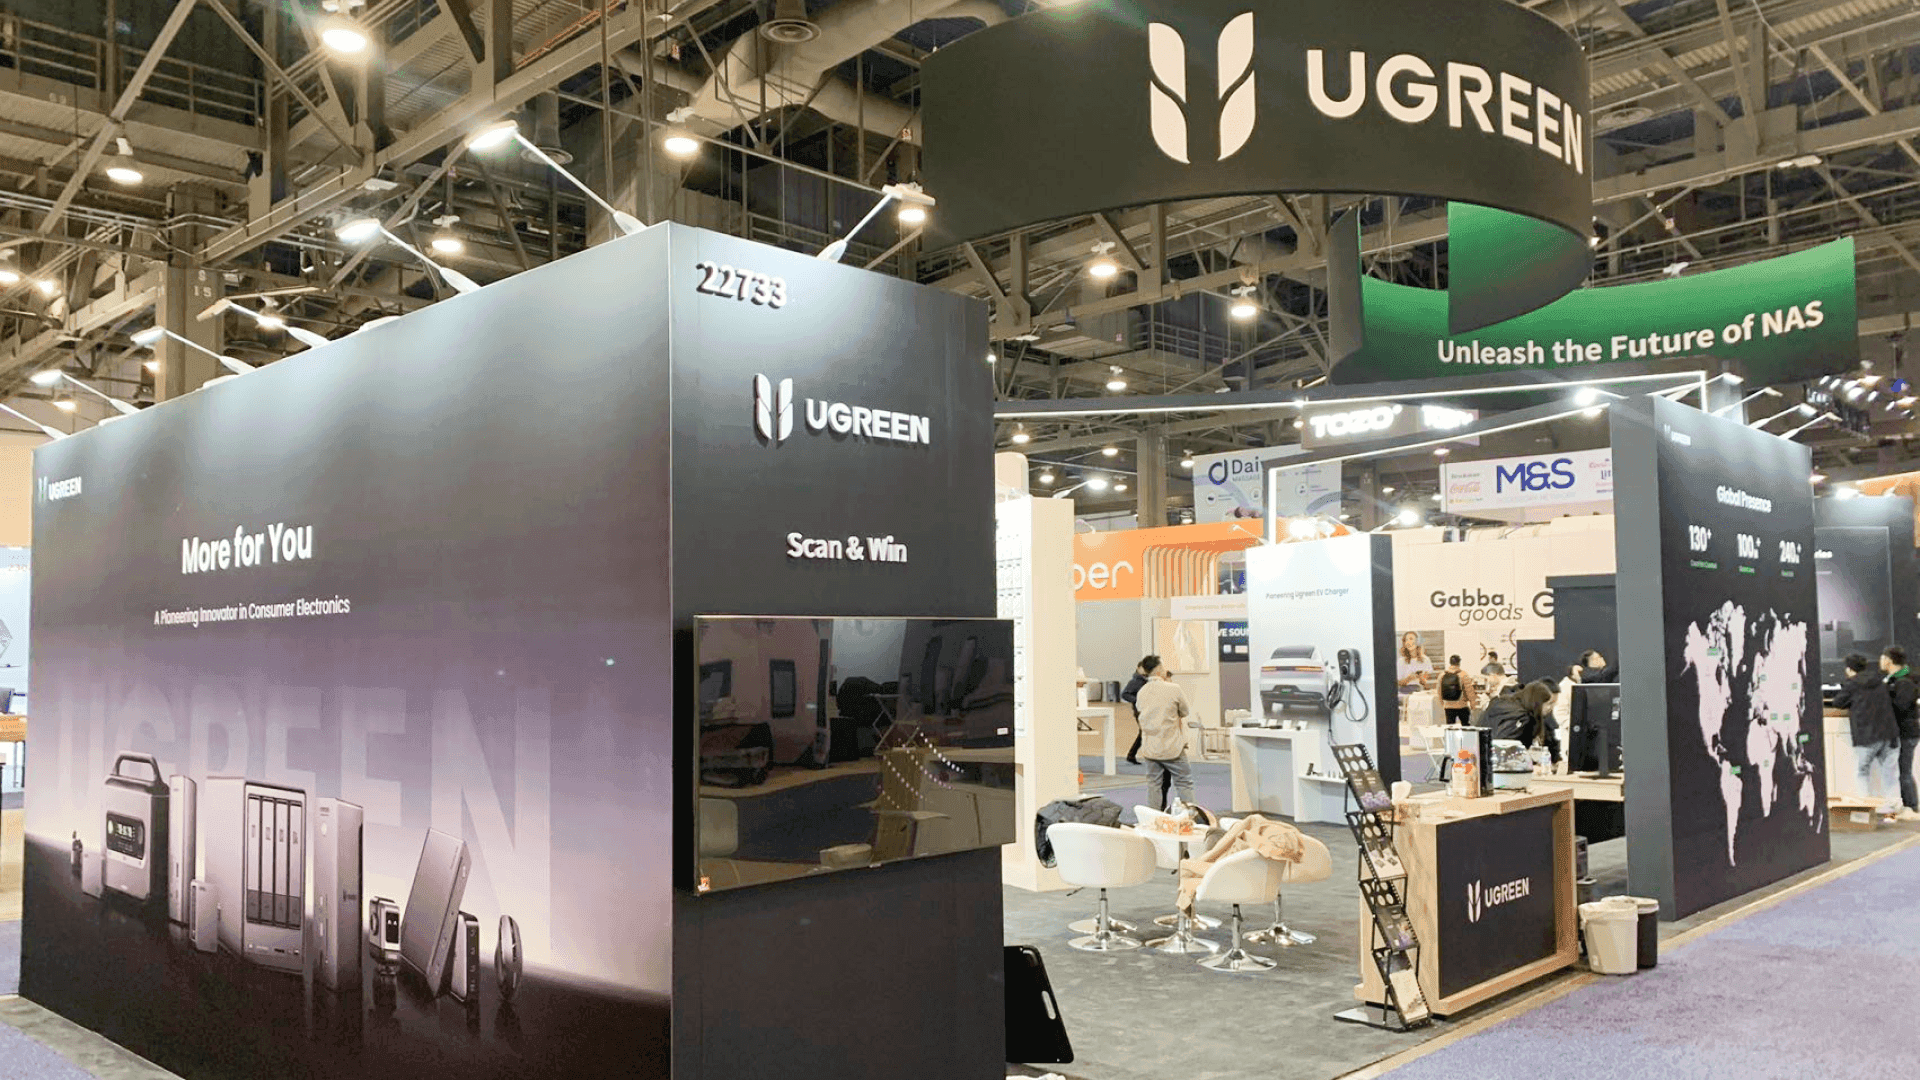
An OCCC equipment display plan showing the arrival route, turning space, installation access, and final product orientation.
Confirm OCCC Access Before Fixing the Display Orientation
The assigned OCCC building or hall affects the arrival route and which side of the equipment should face the aisle. Check turning room, power, screen support, and installation access before the position is fixed.
When arrival conditions shape the final orientation, logistics and pre-show coordination can keep the access route and setup sequence aligned with the display position.
Show-Site Note: Confirm the assigned OCCC building, equipment access, viewing clearance, power, screen support, and staff position before the display orientation is finalized.
Ride Equipment Demo Checks
Walk the display once from the aisle, then again from the staff position:
Is the equipment or model visible before buyers enter the booth?
Can buyers view it from more than one angle?
Can staff explain key details without standing in the main sightline?
Do the component, model, screen, and labels support the same technical story?
Is there a separate place for specification and project-fit questions?
Common Ride Equipment Display Mistakes
Large equipment can take over the booth when buyers do not have enough room to step back and understand its scale. Counters, chairs, screens, or staff placed in the main sightline can make the product harder to inspect.
Components and models also lose meaning when their connection to the full attraction is unclear. Screens, labels, and models need to support the same technical explanation, while detailed discussions happen away from the main viewing area.
FAQ
How much viewing clearance does ride equipment need?
Leave enough room for buyers to step back, see more than one side, and move closer for inspection. Keep counters, screens, furniture, and staff outside the main sightline.
When should exhibitors use equipment, components, models, or screens?
Use full equipment to show scale, components to explain function, models to show the complete attraction, and screens to demonstrate movement, operation, or guest experience.
Where should technical discussions take place?
Short explanations can happen beside the display. Questions about specifications, compatibility, installation, or project fit should move to a nearby discussion area so the main viewing space stays open.