Most installs do not go off track all at once
They usually drift.
The crew arrives. Freight is there. Cases get opened. A few early decisions seem minor. Then, an hour later, the booth is already working harder than it should be.
That is why the first two hours matter so much.
They rarely decide whether a booth gets built at all.
They usually decide whether the rest of the install feels orderly or constantly behind itself.
Early momentum is not just about speed
A fast start is useful, but that is not the whole point.
The first two hours matter because they establish rhythm.
That rhythm affects:
what gets opened first
what stays protected
where crews begin working
how much walking and shifting happens
whether the booth starts building forward or sideways
If that rhythm is clean, later tasks usually get easier.
If that rhythm is messy, the booth spends the rest of the day paying for it.
The booth usually tells the truth early
This is something experienced install teams recognize quickly.
Within the first part of move-in, you can usually tell whether the booth is going to feel controlled.
Not because everything is finished.
Because the early conditions are already visible.
You can see:
whether freight is accessible
whether the structure start makes sense
whether the center is protected
whether the crew knows what belongs to the first pass
whether the floor is starting to clog too early
Those signals show up fast.
The first mistake is often opening too much
This happens constantly.
A case arrives, so it gets opened. Another case is nearby, so that gets opened too. More materials appear, and now the floor starts filling with components that are not actually needed yet.
That feels productive for a few minutes.
Then the booth starts slowing down.
Now the crew is working around items that belong to later phases. Structure parts mix with finish parts. Access gets tighter before the footprint is even established.
That is why the best early installs usually open less, not more.
They only activate what the first phase can really use.
The structure start matters more than people expect
A booth does not need every element moving at once in order to make progress.
It usually needs one thing to begin correctly.
In most installs, that thing is the structural start.
If the main frame, wall line, or footprint is established cleanly, the rest of the booth has something stable to follow. If that first structural logic is weak, everything after it becomes harder:
flooring timing
graphics timing
electrical access
display placement
walking clearance
That is why a sloppy beginning often keeps showing up later as “unexpected” rework.
It was not really unexpected.
It was usually built into the first phase.
Crate access is part of the schedule, not separate from it
A lot of teams think of crates as a delivery issue.
In reality, they are part of sequencing.
If the first two hours begin with the wrong cases trapped behind the wrong pallets, the schedule is already losing time. The crew may be active, but the booth is not actually advancing in the right order.
That is why early crate logic matters so much.
The team needs access to:
first-pass build materials
hardware needed to establish the footprint
components required for the next trade
items that cannot get trapped under later-phase material
If those things are not reachable early, the booth starts improvising instead of installing.
Logistics discipline is what makes the early shift usable
This is where logistics and pre-show coordination do real work.
The first two hours feel clean when the floor already knows what should happen.
That usually means:
freight has reached the booth in a usable order
the crew knows which zones stay open
materials are staged by phase, not by convenience
the center is not being used as overflow
the next step is already clear before the current one is done
Without that discipline, the first shift gets consumed by sorting and relocating instead of building.
That is one of the biggest reasons the rest of the day starts feeling compressed.
Fabrication quality only helps when the install can use it properly
This is where booth fabrication and prebuild checks matter.
A booth can be beautifully fabricated and still lose time early if the field crew cannot move through the opening phase cleanly.
That usually happens when:
hardware packs are not easy to identify
install order is not reflected in packing
major structural pieces are harder to access than they should be
prebuild logic did not translate into field logic
Good fabrication should reduce early uncertainty.
If it does not, the crew ends up spending valuable time decoding things that should already have been made obvious.
Some of the cleanest installs look slow at first
This is worth remembering.
A controlled early shift does not always look dramatic.
Sometimes it looks almost quiet.
The right cases get opened.
The structure start is deliberate.
The center stays protected.
The floor does not fill up too quickly.
The crew is not rushing because the order already makes sense.
That kind of beginning often produces a much faster booth by the end of the day than a booth that looked busy immediately but started out in the wrong order.
This matters even more on technical booths
At NAB Show, early sequencing often affects more than structure.
Technical booths usually depend on:
monitor walls
operator zones
routing or control positions
message surfaces
workflow clarity
If the opening phase is weak, those layers get harder to install cleanly later. The booth may still be completed, but it often reaches the final stages with less stability and more pressure than it should have had.
That is why early install rhythm matters so much on workflow-heavy booths.
The structure is only the beginning.
But if the beginning is weak, the complexity later becomes much harder to manage.
Builder thinking matters because the first shift sets the tone of the whole install
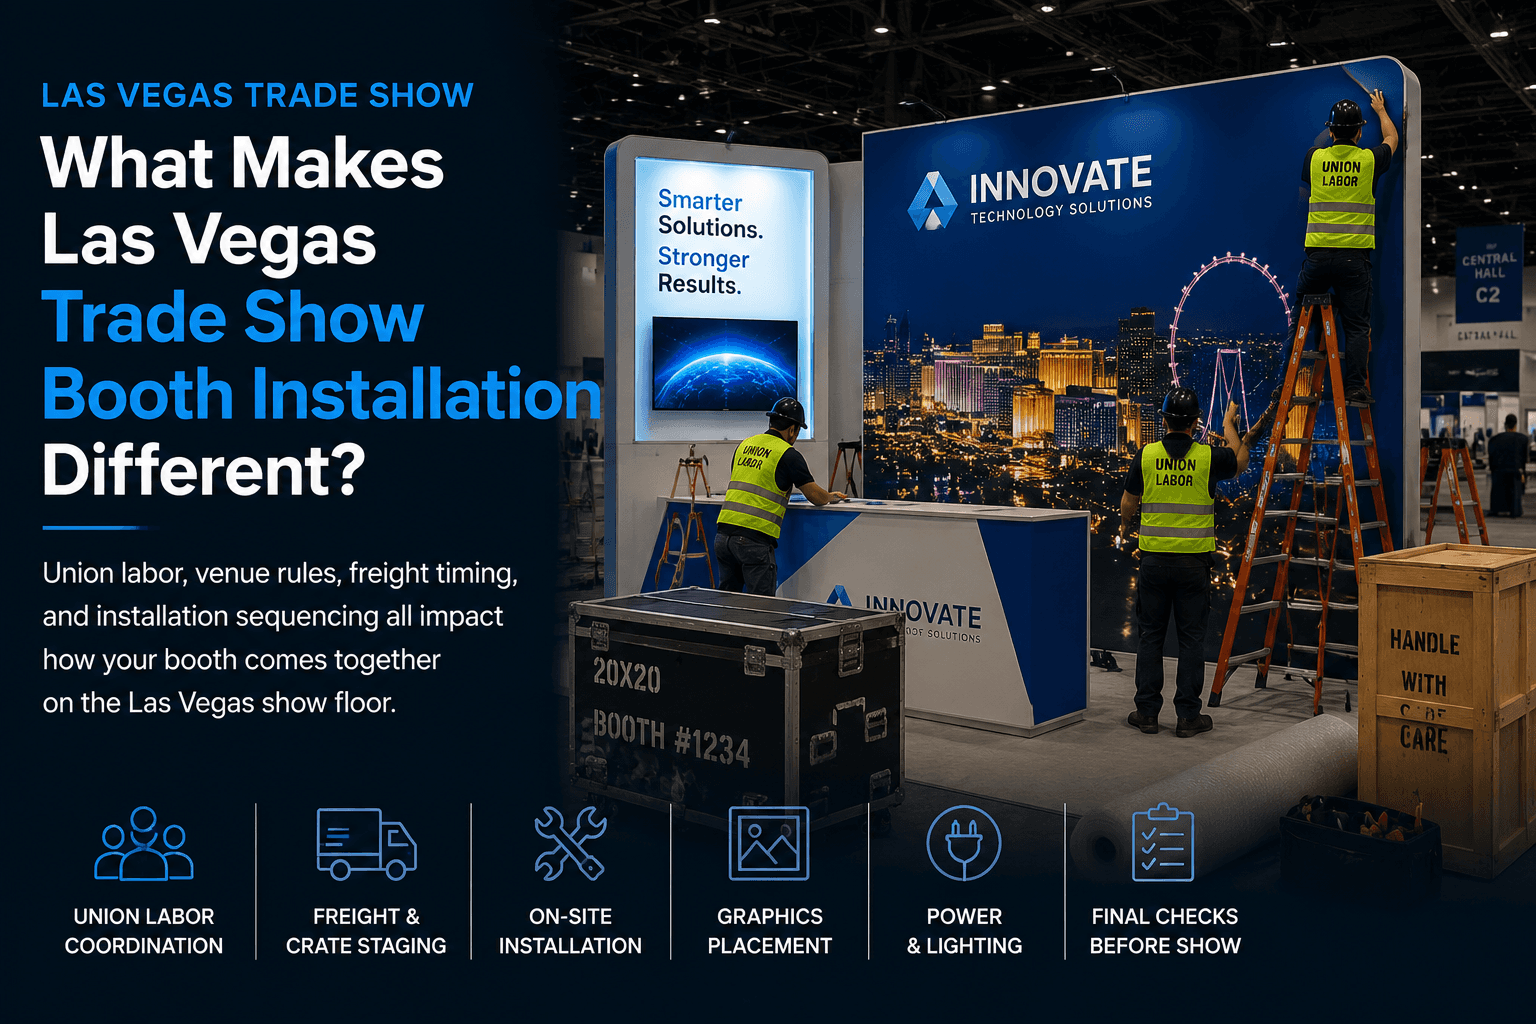
This is one reason exhibitors benefit from working with a Las Vegas trade show booth builder that treats the first shift like a real planning priority.
Because the first two hours are not just setup time.
They are decision time.
They shape:
pace
access
crew flow
sequence integrity
how soon the booth becomes workable instead of just active
A booth that starts well usually keeps tightening.
A booth that starts loosely often keeps reopening itself.
That is the real difference.
The best first two hours usually follow a simple pattern
The cleanest installs often share the same early rhythm:
1. Open only what the first phase truly needs
Do not flood the floor with later materials.
2. Establish the footprint and main structure clearly
Give the booth a stable base before the finish layers arrive.
3. Keep access paths honest
Do not let staging and structure trap each other too early.
4. Protect the center from overflow
The main display zone should not become accidental storage.
5. Set up the next phase before the current phase becomes crowded
The best early work creates smoother handoff, not more congestion.
That pattern is what creates real momentum.
Final thought
The first two hours of booth installation usually decide something bigger than most teams realize.
They decide whether the booth will spend the rest of the schedule building forward or working its way out of early pressure.
That is why these hours matter so much.
Not because the booth gets finished then.
Because the install either finds its shape then, or spends the rest of the day trying to recover it.
Trying to make booth installation start cleaner from the first shift?
Begin with a stronger Las Vegas trade show booth builder process, then connect it to better logistics and pre-show coordination so the early hours create real momentum instead of early pressure.