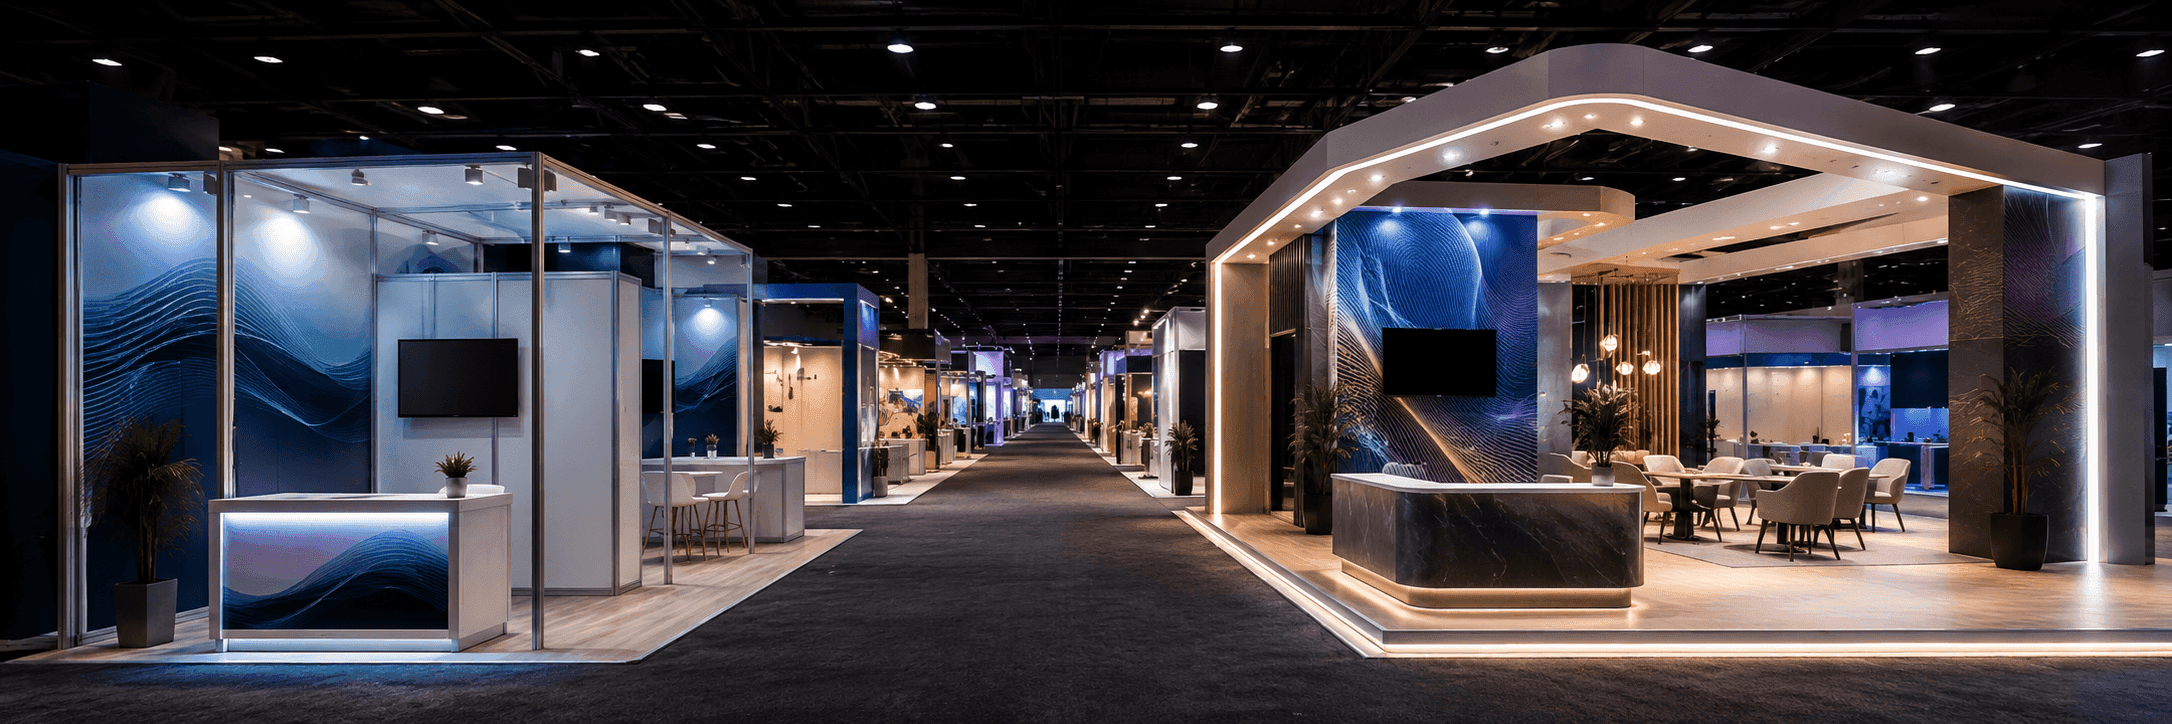
A 20x30 rental booth gives exhibitors more room to separate product demos from sales conversations.
That extra space matters. Compared with a 20x20 booth, a 20x30 layout can support a stronger demo wall, a more defined meeting counter, a sample or product display area, hidden storage, and a clearer visitor path.
The booth still needs discipline. More square footage does not automatically create a better layout. It only works when each zone has a clear job.
Quick Answer
A 20x30 rental booth should be planned around separated activity zones: a product demo area, meeting counter, sample or display wall, branded graphic surface, storage, and controlled visitor flow. This footprint works well when exhibitors need more room than a 20x20 booth but do not need a fully custom large island build.
For size-specific planning, 20x30 booth layouts for product demos should start with how visitors move from product interest to conversation.
Why Does a 20x30 Rental Booth Work Well for Product Demos?
A 20x30 booth gives product demos more breathing room.
In smaller booths, the demo counter often competes with the meeting area, product display, and storage. In a 20x30 rental layout, those functions can be separated more clearly.
This is useful for exhibitors showing:
product samples
technology demos
ingredient applications
equipment displays
software walkthroughs
beauty or wellness products
security or hardware devices
branded service presentations
The booth can guide visitors through a simple sequence: see the product, watch or try the demo, ask a question, then move into a conversation area.
That sequence is the main value of a 20x30 layout.
How Should the Demo Zone Be Placed?
The demo zone should sit near visitor traffic, but not block the full booth entrance.
In a 20x30 booth, the demo zone can be stronger than in a smaller footprint. It may include a counter, screen, product surface, display shelving, or staff-led demonstration point.
A good demo zone should support:
one main product interaction
one clear staff position
enough standing room for visitors
nearby product or sample support
screen or graphic context if needed
a path toward the meeting counter
The demo zone should invite people in slightly. If it sits too close to the aisle, visitors may stop outside the booth. If it sits too far back, casual traffic may not understand what is happening.
The best placement gives visitors a reason to step in without forcing them into a long conversation immediately.
20x30 Rental Booth Zone Planning
Booth Zone | Main Role | Best Planning Approach |
|---|---|---|
Front entry area | Let visitors enter from the main aisle | Keep open and avoid oversized furniture at the edge |
Demo zone | Show the product, sample, screen, or interaction | Place near traffic, but leave room for viewing and staff work |
Sample or product wall | Organize product categories or application examples | Use clean shelving and simple graphic hierarchy |
Meeting counter | Support buyer follow-up and sales conversations | Place to the side or rear, away from the busiest demo traffic |
Branded wall | Carry the main visual message | Connect the brand message to the demo area |
Storage | Hide supplies, staff items, and demo materials | Build into cabinets, counters, or back-wall areas |
Staff path | Let staff move without crossing visitors | Keep behind-counter and side access clear |
How Should Product Display and Sample Walls Work?
A product wall should support the demo, not compete with it.
In a 20x30 rental booth, exhibitors often have enough room for a sample wall, display shelf, product cabinet, or category wall. This is one of the biggest differences from a 20x20 layout.
The display wall can show:
physical products
ingredient samples
packaging formats
devices or hardware
finish materials
small equipment
product categories
application examples
The key is to keep the display selective.
A sample wall with too many items can weaken the booth. Visitors may see a shelf full of products but not understand which one matters first. A stronger layout connects the wall to the demo zone so visitors understand why the product is being shown.
The wall should help answer: “What am I looking at, and where do I go next?”
Where Should the Meeting Counter Go?
The meeting counter should sit away from the main demo pressure.
A 20x30 rental booth gives exhibitors enough space to create a more useful conversation area. This does not always mean a full meeting room. Often, a standing meeting counter, small table, or semi-private side area works better.
The meeting area should support:
buyer follow-up
product fit discussions
distributor or partner conversations
lead qualification
pricing or next-step conversations
short technical reviews
The meeting counter should not sit directly in the demo flow. If visitors waiting for a demo stand too close to the meeting area, both functions become weaker.
The layout should let a visitor move naturally from demo interest to sales conversation without blocking the next visitor.
How Does 20x30 Differ From 20x20 Rental Planning?
A 20x30 booth is not just a wider 20x20 booth.
It gives exhibitors more room to separate behaviors. A 20x20 layout often needs to keep the demo, meeting, and storage functions compact. A 20x30 layout can give each function more space and a clearer boundary.
Planning Area | 20x20 Rental Booth | 20x30 Rental Booth |
|---|---|---|
Demo space | Usually one focused demo point | More room for demo counter plus supporting display |
Meeting area | Compact table or side conversation | More defined meeting counter or semi-private zone |
Product display | Selective and limited | Stronger sample wall or category display |
Storage | Tight and must stay hidden | More room for controlled service storage |
Visitor movement | Needs simple flow and fewer zones | Can support a more complete visitor journey |
Best use | Focused demos and short conversations | Product display, demo, and buyer follow-up combined |
This is why 20x30 works well for exhibitors who need more than a quick interaction, but still want a rental booth structure that stays efficient.
How Should Graphics Support a 20x30 Rental Booth?
Graphics should connect the demo, display wall, and meeting area.
In a 20x30 booth, visitors may enter from more than one angle. They may see the branded wall first, the product wall first, or the demo counter first. The graphic system should make the booth easy to understand from each entry point.
Good graphics and brand presentation for rental booths should help define:
the main product category
the demo focus
the brand message
the sample or product wall purpose
the visitor path from display to conversation
The graphics should not repeat the same message on every surface. A 20x30 booth usually works better with one strong brand wall, one product or application area, and supporting counter graphics.
The larger footprint gives more surfaces, but that does not mean every surface needs text.
How Should Storage Be Planned in a 20x30 Layout?
Storage should be close to the staff path, not visible from the main aisle.
A 20x30 booth often needs more operating supplies than a smaller rental layout. Product samples, brochures, packaging, chargers, staff items, cleaning materials, giveaway boxes, demo tools, and small equipment all need a place to go.
Storage can be built into:
reception counters
product display cabinets
back-wall service areas
enclosed side cabinets
under-counter compartments
hidden closets or modular storage units
The storage location should support the booth’s working flow. Staff should be able to access supplies without walking through the meeting area or blocking the demo zone.
A clean booth usually depends on storage planning that visitors never notice.
How Does Rental Planning Fit a 20x30 Booth?
Rental planning helps exhibitors create a polished booth without building every part from scratch.
A 20x30 rental layout may use modular walls, counters, graphic panels, shelving, furniture, lighting, flooring, and storage components. The structure can still feel brand-specific when those parts are arranged around the exhibitor’s demo and meeting needs.
Good 20x20 and 20x30 rental booth planning should not treat every size the same.
A 20x30 rental booth often needs:
stronger separation between zones
more intentional product display
better meeting area placement
more storage planning
clearer graphic hierarchy
a more controlled install sequence
The rental system should support the layout strategy. It should not force the booth into a generic package.
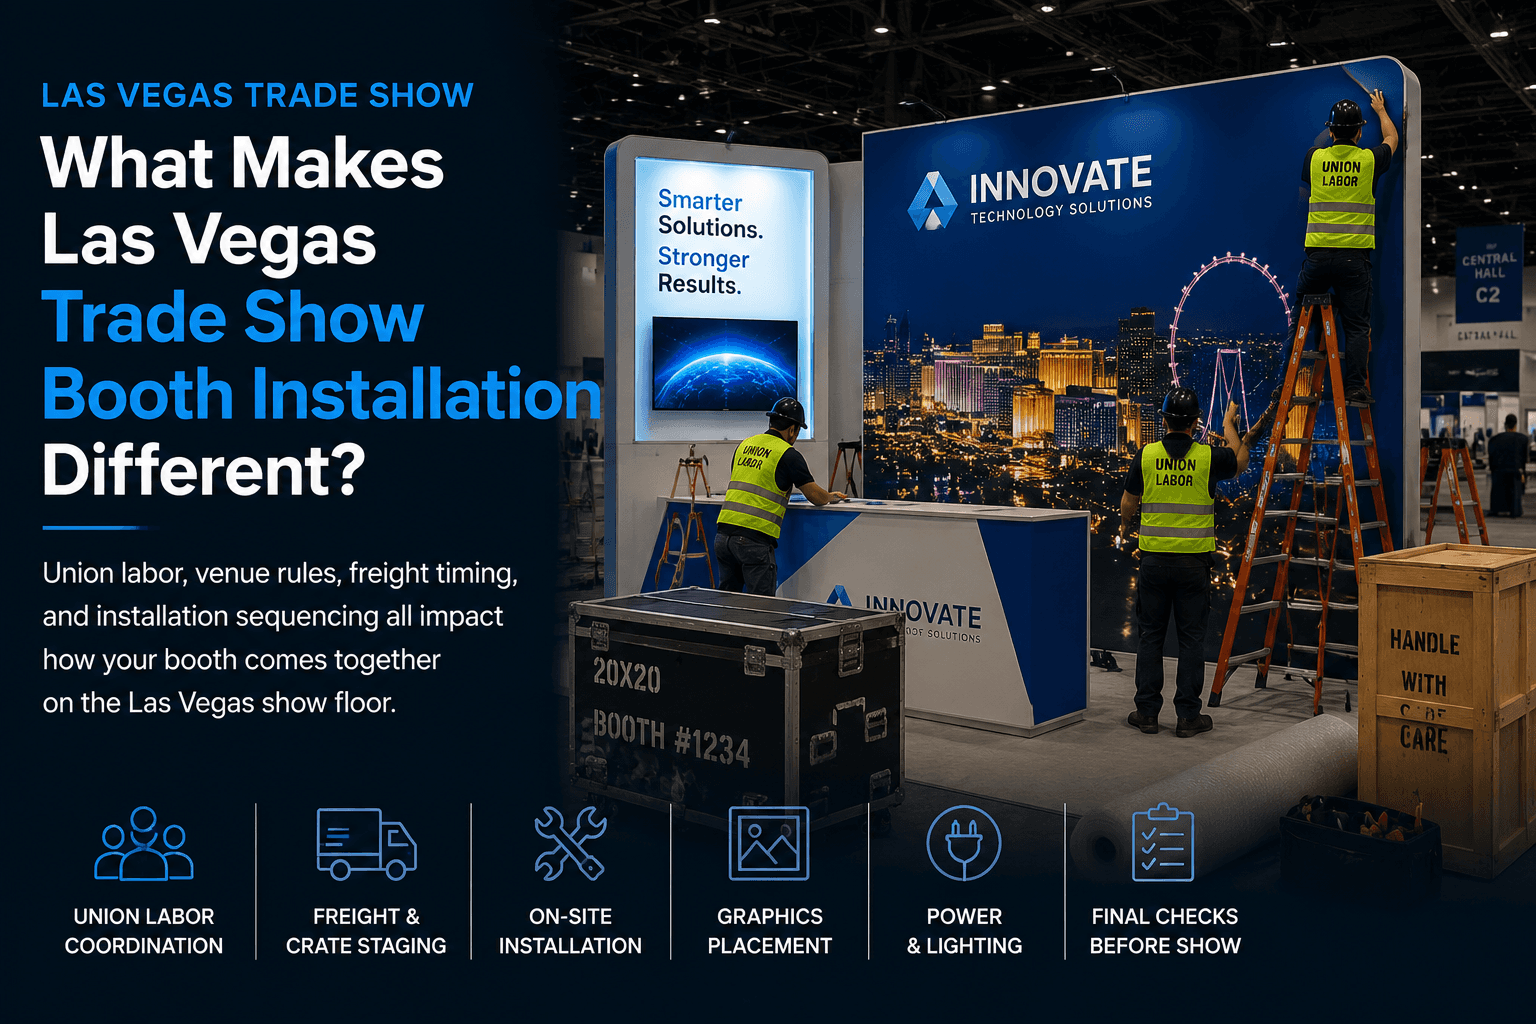
How Does Las Vegas Show-Site Setup Affect a 20x30 Rental Booth?
A 20x30 rental booth needs a clear setup sequence.
The booth may include more components than a 20x20 layout: larger wall sections, demo counters, meeting furniture, product shelves, lighting, graphics, storage pieces, and possibly screens or AV elements. If those parts are not staged and installed in the right order, move-in can become harder than expected.
This is where a Las Vegas trade show booth builder can help connect the booth layout to show-site execution.
For a 20x30 rental booth, setup planning should clarify:
which walls or frames install first
where the demo counter is placed
how product shelves or sample walls are secured
where graphics are applied
where lighting or power is needed
how meeting furniture is staged
where storage stays accessible
what needs to be checked before show opening
The booth should arrive with a layout logic the install team can follow.
What Happens When a 20x30 Booth Is Planned Like a Smaller Booth?
The extra space gets wasted.
If a 20x30 rental booth is planned like a stretched 20x20, it may still feel crowded near the front and empty in the back. The exhibitor may get more square footage without gaining better visitor movement.
Common problems include:
demo counter placed too close to the aisle
meeting space that interrupts product display
product wall disconnected from the demo
storage visible from visitor areas
graphics spread too evenly with no hierarchy
staff standing in the main traffic path
no clear transition from demo to sales conversation
A 20x30 booth should use its extra space to create separation.
That separation is what makes the booth more useful.
What Should Exhibitors Confirm Before Finalizing a 20x30 Rental Booth?
The booth should be planned around the full visitor journey.
A 20x30 rental layout can support more than one activity, but each activity still needs a clear place.
Planning Checklist
What should visitors notice first from the aisle?
Where does the main product demo happen?
Does the booth need a sample wall or product display shelf?
Where should visitors stand during the demo?
Where should qualified buyers move after the demo?
Does the meeting counter need seating or standing space?
How much storage is needed for products, staff items, and supplies?
Are graphics supporting the demo and product wall clearly?
Where will staff stand during busy periods?
Does the layout keep the entry open?
Can rental components be installed in a clear sequence?
Does the booth need power, lighting, or screen support?
These questions keep the booth from becoming a larger version of a crowded layout.
They help the 20x30 footprint work as a complete exhibit environment.
When Is a 20x30 Rental Booth the Right Fit?
A 20x30 rental booth is a good fit when the exhibitor needs both display and conversation space.
It works especially well for brands that need:
a product demo area
a sample wall or display shelf
one clear brand wall
a meeting counter or small conversation zone
hidden storage
better separation than a 20x20 booth allows
a rental structure with custom graphic treatment
Las Vegas show-site setup support
It may not be the right fit when the booth needs multiple large demo stations, a major presentation theater, heavy equipment, or large private meeting rooms.
The size is strongest when the booth needs a balanced mix of product visibility and sales follow-up.
What Is the Best Way to Plan a 20x30 Rental Booth?
The best way to plan a 20x30 rental booth is to divide the space by behavior.
Start with the demo zone. Then place the product or sample wall where it supports that demo. After that, add the meeting counter, storage, brand graphics, and staff path so visitors can move through the booth without confusion.
A strong 20x30 rental booth should feel complete, not crowded.
It should give visitors a clear product story, give staff enough room to work, and give qualified buyers a place to continue the conversation.
That is where the 20x30 footprint creates real value.
Planning a 20x30 Rental Booth for Product Demos and Meetings?
Start with the 20x30 booth footprint, then plan the demo zone, product wall, meeting counter, storage, graphics, and Las Vegas show-site setup as one connected layout.