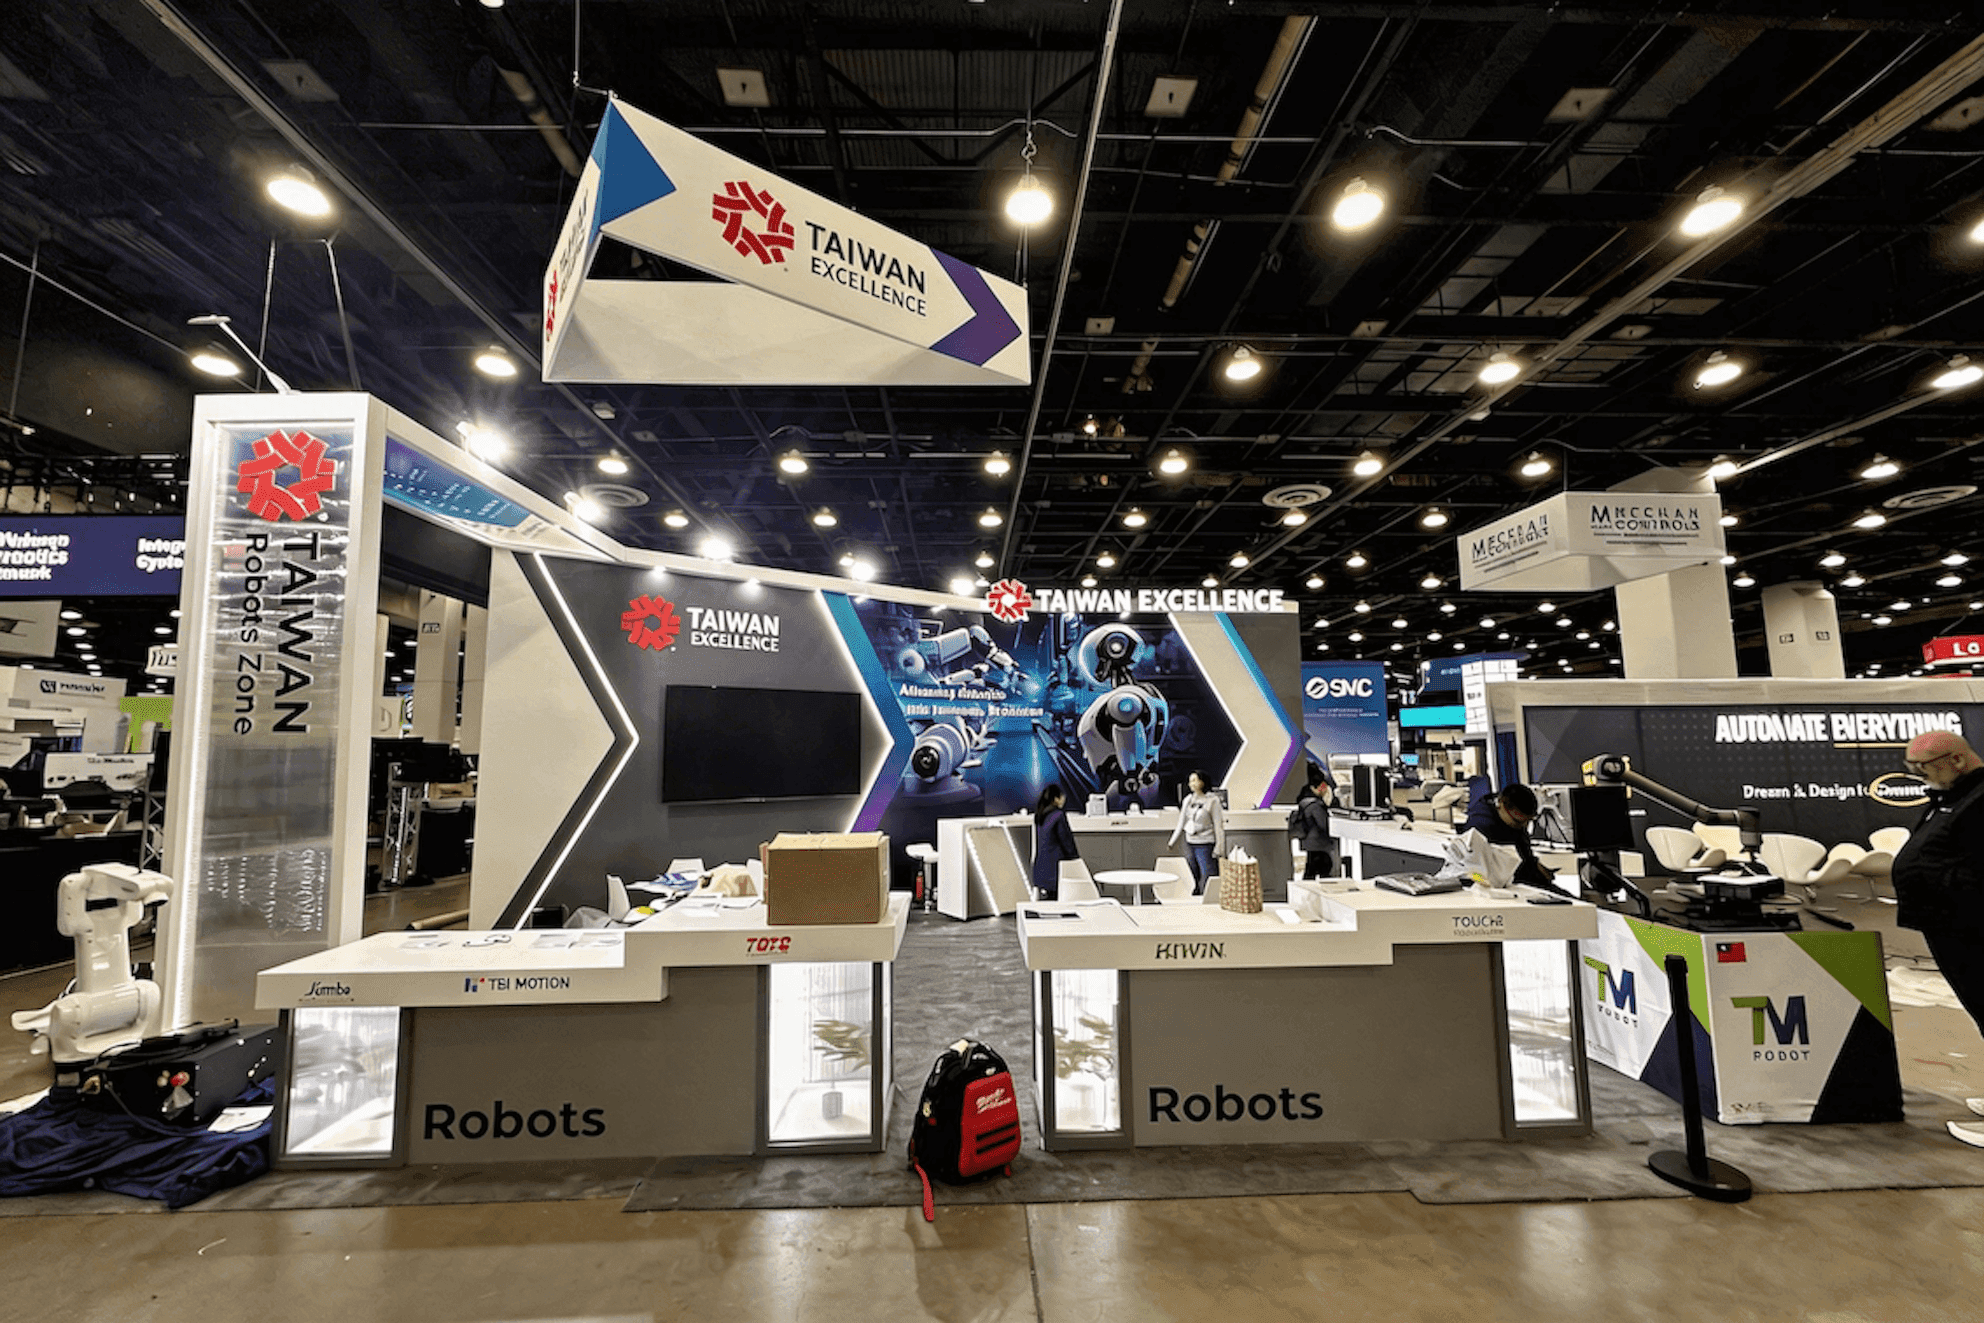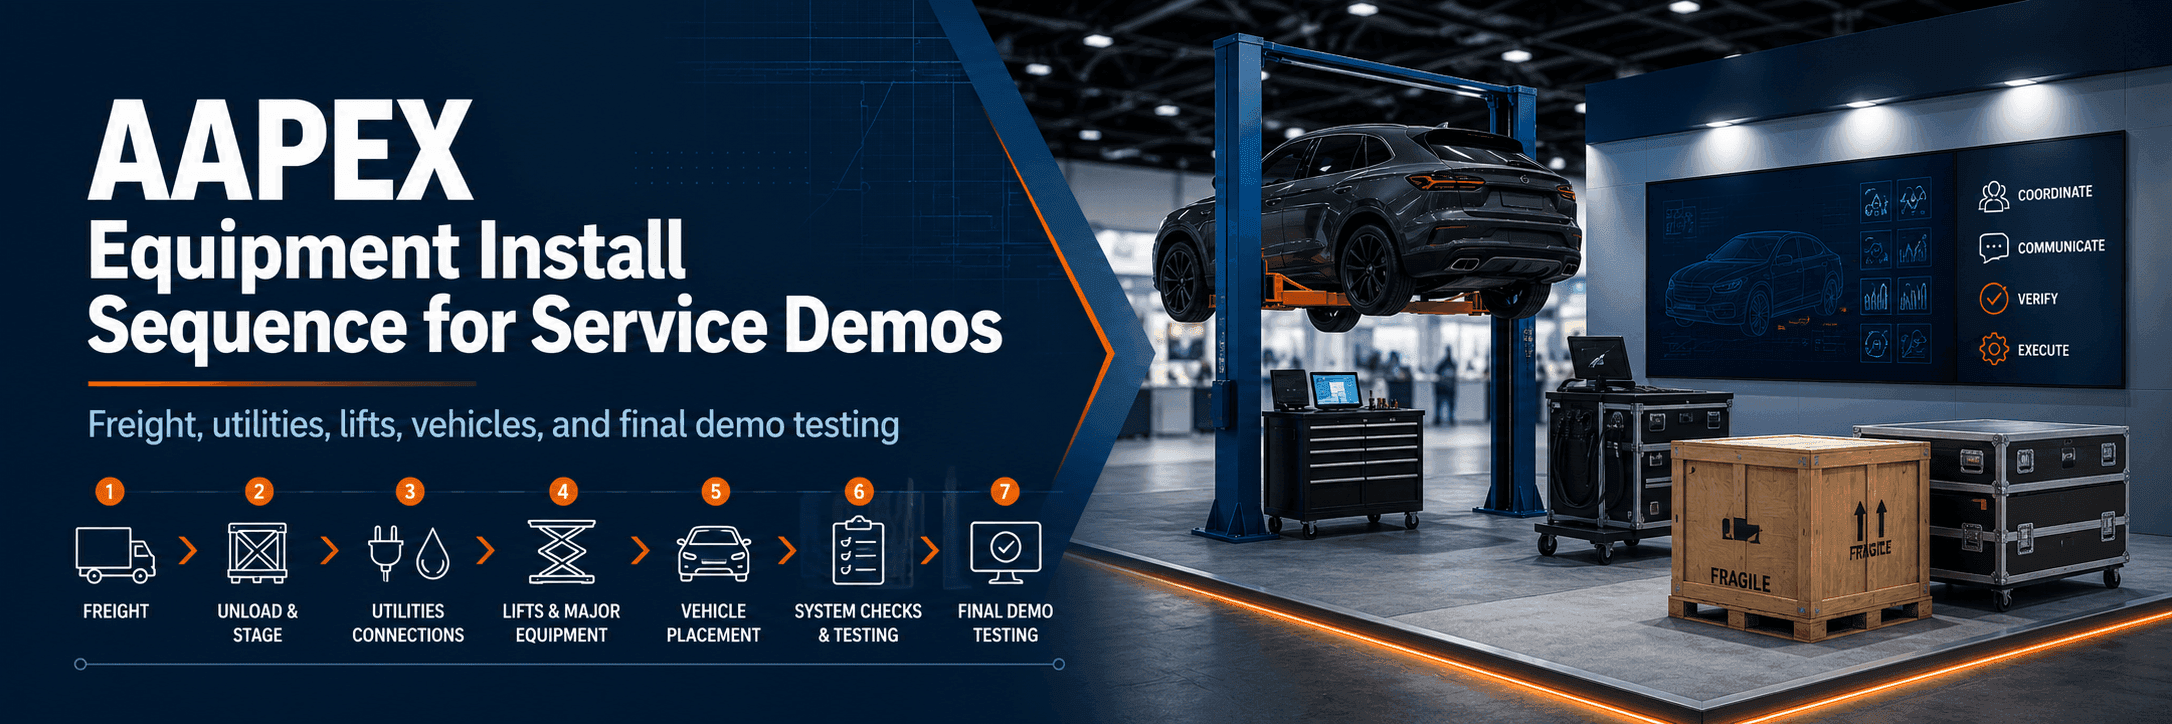
What to Confirm Before Shipping
Before a lift, vehicle, or service unit leaves the warehouse, confirm its dimensions, weight, final position, and route into the booth. A floor plan may show enough space, but the crate can still be too wide for an access point or difficult to turn into place.
Power, compressed air, data, exhaust, anchoring, and connection points should match the final equipment position so cables, hoses, and supports do not need to be moved later.
Before the Equipment Leaves the Warehouse
Final dimensions and shipping weight
Crate size and handling points
Door, aisle, turning, and overhead clearances
Power, air, data, and exhaust needs
Anchoring and connection locations
Final booth position and orientation
Test tools, adapters, and backup parts
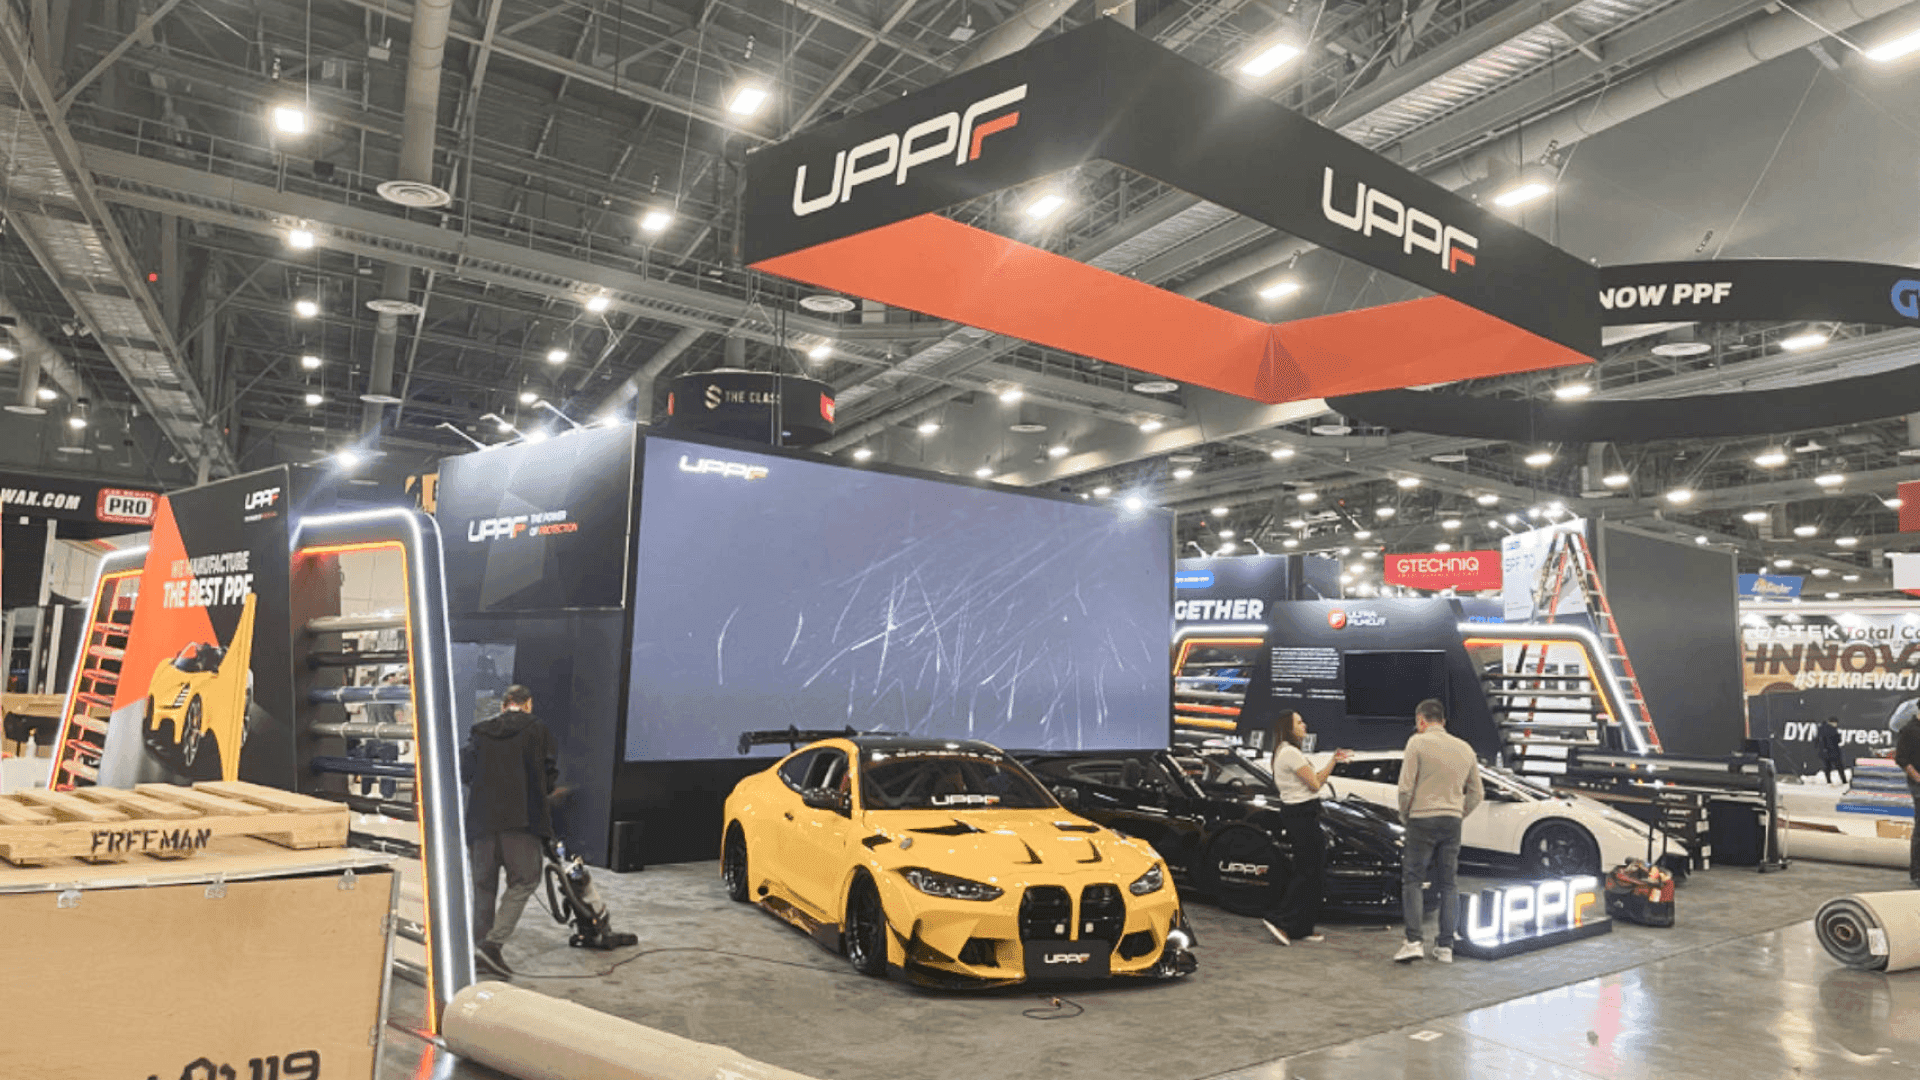
Flooring, utilities, and structural work should be completed before lifts, vehicles, and other large service equipment move into position.
Structure and Utilities Come First
Finish the flooring, booth structure, power, compressed air, data, and lighting before lifts, vehicles, or large service units are moved into place. Heavy equipment can block cable runs, air lines, floor work, and access to structural connections once it is positioned.
Mark the final location and service points early, but keep the area open until the work underneath and behind the equipment is complete.
Before Large Equipment Moves In
Large equipment is rarely easy to move once the surrounding display is built. Bring it into the booth only after the base work, utilities, and access path are ready.
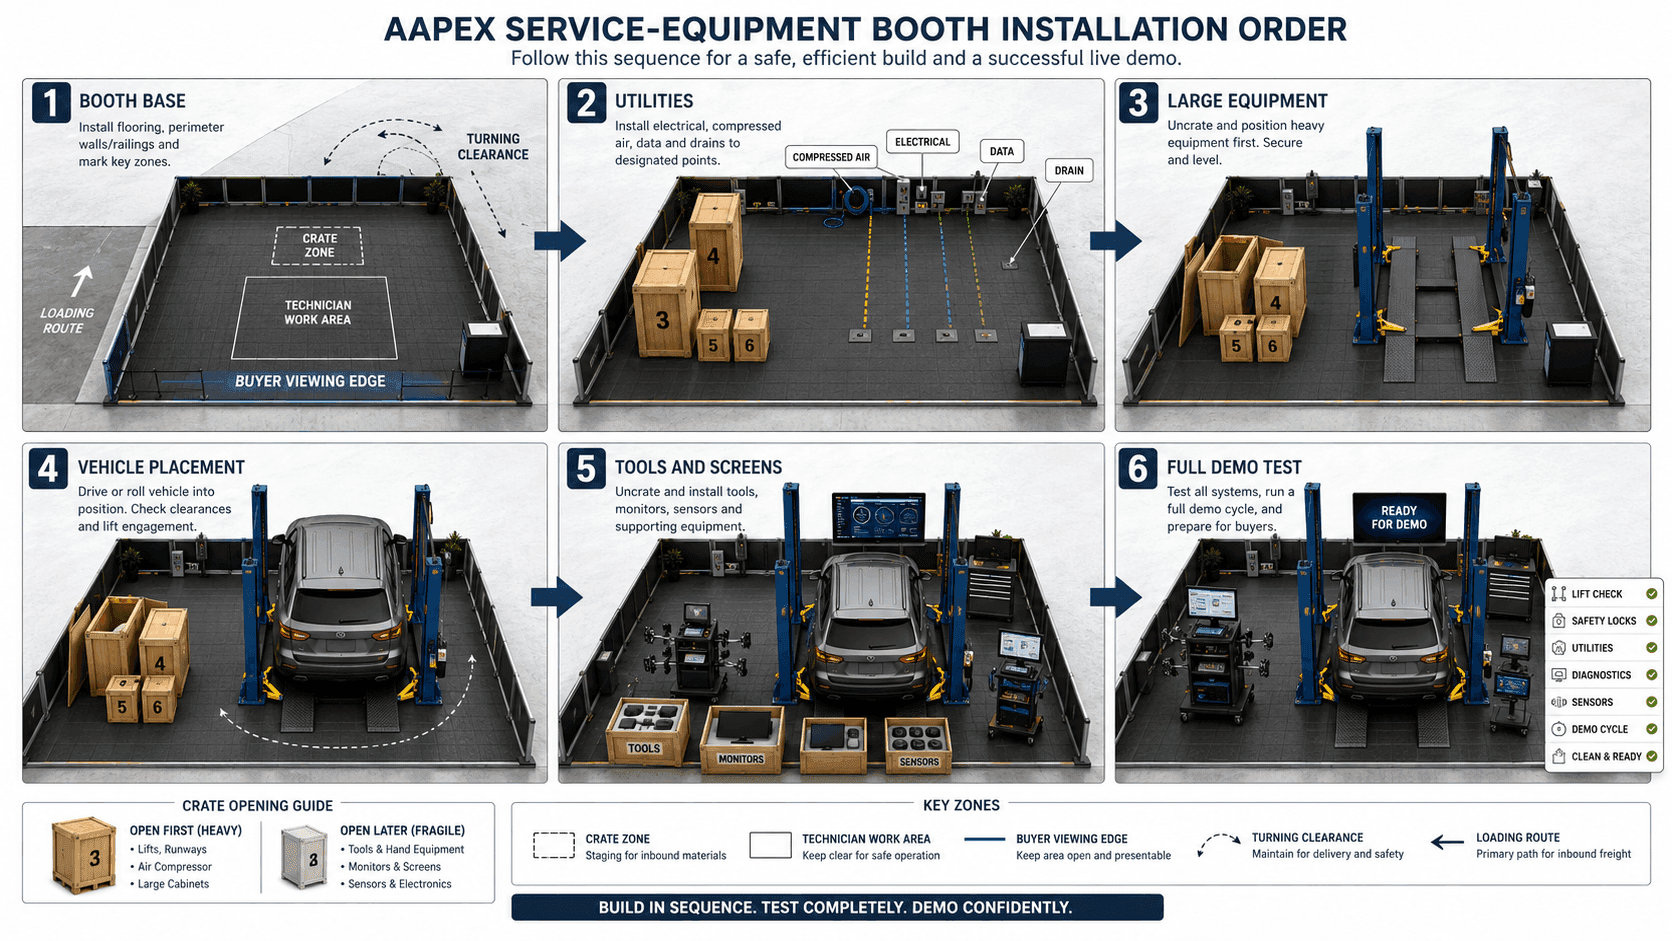
The booth base and utilities come first, followed by large equipment, vehicle placement, tools, screens, and a complete demo test.
When Equipment and Vehicles Should Enter the Booth
Lifts and other large shop equipment usually enter before the vehicle. They need more room to turn, align, and connect, and become harder to position once the booth starts filling up.
Check the full route from the loading point to the final location, including doors, aisles, overhead clearance, and turning space. The final sequence should also leave technicians enough room to work and buyers a clear view of the demonstration.
Recommended Installation Sequence
Stage | What happens | What needs to be ready |
|---|---|---|
Booth base | Flooring and structural elements are installed | Final layout and equipment route |
Utilities | Power, compressed air, data, and lighting are connected | Service locations and connection points |
Large equipment | Lifts and shop equipment move into position | Base work and utilities completed |
Vehicle placement | The vehicle enters its final demo position | Equipment connected and delivery route clear |
Tools and screens | Tools, monitors, sensors, and fragile items are added | Heavy installation and vehicle placement finished |
Full demo test | Equipment, utilities, visibility, and reset steps are checked | All devices and services operating |
Match Each Crate to Its Final Booth Zone
Number crates by the booth zone they serve, not just by shipping order. Each label should show the equipment or display area, its final position, and whether the crate needs to open early or remain closed until the heavy work is finished.
Keep flooring, utility, support, and large-equipment crates easy to reach. Tools, screens, sensors, and other fragile items can come in later. Empty crates should leave without blocking power, air, data work, or the remaining delivery path.
The crate map should be finalized alongside freight timing, unloading, and pre-show coordination so each item reaches the correct booth zone in the right order.
Keep Technician Access and Buyer Sightlines Clear
Technicians need room to reach controls, tools, and service points without stepping over cables or working around furniture. Power, air, and data lines should stay clear of the main work area while remaining accessible for checks.
Buyers should be able to watch from outside the operating zone. Keep service panels, equipment doors, emergency access, and safety clearances open after vehicles, screens, counters, and barriers are in place.
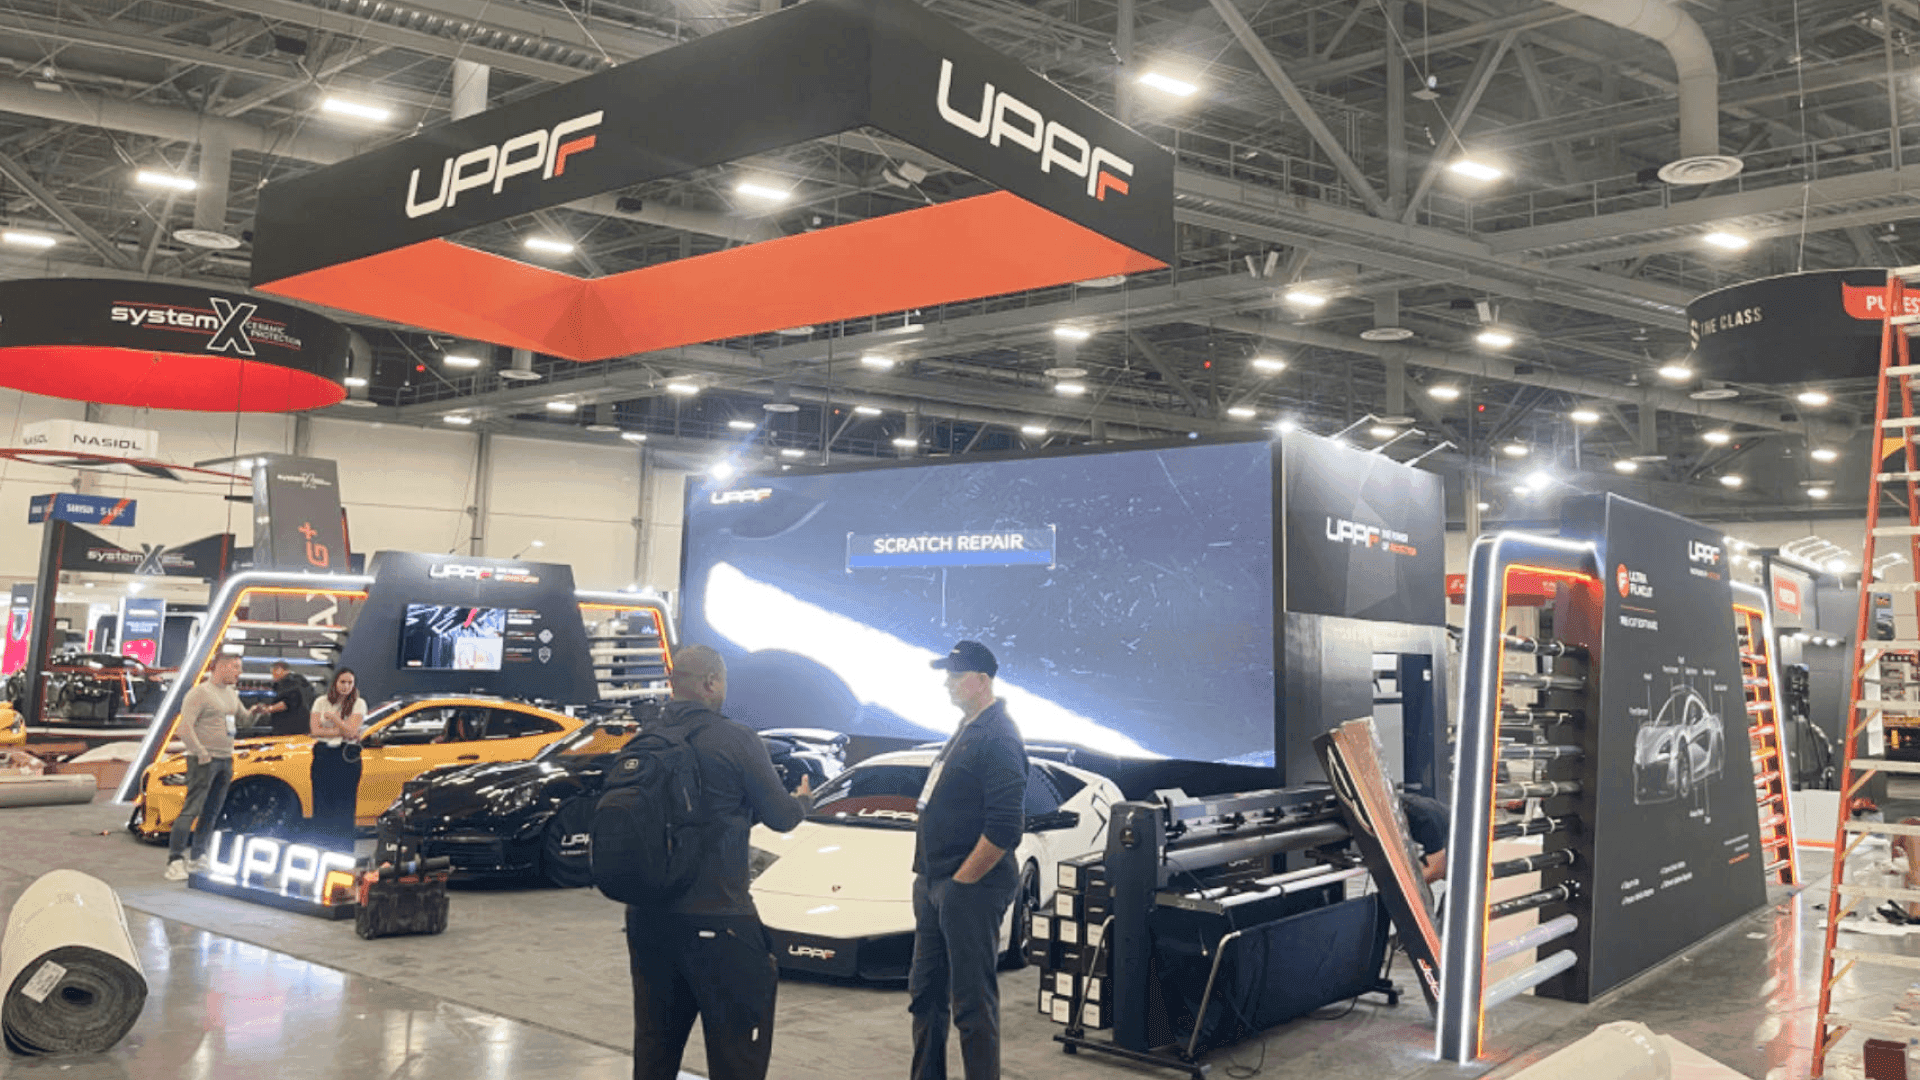
The booth base and utilities come first, followed by large equipment, vehicle placement, tools, screens, and a complete demo test.
Run the Full Demo Before Opening
Run the demo the same way the team will present it during the show. Check the equipment, power, compressed air, screens, vehicle position, and technician workspace under normal operating conditions.
Make sure buyers can see the important steps without entering the work area. Confirm the reset process and keep essential tools, adapters, and spare parts close enough to handle a minor failure without stopping the demonstration.
FAQ
What should be installed first in a Joe’s Garage booth?
Finish the flooring, structure, power, compressed air, data, and lighting before large equipment moves in. This keeps service connections open and prevents lifts or vehicles from blocking unfinished work.
When should vehicles and lifts enter the booth?
Lifts and other large shop equipment usually enter before the vehicle because they need more room to turn, align, and connect. The vehicle can move into position once the equipment is secured and the access route remains clear.
What should be tested before AAPEX opens?
Run the demo under normal show conditions. Check equipment function, utilities, vehicle position, technician access, buyer visibility, reset time, and the spare parts needed to keep it running.