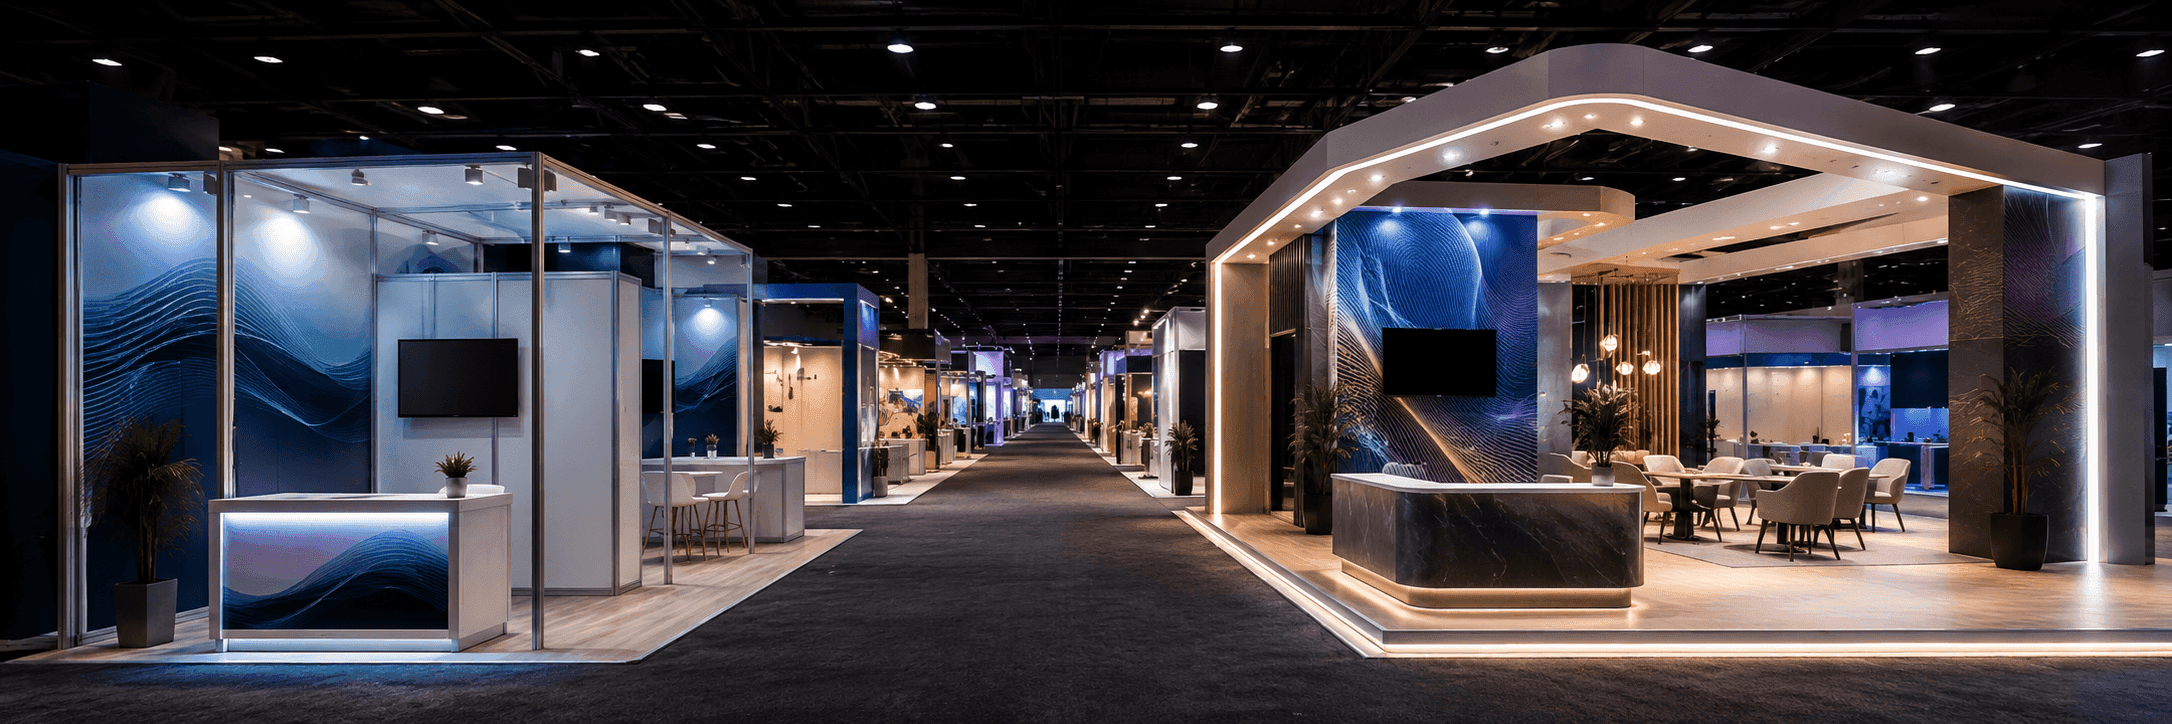
CES is one of the few trade shows where a booth can attract attention instantly and still lose the opportunity just as fast. The event spans more than 2.5 million net square feet across multiple Las Vegas venues, and official CES planning tools are built around floor plans, wayfinding, and route planning. That means many visitors are not casually drifting booth to booth. They are moving with purpose, often making split-second decisions about where to stop.
For exhibitors showing new technology, that changes the role of booth graphics. At CES, graphics are not just there to make the booth look finished. They have to do an early job that the live demo has not done yet. They need to tell visitors what the product is, what category it belongs to, and why the booth is worth stopping at before anyone on the team starts a conversation. That is why strong graphics often improve demo stop rate at CES: they reduce the mental delay between “I see a booth” and “I understand what this company is showing.” This is also why a lot of exhibitors planning for CES in Las Vegas get more value from message clarity than from adding one more screen.
A common mistake is assuming the demo itself will do all the explaining. In reality, demos rarely work that cleanly on a busy CES floor. Screens are already active. Other booths are competing for attention. A visitor may only see part of the live presentation before deciding whether to stay or move on. If the graphics do not establish the product story early, the booth depends too much on perfect timing. The result is often a space that looks active but feels hard to decode. Official CES exhibitor guidance also makes clear that demonstrations must not block traffic flow, which makes it even more important for the message to land quickly rather than requiring a crowd to gather and wait for context.
The best CES booth graphics usually answer three questions at a glance. First, what is the product or solution category? Second, what problem does it solve? Third, what should the visitor look at next? When those answers are visible from the aisle, the demo becomes easier to enter. When those answers are buried behind vague taglines or oversized branding, the booth relies too heavily on staff intervention. At a show built around speed, that is a weak trade.
This is why large message walls tend to work better than fragmented messaging at CES. A clean headline, one strong supporting line, and a clearly organized demo zone usually outperform booths that spread five equal claims across multiple surfaces. The visitor should not need to hunt for the main point. The wall itself should establish the product story, while the demo proves it. In practical terms, the graphics should start the conversation and the live interaction should deepen it. That kind of hierarchy is exactly where good graphics and brand presentation starts pulling real weight instead of acting like decoration.
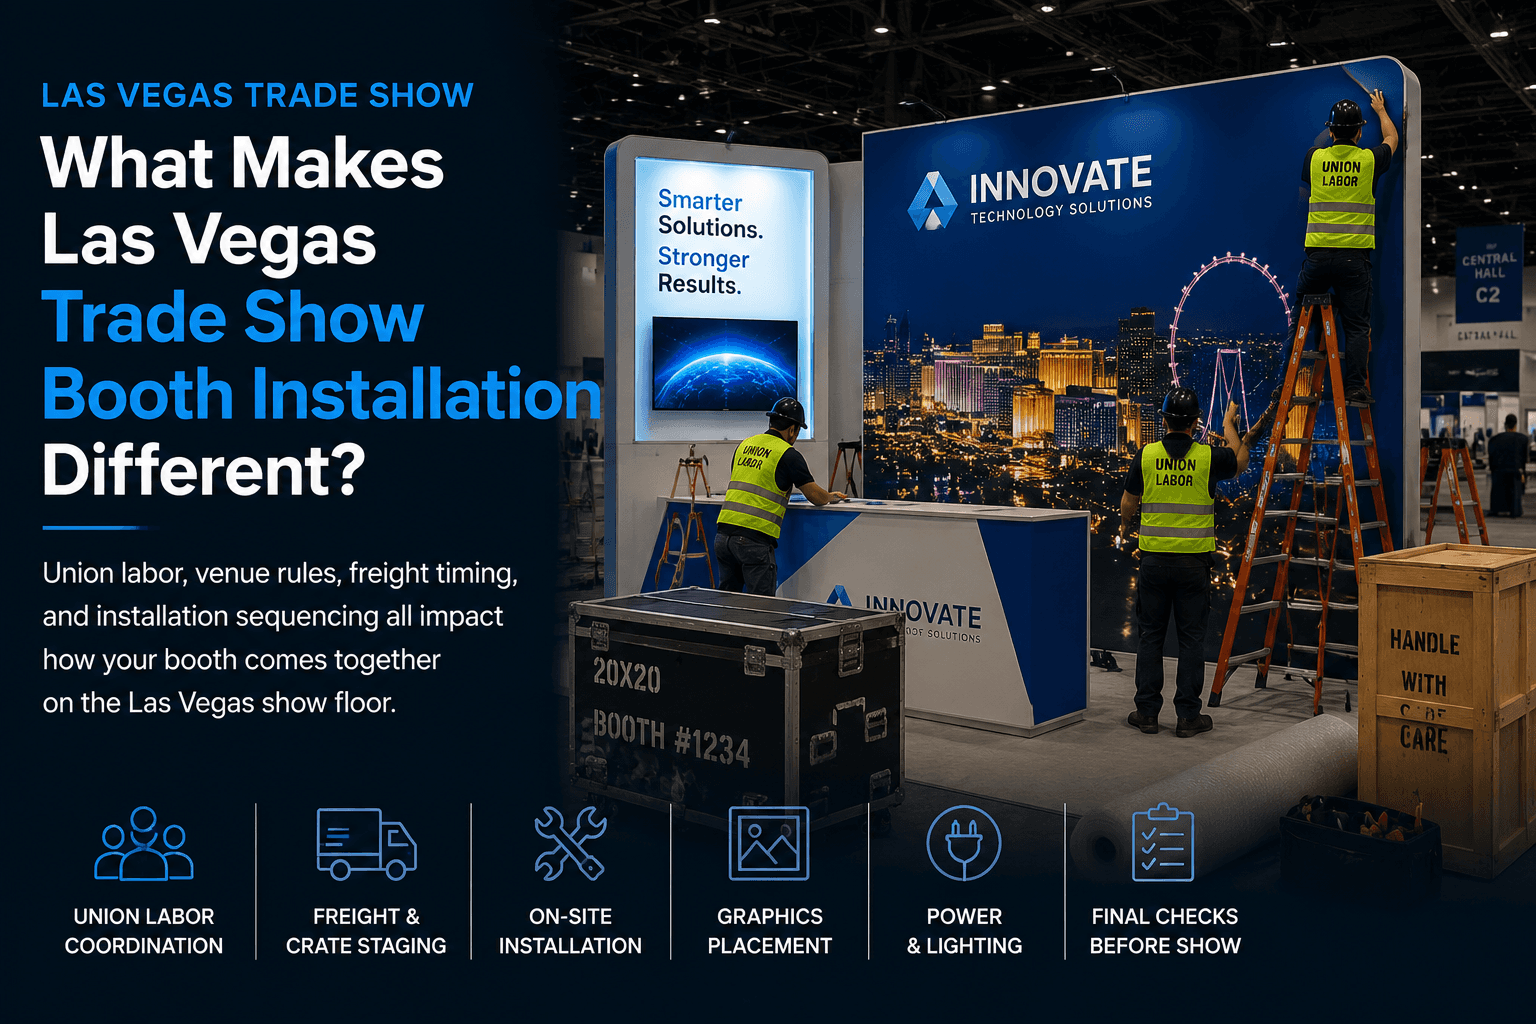
Booth size also affects how much work the graphics need to do. In a well-planned 20x20 trade show booth, there is usually enough room to separate the aisle-facing message, the live demo position, and the follow-up conversation zone. That gives the graphics a cleaner job: attract, clarify, then hand off to the demo. In a tighter space, the graphics often have to work harder because the visitor is closer to the action immediately and has less time to absorb a layered story. That is one reason so many CES exhibitors find that a clear visual hierarchy matters more than adding more visual noise. Official CES materials also note that 400 square feet and above can unlock certain exhibitor benefits, which makes the 20x20 footprint a practical threshold for more organized visibility and planning.
Another problem at CES is that many technology products are not instantly physical. A vehicle, a machine, or a large hardware object can sometimes explain itself from a distance. A platform, workflow, software layer, or connected device ecosystem usually cannot. That means the graphics have to bridge the gap between what the visitor sees and what the company wants the visitor to understand. If the booth says too little, the product feels abstract. If the booth says too much, the message becomes slow to read. The right approach is usually a fast product headline with one visible use case, supported by demo content that confirms the claim instead of trying to introduce it from zero.
This is also where layout and graphics need to work together. If the headline wall is too far from the demo, the booth splits into unrelated pieces. If the graphics sit behind the presenter instead of framing the presentation, they become background instead of direction. If the message wall faces the wrong traffic edge, the booth wastes its best chance to explain itself early. At CES, people often decide whether to enter a booth before they are close enough to hear anything. That is why the graphic layer needs to be positioned as the first readable signal, not as the finishing layer added after the monitors are placed.
Good graphics also help keep demos operationally cleaner. CES guidance repeatedly emphasizes that demonstrations must allow traffic flow to continue and must consider neighboring exhibitors. A clearer message wall can reduce the number of hesitant, half-engaged visitors standing at the aisle edge trying to figure out what is going on. When people understand the offering sooner, the booth tends to attract the right kind of stop: shorter hesitation, cleaner entry, and better handoff from attention to interaction.
That is one reason brands planning for CES often benefit from working with a Las Vegas trade show booth builder that thinks about graphics, layout, and demo behavior as one system. A booth can have strong hardware, polished screens, and a premium structure, yet still underperform if the first-read message is weak. The strongest CES booths usually do something very simple very well: they let visitors understand the product fast, then give the demo room to prove it.
At CES, the booth graphic should not wait for the demo to begin. It should make the demo easier to enter in the first place. If visitors can understand the product promise from the aisle, the booth earns a cleaner stop, a better audience flow, and a stronger chance to turn curiosity into a real conversation.
Planning a booth for CES in Las Vegas?
Explore CES booth planning first, then strengthen the demo with a clearer graphics and brand presentation strategy that helps visitors understand the product before the live interaction starts.